Installing Storm Drain Pipe

A storm drain is a gravity system, and gravity is unforgiving. There is no pump to make up for a low spot, no pressure to push water over a bad joint, and no way to correct a pipe that was laid two inches off invert after the trench is backfilled. What separates a storm sewer that works for fifty years from one that ponds water and settles the pavement above it is almost never the pipe itself. It is the trench, the bedding, the grade, and the soil packed around the haunches.
This guide walks through the sequence the way a crew actually builds it: read the plan, locate utilities, cut the trench, bed the pipe, hold line and grade, lay it, backfill it in lifts, and prove it with a deflection test. The specifics always come from the project specification, but the logic behind them does not change.
What a Storm Drain System Actually Has to Do
A storm drain network collects runoff at inlets and catch basins, carries it through a trunk line, and releases it at an outfall, ditch, or detention basin. Every segment between two structures is a straight run on a constant grade. That is the whole design premise, and it is why the trade is so fussy about elevations.
Because the pipes run nearly flat, small vertical errors matter. A quarter inch of sag at one joint holds water, and standing water drops sediment, and sediment eventually blocks the line. Because the system carries solids and grit, the design also has to keep velocity high enough to move them: most manuals look for a self-cleansing velocity in the range of roughly 2 to 3 feet per second at typical flow, and a maximum near 10 feet per second before the design calls for energy dissipation or a drop structure at the next manhole.
The other thing to understand up front is that flexible pipe and rigid pipe fail differently. Concrete pipe is structural on its own and depends on a uniform foundation so it does not crack or shear at the joints. Plastic and corrugated metal pipe rely on the soil envelope around them to carry most of the load, which makes haunch compaction the single most important step in the whole installation.
Read the Plan Before You Cut
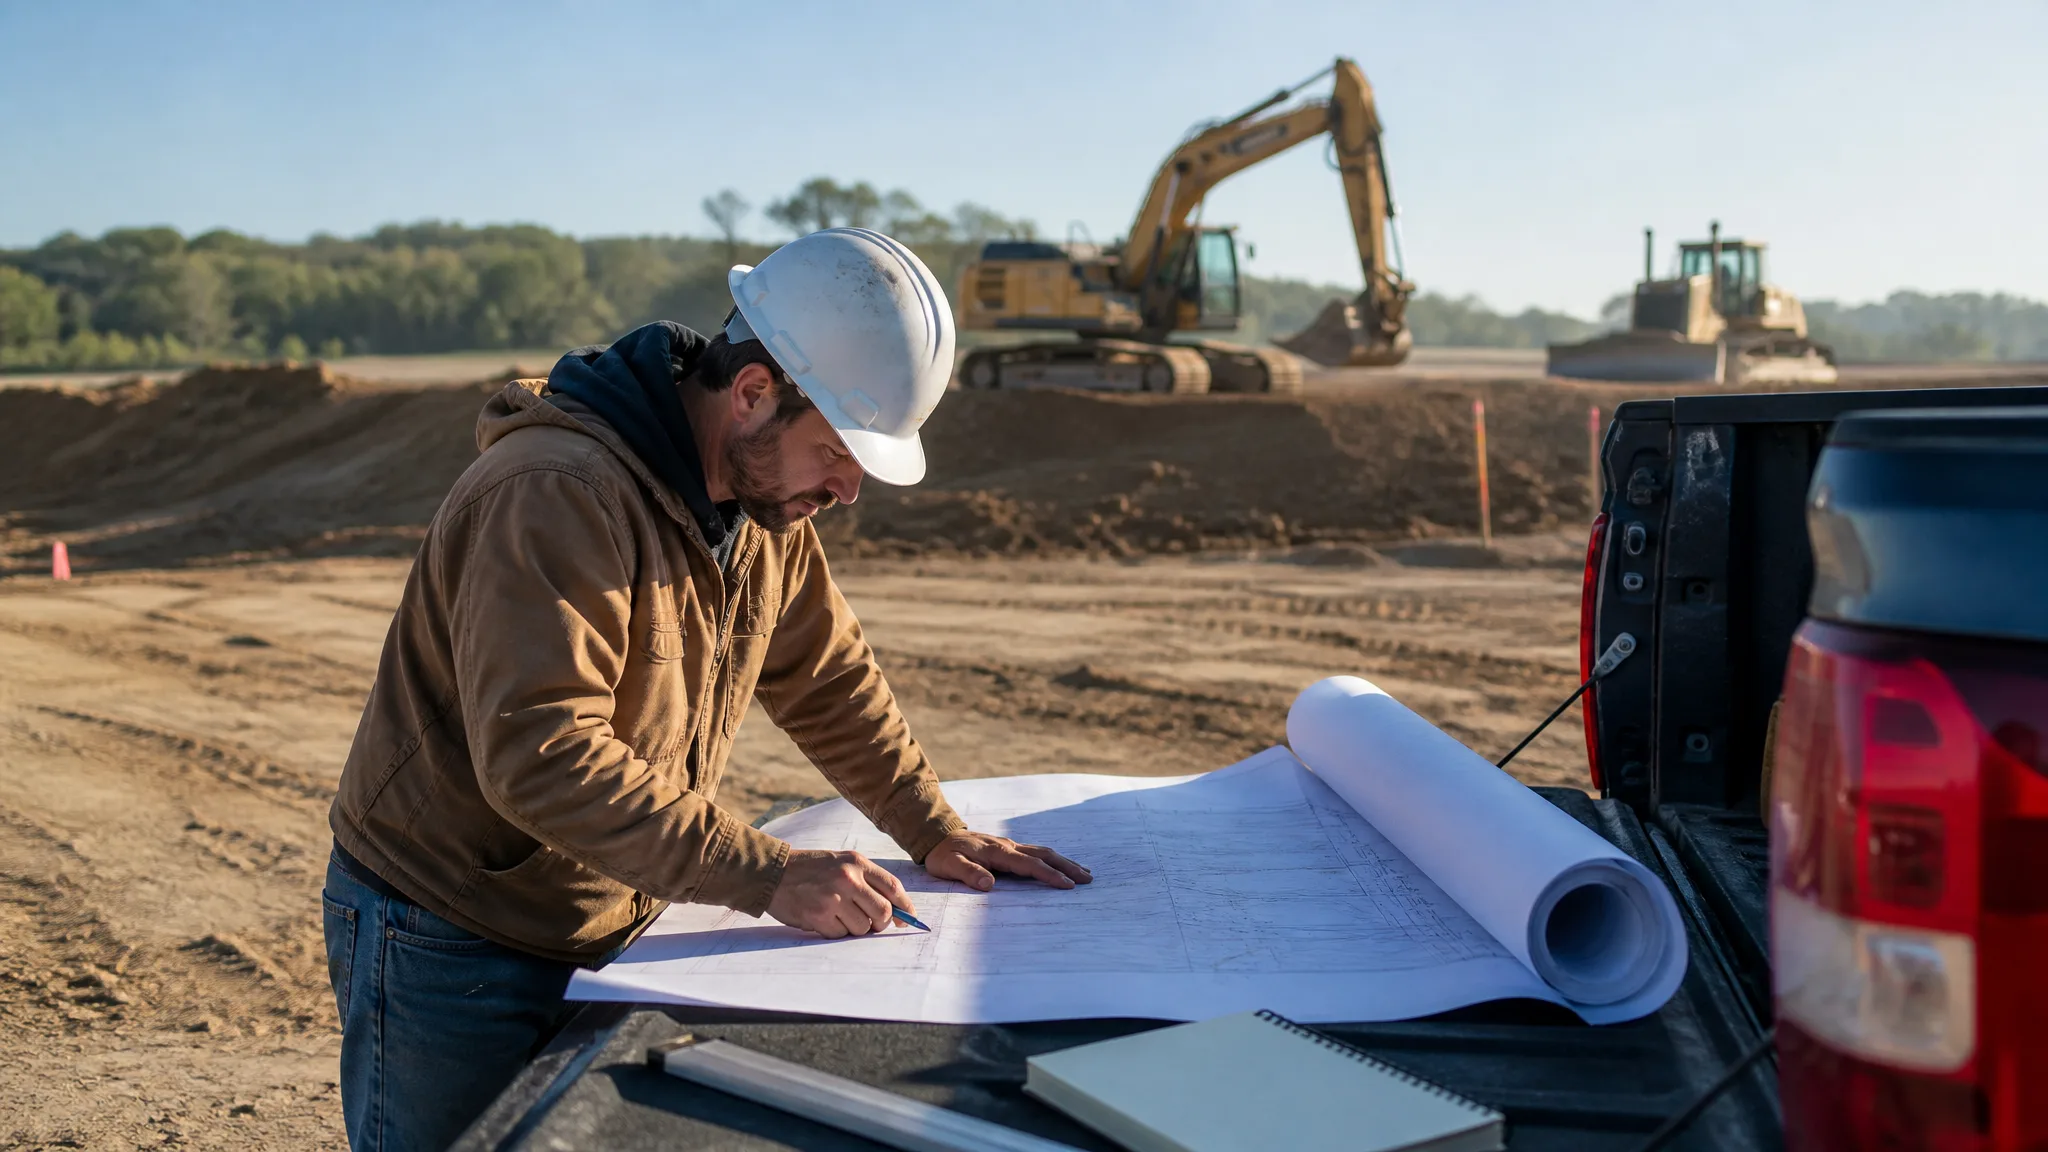
Before a machine moves, work through the plan and profile sheets and pull out the numbers that control the job: pipe size and material, invert elevation at every structure, length of each run, cover over the pipe, structure type and rim elevation, and any easements or utility conflicts. If the profile does not show a slope, calculate it from the inverts.
The math is simple and worth doing twice. Fall equals slope times length. A 240-foot run at 0.5 percent needs 1.2 feet of fall from the upstream invert to the downstream invert. At 1 percent, the same run needs 2.4 feet. Knowing that number tells you immediately whether the plan is achievable in the field and whether your trench depth at the upstream end is realistic. It also tells you how much room you have before you run into a water main or a gas line that the plan shows crossing your alignment.
Compare the existing ground profile against the design profile as well. Deep cuts mean shoring and dewatering. Shallow cover means the pipe may need a concrete cap, a load-bearing bedding class, or a different alignment. Both of those change the cost and the schedule, and both are better discovered on paper than at 7 a.m. with a trench open. For a refresher on reading contours, spot elevations, and flow arrows, see how to read a grading plan, and for the elevation math itself, how to set grade.
Locate Everything First
Every storm drain job starts with a locate ticket and a set of private locates. The public one-call service marks the utilities it owns. It does not mark private irrigation lines, site lighting conduits, fuel lines, or the fiber that a previous tenant buried. If the plans are old or the site has been developed more than once, pothole the crossings you cannot verify. The cost of a vacuum truck for a day is trivial next to a struck gas main.
This is also the point to have the stormwater controls in place. Silt fence, inlet protection, a stabilized construction entrance, and a concrete washout are usually permit conditions before any excavation begins, and the inspector will check them the first time he visits. See calling 811 before you dig, excavation and grading permits, and how to install a silt fence.
Trench Width, Depth, and the Trench Bottom
Trench width is a Goldilocks problem. Too narrow and there is no room to place and compact material under the haunches, which is exactly where a flexible pipe gets its support. Too wide and you import extra earth load onto the conduit and pay for backfill you did not need. Published guidance lands in a similar neighborhood from different directions: the American Concrete Pipe Association details use a width of about 1.25 times the outside diameter plus 1 foot, several state specifications use the outside diameter plus 16 inches or 1.25 times diameter plus 12 inches, whichever is wider, and many municipal details run closer to 1.5 times diameter plus 12 inches. Take the number from your own specification, then add whatever the trench protection system needs.
Depth is set by the invert elevation minus the bedding thickness. Excavate to that line, not below it, and never dig loose and back-drag material to grade. A trencher that over-digs and then sprinkles loose soil back in creates a soft spot under the pipe that will consolidate later.
If the bottom is unstable, over-excavate and replace it with compacted granular material, often wrapped in geotextile to keep the fines from migrating. If the bottom is rock, cobbles, or hardpan, provide additional bedding so the pipe barrel is not point-loaded; manufacturers commonly call for at least 2 extra inches of bedding over a rocky bottom. If groundwater is present, dewater so the trench bottom is stable and dry before bedding goes in. Placing bedding and pipe in standing water is how you get a pipe that floats, misaligns, or settles the first time it rains. See dewatering an excavation, geogrid and geotextiles explained, and gravel and stone sizes explained.
Bedding Classes and What They Buy You
Specifications describe bedding in classes, and the classes trace back to the same family of definitions used in ASTM C12: Class D is the pipe on a firm, unyielding trench bottom with bell holes dug so the barrel bears evenly; Class C is bedding in clean, coarse-grained gravel or sand; Class B is granular material carefully placed and compacted up to the springline; Class A is a concrete cradle under and around the lower portion of the pipe. Concrete pipe installation is governed by ASTM C1479, thermoplastic pipe by ASTM D2321, but the concept is identical across materials.
Class B is the workhorse for municipal and transportation work because it gives a high load factor without the cost and cure time of a concrete cradle. The detail that gets missed is the bell hole: the bell is deeper than the barrel, so if you bed the pipe on a flat layer the barrel rides on the bell and the joint takes the load. Dig a snug depression for each bell, keep it as short and shallow as it can be, and make sure the barrel sits on the bedding for its full length.
Bedding thickness is commonly in the 4 to 6 inch range of approved granular material, placed to the line and grade of the pipe, not to the trench bottom. That distinction matters: the bedding is the surface the pipe is actually built on. For how the material above the pipe is handled, see backfilling a utility trench.
Line and Grade: The Part That Decides Whether It Drains
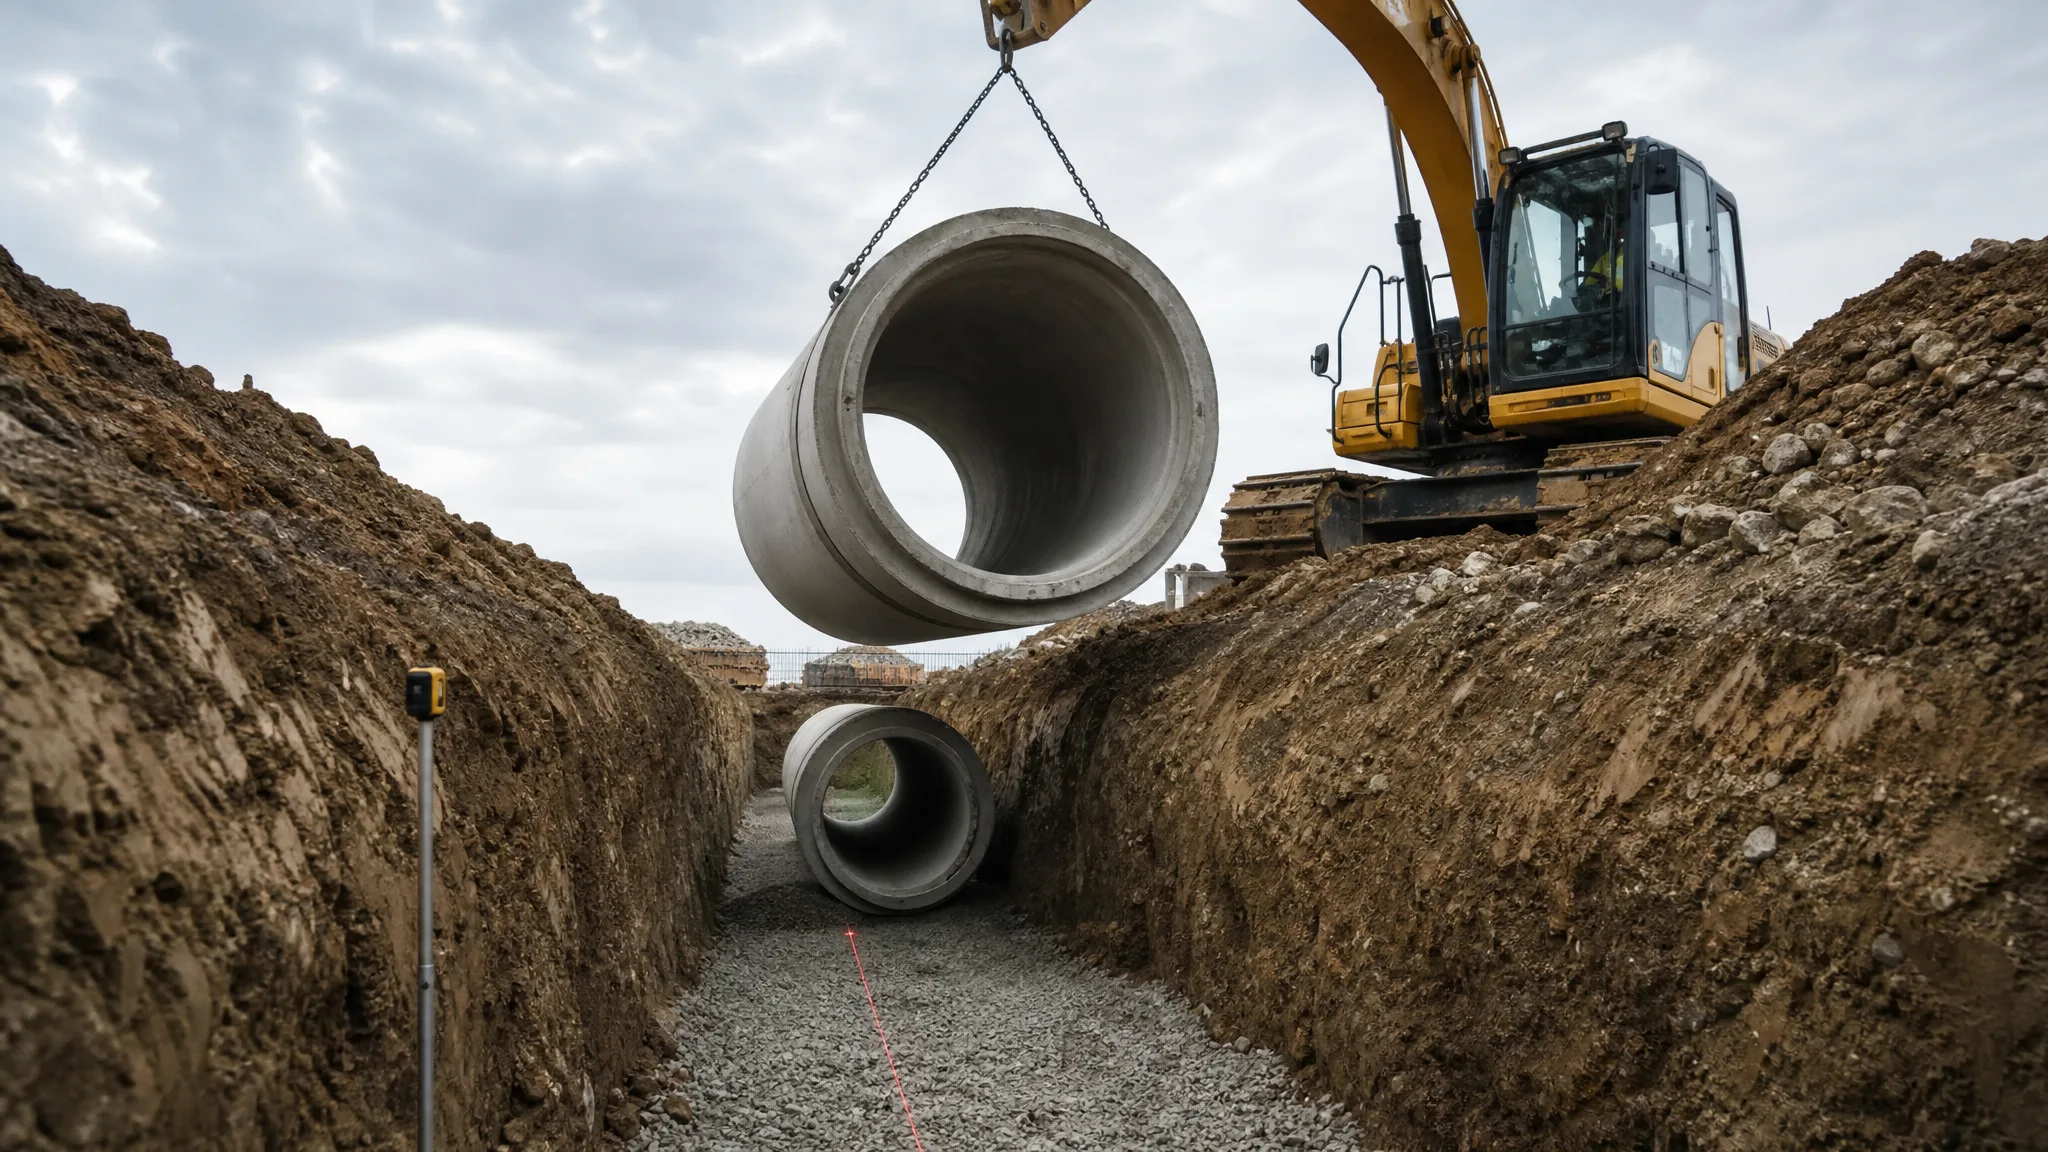
Set a laser or a builder's level on a stable benchmark and keep it out of the traffic path. Establish the pipe invert, not the top of the pipe, as your control. Then check every joint against the laser as you go, not just the ends of the run. The most common grade failure is not a bad setup; it is a joint that was never checked because the first and last pipes looked right.
Lay the run straight between structures. Most manuals prohibit curves, bends, or deflections between inlets and manholes, and require any break in grade, alignment, or pipe material to occur at a structure. Where a change of pipe size happens at a structure, match crowns, or 80 percent of the diameters, or the inverts, in that order of preference. A crown mismatch at a junction creates a backwater condition that no amount of downstream capacity will fix.
Minimum slope is set by the local standard, and the standards genuinely differ. Some manuals require 0.5 percent for installed stormwater pipe; others allow as little as 0.2 percent where the minimum velocity is still achieved. That is the point: the slope is a means, and the self-cleansing velocity is the end. Ask the engineer which governs, and get the answer in writing before you set the first pipe.
Laying Pipe
Lay from the downstream end toward the upstream end, with bell ends facing upgrade so the spigot enters the bell in the direction of flow. On reinforced concrete pipe, install a rubber gasket conforming to ASTM C443 around the spigot, seated against the offset step, lubricated as the gasket manufacturer directs. Keep the gasket clean. A single grain of gravel caught in the joint is enough to hold the spigot out and create a leak path.
Home each joint fully and check the gap. State specifications commonly cap joint separation at three quarters of an inch for 12- through 36-inch pipe and 1.25 inches for 42-inch and larger, with tighter limits from some manufacturers. Corrugated metal pipe goes in with longitudinal seams at the sides and circumferential laps facing downstream, so water flows over the lap rather than into it. Thermoplastic pipe follows ASTM D2321 for handling, jointing, and embedment.
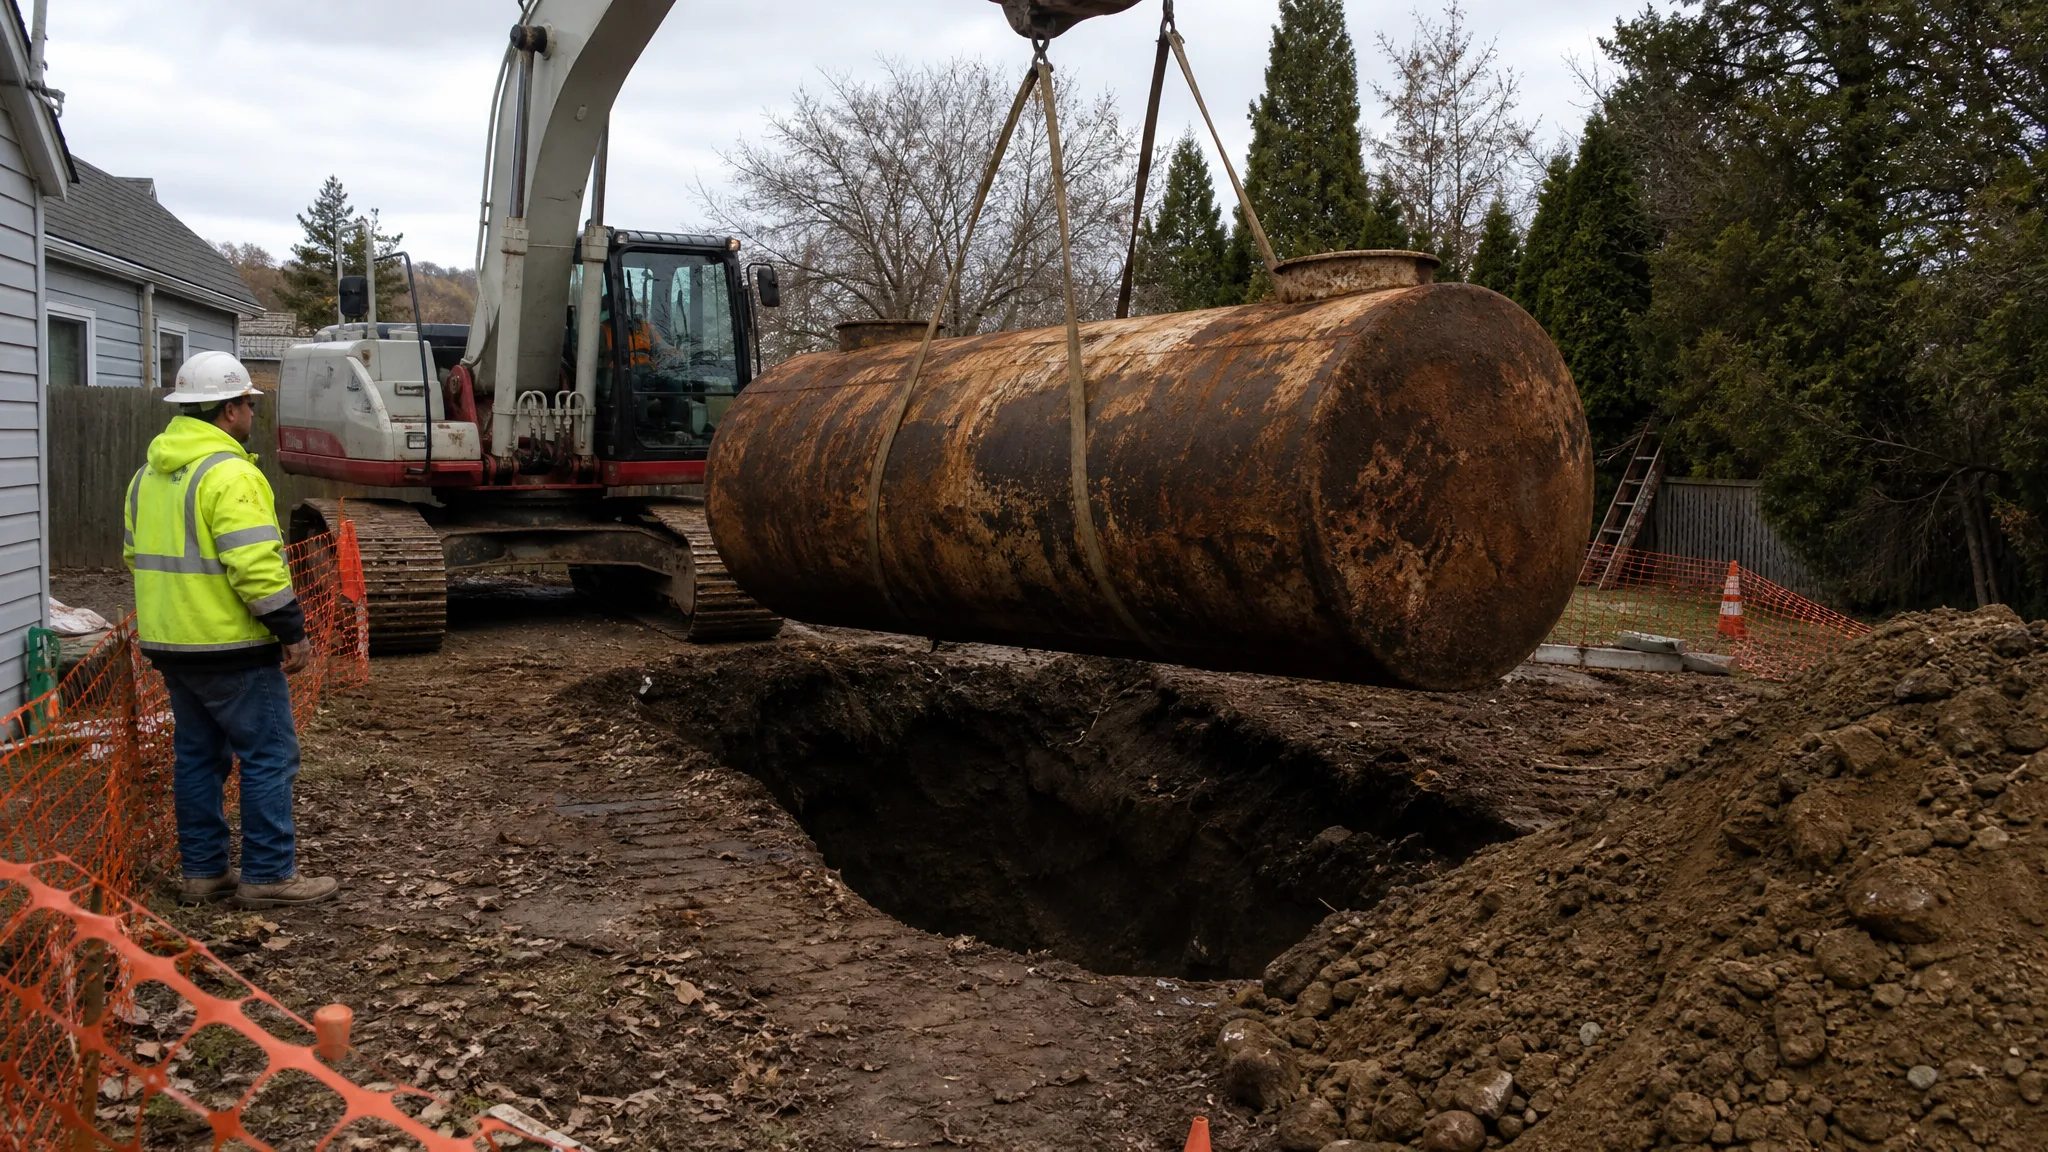
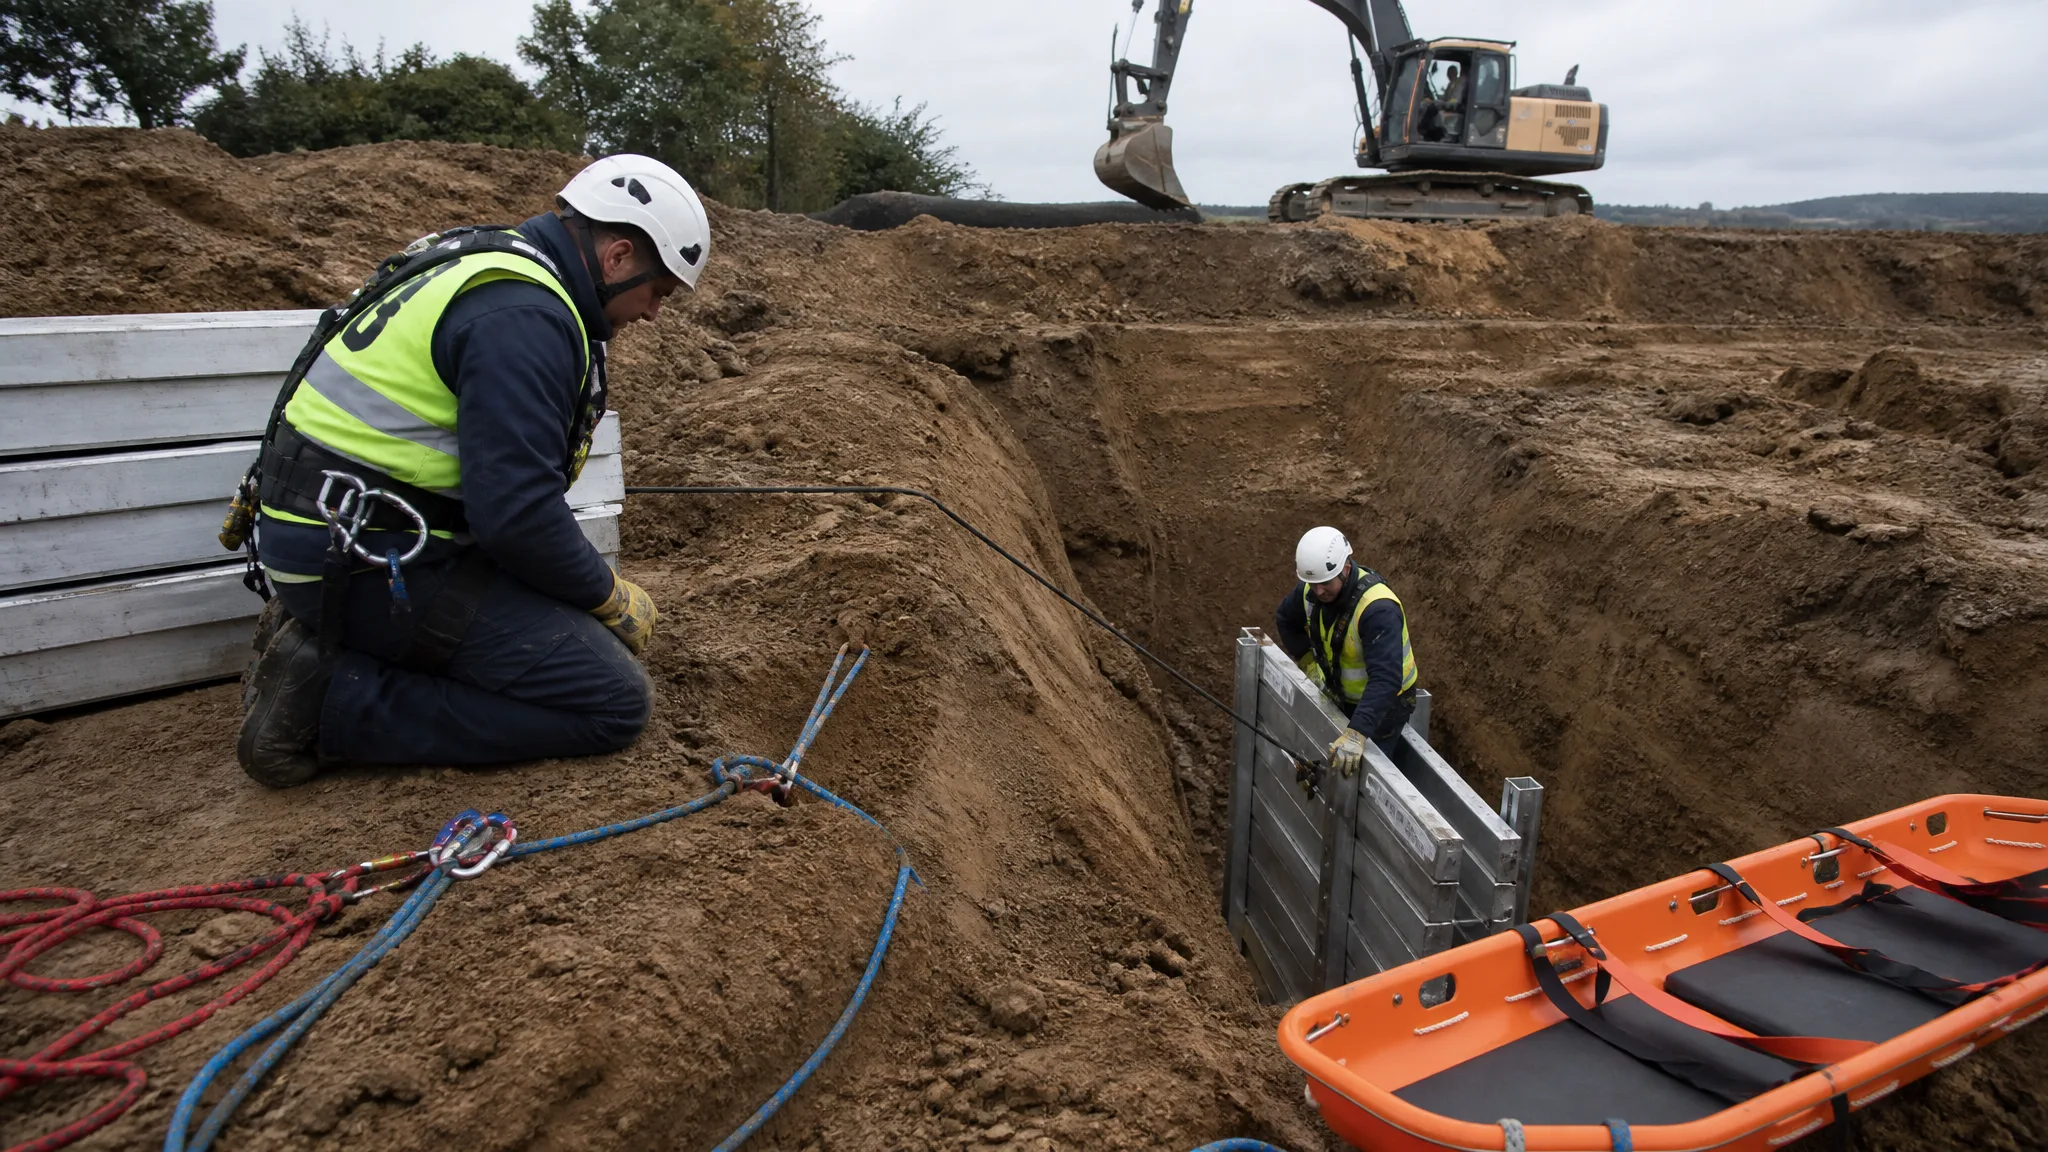
Handle pipe with slings, not chains, and never drag a section across rock. Nobody belongs in the trench while a section is suspended over it, and the spoil pile stays at least two feet back from the edge. If the trench is five feet deep or more, the crew is working behind a protective system. See lifting with an excavator, working safely around heavy equipment, and choosing a trench protective system.
Haunching and Backfill: Where Flexible Pipe Lives or Dies
The haunch zone is the wedge of soil under the curve of the pipe, from the bedding up to the springline. On flexible pipe, that zone is what keeps the pipe round. Fill it by hand or with a shovel slice so the material actually reaches under the haunch, then compact it in thin lifts on both sides evenly so the pipe does not shift sideways.
ASTM D2321 classifies embedment material from Class I through Class V in descending order of stiffness. Class I is angular crushed stone or crushed gravel with little or no fines; Class II is clean gravel and sand; Class III is gravelly and sandy soils with fines; Class IV is fine-grained soil that needs geotechnical sign-off; Class V, which includes organic, highly plastic, and frozen material, is never acceptable as embedment. Compact the pipe zone to the density the specification requires, commonly in the 85 to 95 percent Standard Proctor range depending on soil and loading, and closer to 95 percent under roadways.
Do not bring heavy compaction equipment directly over the crown until there is enough cover to protect the pipe, and keep vibratory equipment off the pipe until the backfill depth allows it. This is the same density-versus-moisture battle every earthwork job fights, and the same reasons lifts fail apply here. See how soil compaction is tested and why compaction tests fail.
Testing and Acceptance
Flexible pipe is accepted by deflection testing. A mandrel is pulled through the completed run, sized so it will not pass a pipe that has ovaled beyond the allowed amount, typically 5 percent of the inside diameter, with some specifications permitting up to 7.5 percent. Deflection beyond that means the soil envelope did not do its job, and the repair is excavation, not argument.
Most agencies also require a CCTV inspection before acceptance, looking for joint separation, misalignment, debris, and intrusion at taps. Rigid pipe gets checked for cracks, spalls, and settlement at the joints. Do the inspection before the pavement goes back, because the cost of correcting a defect multiplies the moment asphalt is involved.
Common Mistakes on Storm Drain Jobs
- Trenching past the design invert and back-dragging loose material to grade instead of cutting clean.
- Bedding the pipe on a flat layer and letting the bell carry the barrel load.
- Checking grade at the ends of the run only, then finding a sag at a joint in the middle.
- Compacting the haunches from one side only, which rolls the pipe out of line.
- Using native clay as embedment because it was already in the trench.
- Leaving the trench open through a rain event with no inlet protection or dewatering plan.
- Allowing a grade break or size change in the middle of a run instead of at a structure.
- Skipping the mandrel test and discovering the deflection problem after the road is paved.
None of these are exotic. They are the ordinary shortcuts that show up when a crew is behind schedule, and every one of them costs more to fix than to prevent. The pipe is the cheap part of a storm drain. The care around it is what you are actually buying. If you are pricing the work, excavation cost per cubic yard and how to estimate an excavation job cover the quantities and the bid side of the same job, and installing a catch basin covers the structure at the upstream end of the run.