Why Compaction Tests Fail

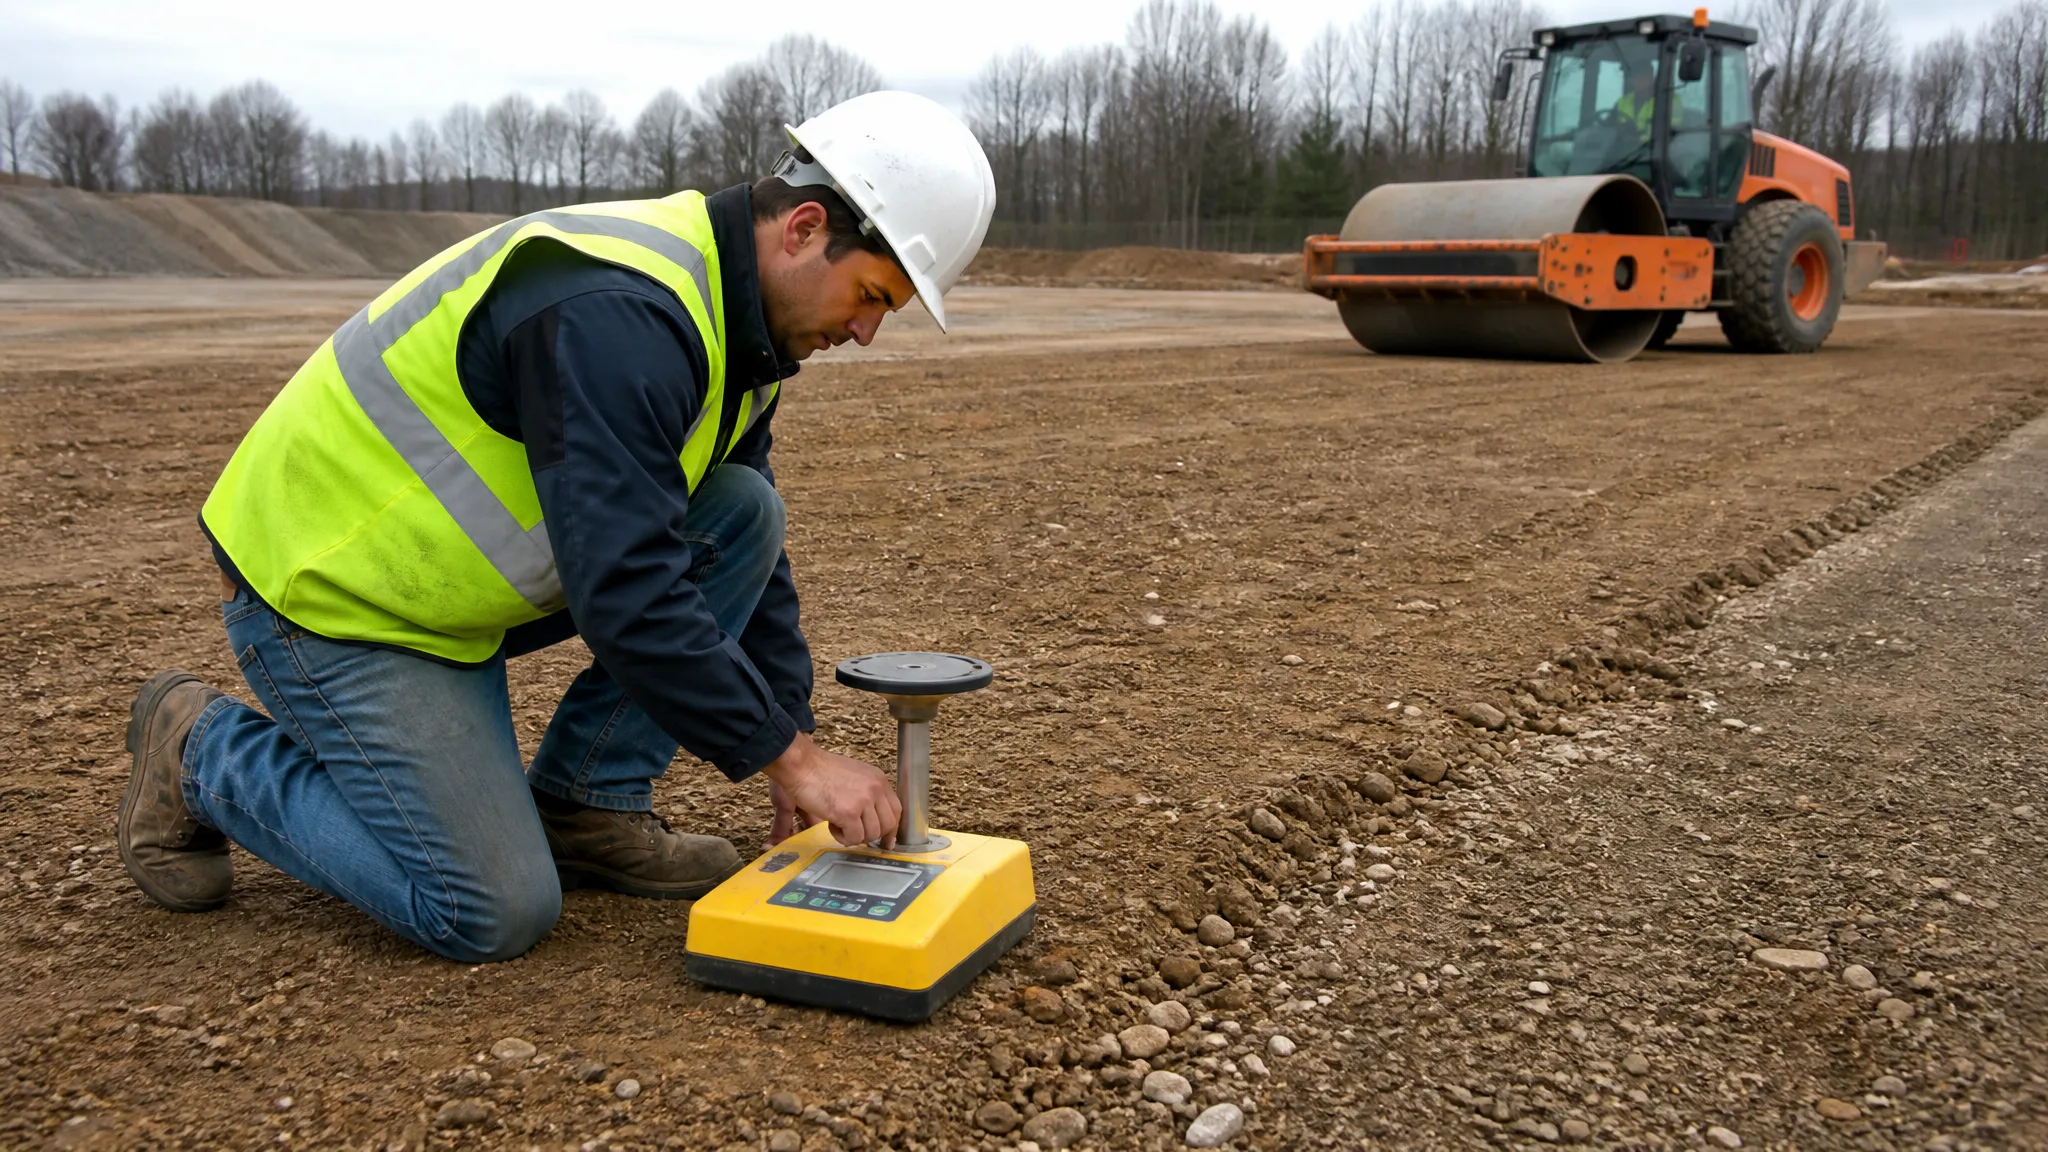
A failing compaction test stops a job. The next lift cannot go down, the building pad cannot be released, and the paving crew is standing around. It feels like bad luck, but most failed density tests trace back to one of a handful of predictable causes, and most of them are cheaper to prevent than to fix.
The test itself is simple in concept: compare the density achieved in the field to the maximum dry density a laboratory determined for that soil. When the field number comes back low, the useful question is not "how do we get it to pass?" but "why is it low?" Rolling the same lift harder rarely fixes a moisture problem, and adding water rarely fixes a lift that was too thick. For the testing side first, how soil compaction is tested walks through the methods and the math.
What the Test Is Actually Comparing
Compaction is reported as relative compaction: the in-place dry density divided by the laboratory maximum dry density, multiplied by 100. A specification that calls for 95 percent means the field soil must reach 95 percent of the lab's maximum dry density for that material.
The lab number comes from a Proctor test. The standard Proctor, ASTM D698, uses a 5.5-pound hammer with a 12-inch drop, three layers, and 25 blows per layer. The modified Proctor, ASTM D1557, uses a 10-pound hammer with an 18-inch drop, five layers, and 25 blows per layer. The modified test produces a higher maximum dry density and a lower optimum moisture content.
That distinction matters. Ninety-five percent of modified Proctor is a denser, harder target than 95 percent of standard Proctor. If the field crew is working to the wrong curve, or the lab report being referenced belongs to a different soil, the test can fail before anyone makes a construction mistake. The geotechnical report is what sets the target, and what is a geotechnical report explains how those recommendations are developed.
Cause One: Moisture Is Off Optimum
Moisture is the most common reason a lift fails. Too dry, and particles resist sliding past each other; the roller cannot rearrange them into a dense structure. Too wet, and water fills the voids, pore pressure builds, and the soil turns rubbery or pumps under the drum instead of compacting.
Most specifications set an allowable window of roughly plus or minus two to three percentage points around optimum moisture, though the geotechnical report controls. A field moisture content more than two or three points away from optimum makes it difficult to reach the required density regardless of how many passes the roller makes. If you are trying to judge the condition by eye, how wet is too wet to compact soil covers the field signs.
The test report usually shows both density and moisture, so read both before ordering rework. If the soil is too dry, water needs to be added uniformly and mixed in, then given time to mellow before compaction. If it is too wet, discing, aerating, and turning the material lets it dry. Spraying water on the surface of an already-wet lift only makes the top inch worse.
Cause Two: The Lift Is Too Thick
Compactive energy reaches only so deep. A lift that is thicker than the machine can effectively work will come out hard on top and loose underneath, and the density test will show it. Many state DOT specifications cap embankment lifts at about 8 inches loose, and 6 to 8 inches is a common practical range for rollers. The project specification always wins over a rule of thumb, and choosing the right compaction equipment explains how machine type changes the practical limit.
Thick lifts also dry unevenly. The top crust seals, the middle stays wet, and the moisture profile becomes inconsistent. A nuclear gauge reading through that profile can look acceptable at one spot and fail a few feet away.
The fix is not more passes on the same thick lift. Scarify the lift, take out the excess, and recompact in thinner layers. It costs time, but it is the only way to get uniform density through the full depth.
Cause Three: The Material Changed
A Proctor test is run on a specific sample. If the borrow pit changes, the imported fill comes from a different source, or the mix of on-site material shifts, the old curve may no longer represent what is going into the fill. The test then fails against a target that was never appropriate for the actual soil.
Material problems also show up as clay clods that do not break down, organic silt that will not compact, oversize rock that holds the gauge off the surface, or frozen chunks in cold weather. Expansive clay is a separate issue: it can pass a density test and still move with moisture changes later, which is why expansive clay soil and foundations is a different conversation from compaction. Frozen fill has its own rules, covered in cold weather earthwork.
Good practice is to run a Proctor for each distinct material, stockpile different soils separately, screen or remove oversize rock, and never place frozen fill. If the material changes mid-job, get a new curve before the next lift, not after a failure.
Cause Four: Wrong Machine or Not Enough Passes
Compaction equipment has to match the soil. Cohesive clay responds to a sheepsfoot roller or a rammer that kneads and works the material. Granular fill responds to a vibratory smooth-drum roller that shakes particles into place. A heavy smooth drum on wet clay can seal the surface and leave the lift soft below.
Even with the right machine, passes matter. Too few passes, too fast a travel speed, the wrong vibration setting, or a lift beyond the machine's capability will all show up as low density. A test strip is the cheapest way to settle the question: place a lift at the specified thickness, run a controlled number of passes, and test at intervals to find the count that reaches spec.
Cause Five: Testing Error
Not every failing number is a construction failure. Nuclear density gauges, the most common field method under ASTM D6938, need a current calibration, a proper standard count, correct probe depth, and good contact with a smoothly prepared surface. Loose material under the gauge, a tilted probe, or a rough crust can produce a low reading that has little to do with the fill.
Very coarse or rocky fill is another limitation. Nuclear gauges become less reliable as the material gets coarser, and many agencies require a sand cone test under ASTM D1556 or a larger test hole for that kind of material. The sand cone is slower, but it is the referee method when a gauge result is disputed.
Timing matters too. Testing immediately after rain, or testing a surface that has dried into a crust while the material below is still wet, can give a misleading result. So can testing at a location that is not representative, such as the edge of a fill area or a spot the roller never covered.
Cause Six: The Ground Below Is Soft
A density test measures the lift, but the lift sits on something. If the subgrade below is soft, organic, or saturated, the compaction energy deflects into the weaker layer and the lift never densifies properly. The same soft spot may show up as rutting or pumping during a proof roll even when individual gauge readings look marginal.
Proof rolling with a fully loaded truck is the practical check for this. If the subgrade deflects, the fix is to remove the unsuitable material, stabilize it, or undercut and replace it before placing more fill. Compacting the new lift harder will not fix a soft base. Proof rolling a construction site covers the procedure, and soil stabilization for unstable subgrade covers the repair options.
What to Do When a Test Fails
Stop placing fill in the affected area. Do not cover a failing lift with the next one, and do not assume a retest will be better. Delineate the area, read the report, and identify whether the problem is moisture, thickness, material, equipment, or the test itself.
The standard repair is to scarify the lift, adjust moisture toward optimum, and recompact with the right machine and pass count. Then retest the same location, not a nearby spot that might read better. If the retest passes, document it and move on. If the same area fails again, the geotechnical engineer should evaluate whether the material is unsuitable or the lift needs to be removed and replaced. Trench backfill fails in much the same way, and the zone-by-zone requirements are in backfilling a utility trench.
Documentation matters as much as the repair. The report should identify the location, lift number, depth, test method, in-place density, moisture, maximum dry density, and pass/fail result. That record supports the grading certification and foundation inspection later.
Preventing Failures Before They Happen
Most of this is planning, not luck. Get the Proctor done before fill arrives, especially on imported material. Run a test strip to establish lift thickness and pass count. Have a moisture plan that includes water, discing, and time to mellow. Train the operator on the specified lift thickness and keep a grade checker in the loop. The same discipline applies to slab subgrade, where how to prepare a site for a concrete slab lays out the compaction step in context.
Talk to the testing agency before the first lift, not after the first failure. Confirm the test method, frequency, target density, and reporting. Random locations produce a more honest picture than convenient ones, and testing in the rain or right after a storm is usually wasted money.
Quick Diagnosis
- Low density, moisture below optimum: add water uniformly, disc, mellow, recompact.
- Low density, moisture above optimum: aerate, disc, let it dry, recompact.
- Hard crust over soft fill: lift was too thick; scarify and recompact in thinner layers.
- Failures move around the site: material or moisture is inconsistent; check the Proctor and stockpiling.
- Failures in one area only: look for a soft subgrade, a different soil, or a missed pass pattern.
- Gauge result disputed: verify calibration and surface prep, then use a sand cone for confirmation.
A failed compaction test is information. It tells you one of the inputs to the lift was wrong, and the report usually says which one. Reading moisture and density together, checking lift thickness, and confirming the material against the Proctor will solve most failures faster than another pass with the roller.