How to Set Grade


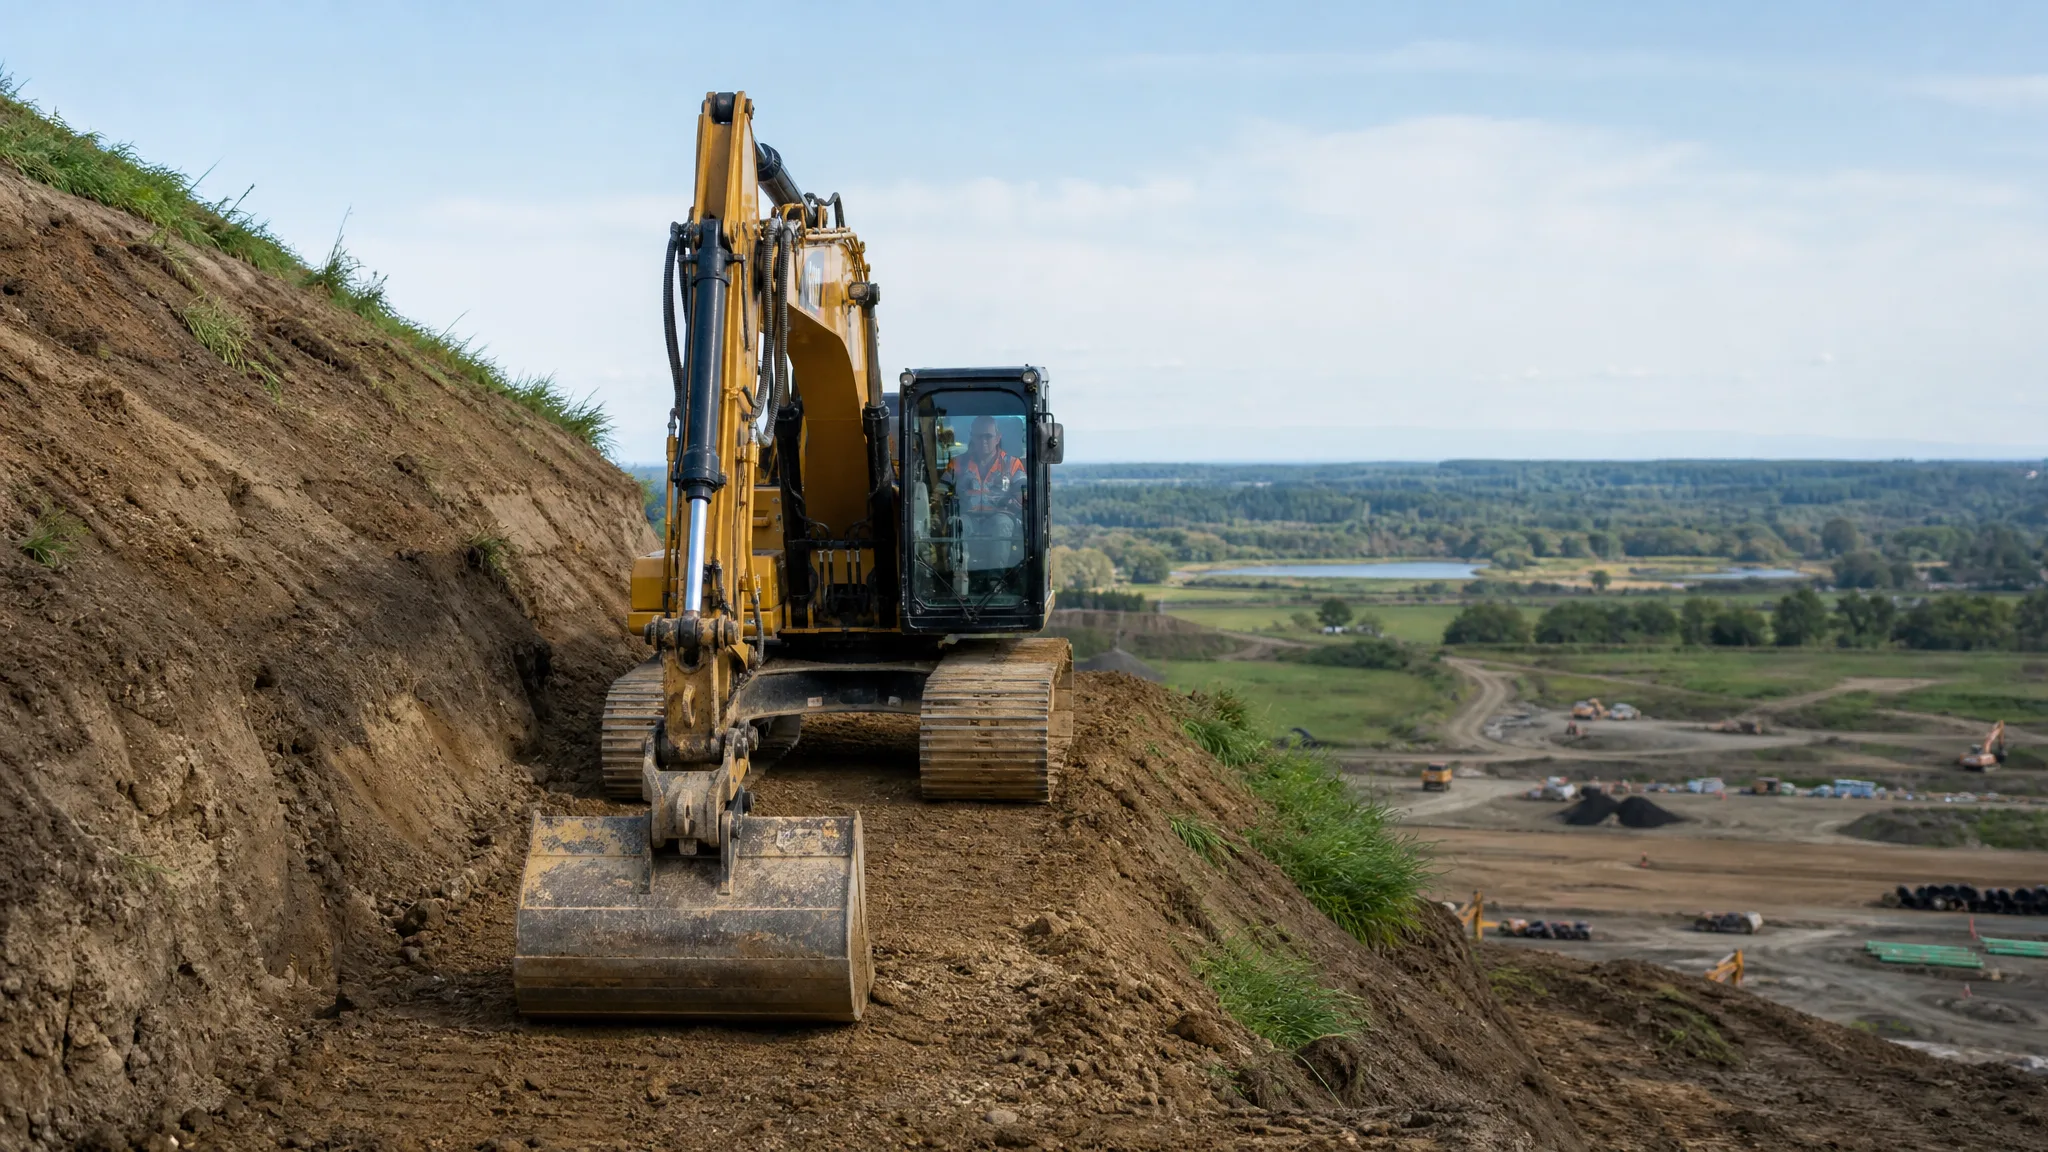
Every excavation and grading job comes down to a single promise: the finished surface will land at a specific elevation, and it will shed water in the right direction. "Setting grade" is how contractors transfer that promise from a set of plans to the dirt in front of them, using a benchmark, a level, a grade rod, and a set of stakes an operator can read from a machine cab. Get it right and everything downstream — foundations, slabs, driveways, drainage — lines up. Get it wrong and the error compounds through every trade that follows. This guide walks through the field method contractors actually use to set and check grade.
What "Setting Grade" Really Means
Grade has two parts: elevation and slope. Elevation is the vertical height of a surface measured against a known reference. Slope is how much that elevation changes over a horizontal distance, expressed as a percentage or a ratio. Setting grade means establishing both, transferring them across a site, and marking them so equipment operators can cut or fill to them accurately.
On paper, grade lives on a plan. Before anything is staked, it helps to understand what those sheets are telling you, which is the subject of our guide to reading a grading plan. In the field, grade becomes a physical network of reference points and stakes that anyone on the crew can shoot and re-check.
Start With a Benchmark You Trust
No grade measurement means anything without a benchmark — a fixed, permanent reference point with a known elevation. On many sites the benchmark is assigned an arbitrary but convenient elevation, such as 100.00 feet, so the arithmetic stays simple. The surveyor ties it to a real datum, but the crew only has to work in the local numbers.
Two rules govern the benchmark. It must be stable, and it must sit far enough outside the work area that excavation, hauling, and equipment traffic will not disturb it. A benchmark that gets bumped or buried is worse than useless, because every reading tied to it silently becomes wrong. If you cannot find a solid permanent mark, set a durable hub or a concrete monument and treat its elevation as sacred.
The Two Numbers That Do All the Work
Once the instrument is set up and level, the first reading establishes the Height of Instrument (HI), which is the elevation of the level line of sight. The operator places the grade rod on the benchmark and reads where the line of sight crosses the rod. That is the back sight. Add it to the benchmark elevation and you have the HI.
The math is simple and worth memorizing: HI = benchmark elevation + back sight. If the benchmark is 100.00 feet and the rod reads 4.50 feet on it, the HI is 104.50 feet. That invisible, perfectly level plane is now the single reference for every other reading you take until the instrument moves.
The second number is the target rod reading. To hit a specific design elevation, subtract it from the HI: target reading = HI − design elevation. If you need a finished subgrade at 103.00 feet and the HI is 104.50, the rod must read 1.50 feet when the ground is correct.
Cut or Fill? Reading the Ground
With a target reading in hand, you walk the site, hold the rod plumb on each stake location, and compare the actual reading to the target. If the actual reading is higher than the target, the ground is currently too high and material has to be removed — a cut. If the actual reading is lower, the ground is too low and material has to be added — a fill. The difference between the two readings is exactly the depth of the cut or fill.
Run the numbers: if the target is 1.50 feet and the ground reads 3.25 feet, the ground sits 1.75 feet too high, so you need a cut of 1 foot 9 inches. If it instead reads 0.75 feet, the ground is 0.75 feet low, a 9-inch fill. Marking the stake with a "C" or "F" and the value, often with a nail or paint line at the target height, gives the operator an immediate visual target.
The Stakes You Will See on a Graded Site
A stake rarely means anything by itself; it works as a pair. Grade stakes carry the cut, fill, or slope instruction, while a hub next to them is the actual physical point of reference the measurement ties to. You will run into several kinds:
- Benchmark — marked "BMK," carrying the site's reference elevation. Never move it.
- Boundary or limit-of-disturbance stakes — often marked "LOD." Nothing outside these should be touched.
- Cut and fill stakes — marked "C" or "F" with the depth. Dig around them, not under them.
- Slope stakes — placed at the top and bottom of a slope to set the ratio.
- Offset stakes — set a stated distance away from the work point so equipment can maneuver without knocking the reference out. A circled number, "OFF," or "O/S" flags one.
Not every company uses identical shorthand, colors, or numbering, so when in doubt, confirm the convention with the surveyor or the foreman before you cut anything.
Blue Tops and Fine Grade
After rough grading, the crew moves to fine grade, and that is where blue tops come in. A blue top is a hub stake driven until its top sits at the exact elevation of the finished subgrade, set by the surveying crew. Operators trim to those hubs to bring the earth subgrade to final tolerance. On paving projects you may also see red tops, which mark the base course elevation instead. Wisconsin DOT, for example, describes subgrade stakes (blue tops) as the guides for trimming and finishing the earth subgrade after rough grading, with red tops used on base course and asphalt work.
Blue topping is a fine-grade step, not a rough one, and it follows the transition described in our comparison of rough grading versus finish grading. The tolerances get tight here, often to a tenth of a foot, because everything placed on top inherits whatever error is left in the subgrade.
The Tools: Laser Levels, Transits, Grade Rods, and GPS
A rotating laser level emits a continuous, self-leveled plane of light; a receiver on the grade rod tells you when you are on grade, high, or low. It is fast and it is one-person work, which is why it dominates residential and light commercial grading. A traditional optical level or transit needs manual leveling and lets you read crosshairs directly on the rod, and a total station adds horizontal position and angles for layout as well as elevation.
The grade rod — sometimes called a story pole — is the measuring stick. Most read in feet, tenths, and hundredths of a foot, and it is worth carrying one that matches your plans, because plenty of crews still mark stakes in feet and inches. Mixing the two systems is a reliable way to bury yourself a few inches off grade.
Increasingly, GPS and 3D machine control take over the cut-and-fill work itself, letting the machine reference the digital design directly, but the benchmark and the manual checks still anchor the job. No matter how good the technology, the site still has to agree with the model.
Setting and Working to a Slope
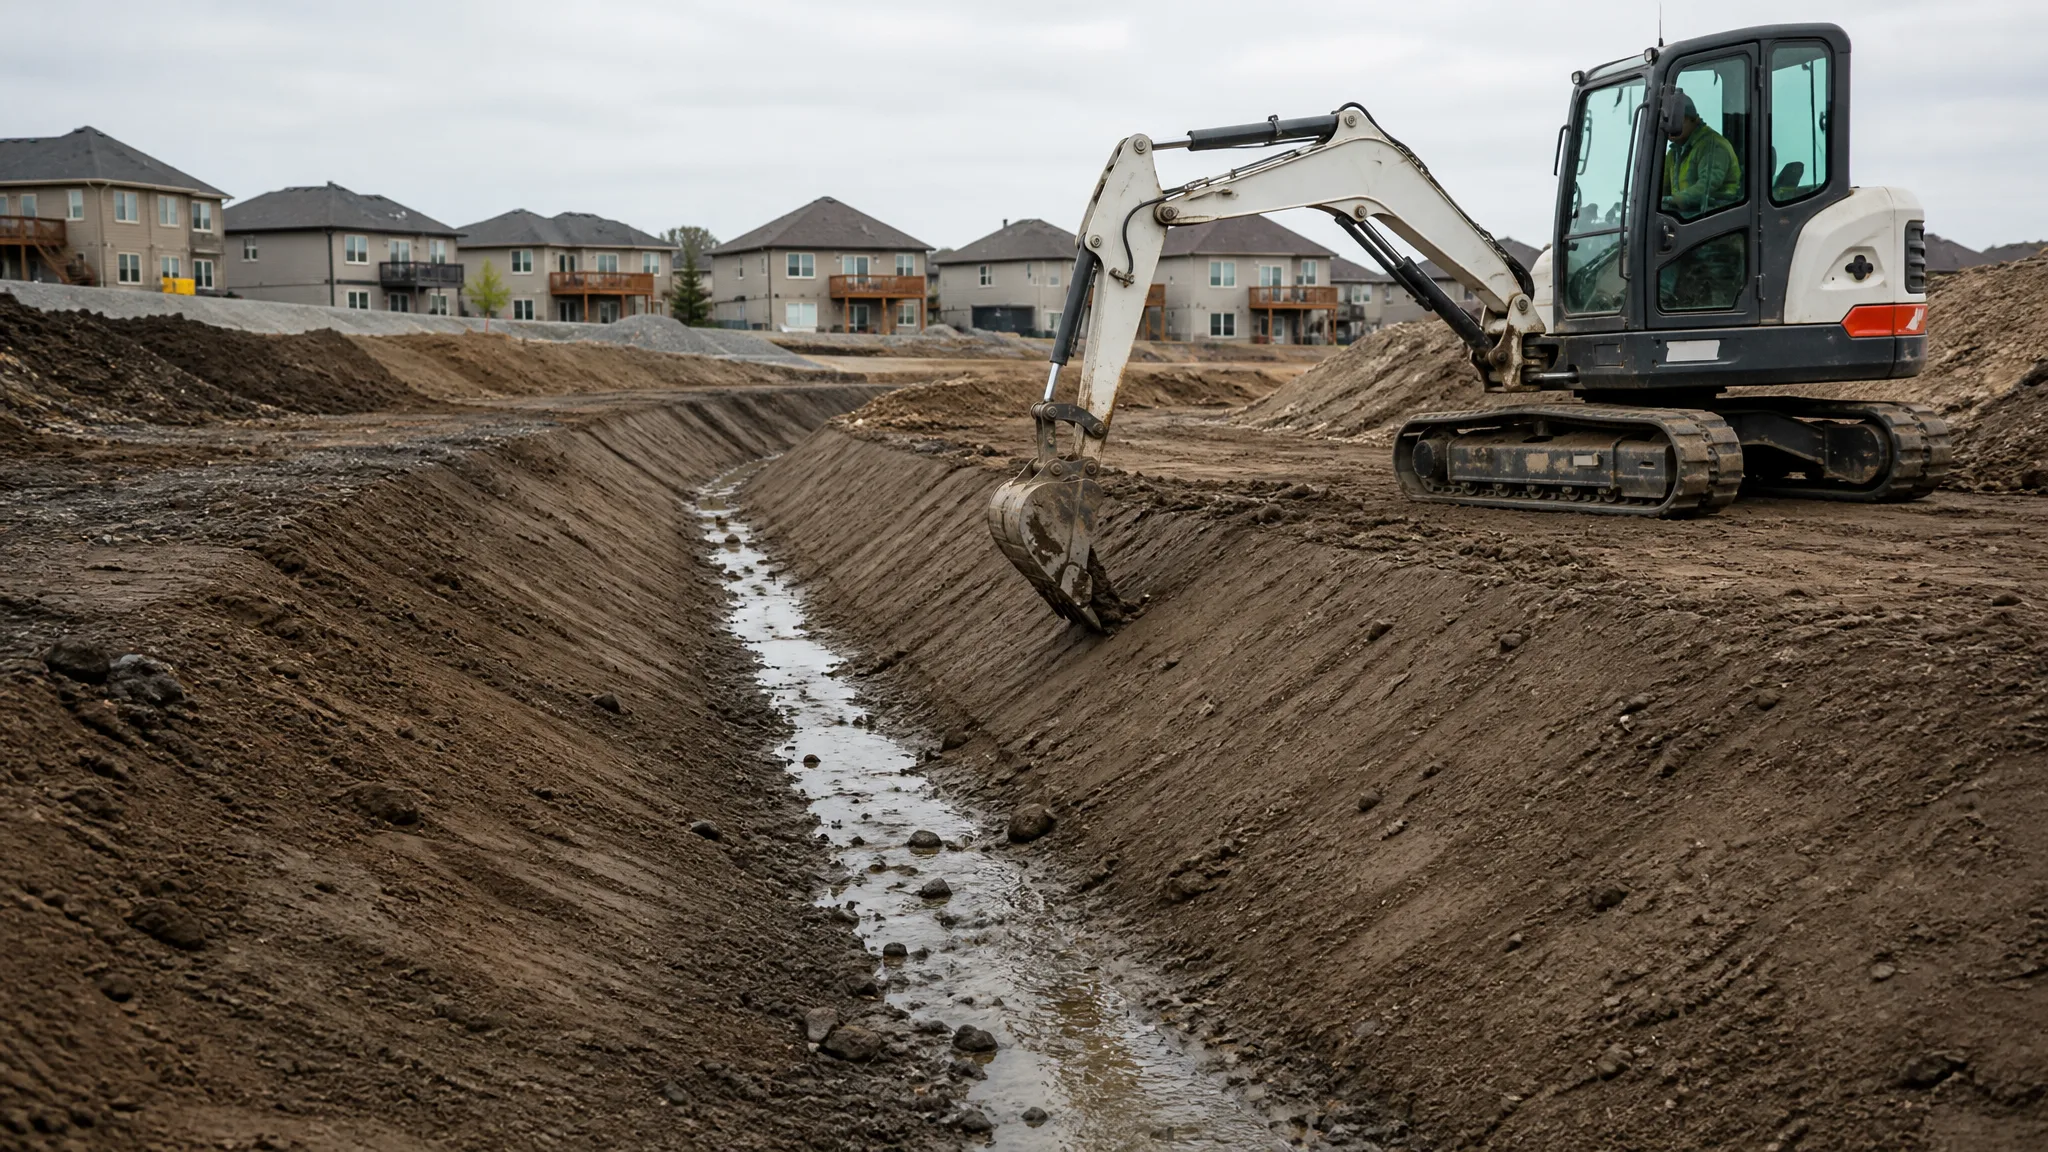
Elevation alone does not drain anything — slope does. Grade is expressed as a percentage: percent grade = (rise ÷ run) × 100. A 2% slope, the common minimum for lawns and paving, rises 2 feet over 100 feet, which is a quarter inch per foot. Yard drainage rules are covered in detail in our guide to how much slope a yard needs for drainage.
To set a slope, you establish the elevation at one end and calculate the required elevation at the other using the run and the percentage, then mark both. For short runs, a string line stretched between stakes and checked with a line level is often enough. For longer runs and paving, a laser set to the design slope, or a total station, keeps the error from piling up.
On a pad or a driveway, always grade to the correct controlling surface. If you set the subgrade to finish grade instead of subtracting the thickness of the base and the paving or slab, everything placed on top ends up too high. This is where a careful slab site build and a well-built gravel driveway start — with the subgrade elevation calculated from the top surface down, not the other way around.
Checking Your Work and Common Mistakes
Good crews verify constantly. The simplest check is to put the rod back on the original benchmark and re-read the back sight. If that reading has changed, the instrument moved or settled, and every measurement since the last good check is suspect. On optical equipment, a two-peg test will catch collimation error — a line of sight that is not truly level.
Most grade errors are technique, not equipment. Holding the rod off plumb lengthens the reading and makes you think the ground is lower than it is. Standing in front of a laser blocks the beam. Knocking a stake out of position with a machine destroys the reference, which is exactly why offset stakes exist. And forgetting the benchmark entirely — trusting a stake that has since been moved — is how a pad ends up out of spec.
Accuracy is the whole point of this work. A grade error at the excavation stage becomes a foundation problem, a drainage problem, or a failed building pad later. Tying elevations back to the design and checking cuts and fills against the balanced earthwork in cut and fill keeps the site honest. For crews working to tighter tolerances or trimming under structure, the advanced approaches in precision land grading are worth studying — and it all starts with a benchmark you can trust and a rod reading you take the time to get right.