Why a Pond Won't Hold Water

A pond that will not hold water is one of the more frustrating problems a landowner can face, because the fix is almost never the one people try first. Filling it back up treats a symptom. Throwing bentonite off the dock treats a guess. The ponds that get fixed are the ones where somebody measured the loss, found where the water was going, and matched the repair to the actual soil.
This guide covers that sequence: prove the pond is really leaking, identify the likely cause, test the soil, and choose among compaction, a clay blanket, bentonite, and a synthetic liner. It also covers the repairs that do not work and the permits that can apply before you drain anything.
First, Prove the Pond Is Actually Leaking
Every pond loses water. Evaporation and seepage are normal, and a well-built pond in good soil can still lose around an inch of water a month to seepage alone. Evaporation is larger than most people expect: on hot, breezy, low-humidity days a pond can lose more than a quarter inch in a single day, which means two weeks without rain can take nearly four inches off the surface before a single drop leaks out.
Extension guidance puts the combined loss from evaporation and shoreline trees at rarely more than about 12 inches in even the driest month. Kansas puts annual evaporation at roughly 4 feet in the eastern part of the state and 6 feet in the west, with about half an inch a day in summer. If a pond is dropping faster than that, or dropping to a certain level and then stopping, it is leaking.
The measurement that settles the argument is a marked stick driven into the pond bottom, read at the same time each day during calm, humid weather when evaporation is at its lowest. That gives you a rate in inches per day. It also tells you whether the loss changes at a particular water level, which is a strong clue to where the leak is.
The Usual Causes
Most leaking ponds trace back to one of a handful of conditions. The most common is a basin built over permeable sand, gravel, or fractured rock that was never adequately covered with fine-grained soil. A second is a dam or embankment that was never properly bonded to an impermeable foundation layer, so water travels along the contact rather than through the fill.
Older ponds add their own failure modes. Tree roots and muskrat burrows punch holes through the bank or dam. Steel outlet and drain pipes rust through below the water line and quietly drain the pond from the inside. A pond that dropped during a drought and left its banks exposed can crack and then leak when it refills.
Depth matters too. Deeper water puts more pressure on permeable layers, which is why a deep pond over marginal soil tends to leak more than a shallow one in the same spot.
Finding the Leak
Start at the outlet structure. A surprising number of "leaks" are a corroded drain pipe or a failed anti-seep collar, and that is a repair, not a liner job. Inspect the riser, the barrel, and the point where the pipe passes through the embankment.
Then walk the outside of the dam and the banks. Water leaving the pond usually shows up as a wet, soft area at the toe, often with cattails or other water-loving plants that appear nowhere else on the site. If the pond drops to a consistent level and then holds, the leak is at or near that waterline, somewhere around the perimeter.
Food-grade dye is the standard field test for a suspected area: sprinkle a small amount of inert dye near the wet spot on the inside bank and watch whether it appears on the outside. Use it sparingly and use only food-grade material. If nothing localizes the loss, the remaining option is to drain the pond and inspect the basin, which is also the only way to do most of the permanent repairs.
Test the Soil Before You Buy Anything
The right repair depends on what the pond bottom is made of, so the soil comes before the product. A laboratory gradation and permeability test is the definitive answer, and a geotechnical report will tell you what percentage of the material is clay, silt, sand, and gravel and how fast water moves through it when compacted.
In the field, a jar test gives you a rough picture: fill a clear jar about a third full of soil, top it off with water, shake it hard, and let it settle. Sand drops out in minutes, silt in hours, and clay stays cloudy for a day or more. A ribbon test on a moist sample tells you whether the fines are plastic enough to seal. Your local NRCS office or county extension agent can often help identify the material before you spend money on a lab.
This matters because the repairs are not interchangeable. Bentonite works best in coarse, low-clay material where there are pore spaces to fill. A clay blanket works when you can source real clay. A synthetic liner works almost anywhere but costs the most and needs protection. See how to identify soil types on a jobsite and what is a geotechnical report.
Option One: Compact What Is Already There
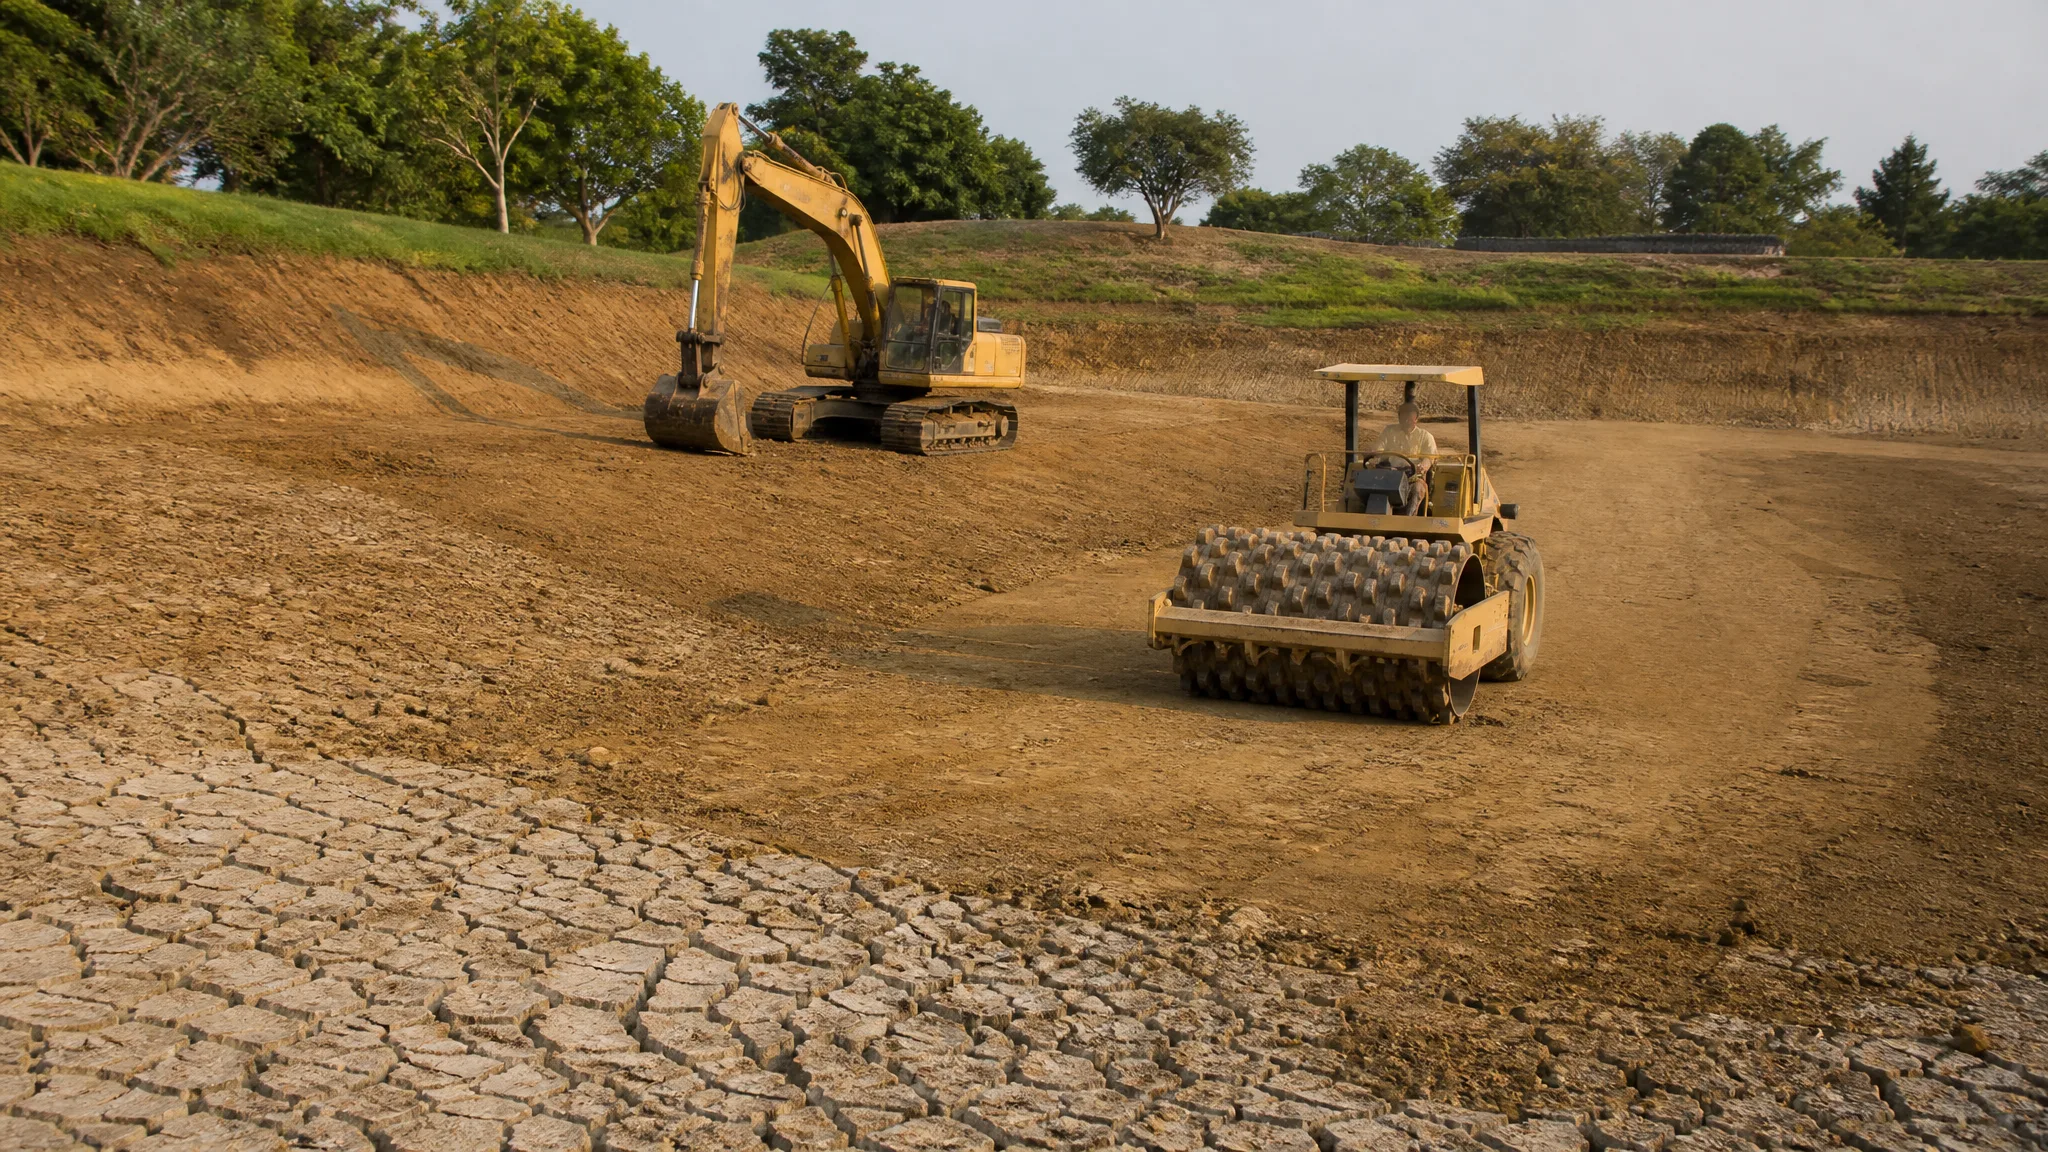
If the existing bottom material already contains a reasonable mix of coarse and fine particles, compaction alone can slow or stop the loss. Drain the pond, let the affected area dry, then scarify the soil 12 to 16 inches deep with a rototiller, disc, or pulverizer and compact it with a roller.
The critical variable is moisture. Soil compacts to its highest density near optimum moisture content, and clay compacted dry will not seal no matter how many passes you make. The finished compacted layer should be at least 6 inches thick in the shallow areas and around 12 inches thick where the water is 10 feet deep, because the deeper sections carry more pressure.
This is the cheapest real repair and often the first thing to try when the soil is marginal rather than bad. It is also the one most often done wrong, by working the surface without scarifying and without moisture control. See choosing the right compaction equipment and how soil compaction is tested.
Option Two: Haul In Clay
When the native material is too sandy or gravelly to seal, a compacted clay blanket is the classic fix. Extension guidance puts the clay content of the imported material at a minimum of roughly 10 to 20 percent, depending on the source, with the higher figure giving more margin. Spread it in lifts of at least 6 inches and preferably a foot, and compact each lift at optimum moisture.
Thickness scales with depth, for the same reason compaction does. Deeper sections, where water depth exceeds about 10 feet, should finish with at least 12 inches of compacted clay. The clay must not be allowed to dry out or freeze before the pond refills; either one cracks the seal, and a cracked blanket leaks as badly as the soil it replaced. Straw or mulch over the exposed clay will hold it until water covers it.
If the pond has a dam, the clay blanket should tie into the core trench and the embankment rather than stopping at the toe. A blanket that ends short of the dam just moves the leak path. See building a farm pond and soil swell and shrinkage factors for the volume change you will see on the haul.
Option Three: Bentonite
Bentonite is a highly expansive clay, and when it gets wet it swells many times its dry volume and plugs the pore spaces in coarse soil. Extension sources commonly call for 1 to 2 pounds per square foot of pond bottom, with more in areas deeper than about a foot, and some recommend up to 3 pounds per square foot in very permeable material.
It works best applied to a drained pond bottom, spread evenly and mixed into the top 3 to 6 inches with a disc or tiller, at moisture conditions suitable for compaction, then compacted. A thin blanket of bentonite covered with several inches of soil is another accepted method. Applying it to a full pond as a slurry or by broadcasting granules is possible but much less reliable, because the application is uneven and the material drifts before it settles.
Two limits are worth knowing before you buy a pallet. Bentonite shrinks and cracks as it dries, so a pond that is drawn down or fluctuates widely will open the seal back up; refill as soon as the work is done and protect the surface from drying. And bentonite will not swell properly in water carrying high levels of mineral salts or acids, which makes it a poor choice for some groundwater conditions. It also will not fix a hole in the dam, a failed outlet pipe, or a leak through bedrock.
Option Four: Synthetic Liners and GCLs
When the soil is simply wrong, or the budget allows a permanent answer, a manufactured liner is the most reliable option. Geomembranes, typically HDPE, PVC, or EPDM sheet, are installed over a prepared, smooth subgrade, seamed in the field, and anchored in a trench around the perimeter. Geosynthetic clay liners take a different approach: a layer of bentonite is bonded between two geotextiles, so the material self-seals if it is punctured, and it is installed in overlapping panels.
USDA NRCS recognizes both as conservation practices for ponds and waste impoundments where in-situ soils have excessive seepage rates, and its standard requires a soils investigation of the subgrade and a design that addresses anchoring, protection, and cover. The details that decide whether a liner survives are unglamorous: remove roots and sharp rock, compact the subgrade so it cannot settle and tear the sheet, protect the liner from UV and from equipment, and keep livestock off it.
Liner cost scales with area, and so does the cost of the protective cover and the anchoring detail, which is why liners are usually the last option for a farm pond and the first option for a small decorative or lined pond where the water level must be held. See geogrid and geotextiles explained for how the geosynthetic layers differ.
What Does Not Work, or Costs More Than It Is Worth
Salt was once used to disperse clay and plug pores, and it is no longer recommended because of the risk of contaminating groundwater. Polymer treatments can seal a pond without draining it, but they are expensive, they are toxic to fish, and their performance varies with soil and water chemistry. Letting livestock trample a dry basin sometimes seals small areas through a combination of hooves, manure, and organic matter, but it is not a plan you can schedule.
Adding makeup water from a well is a legitimate stopgap for a very small loss, but it is not a repair, it can stress the well during drought, and larger withdrawals can require a permit. The one thing that reliably does not work is dumping bags of bentonite into a full pond and hoping. Uneven application plus drift equals an unreliable seal, and the money is gone.
Sequence, Permits, and When to Start Over
Before draining anything, check whether the pond was permitted, especially if it sits behind a dam of any size. Repairs to a permitted impoundment can require review by the state dam safety program, and local rules on grading, erosion control, and disturbance near waterways may apply as well. A phone call before the drawdown is cheaper than a stop-work order after it. See excavation and grading permits.
The work itself follows a consistent order: drain and let the basin dry, remove vegetation, stumps, and rock, open the area to be treated, place and compact the repair material in lifts, protect it from drying or freezing, and refill slowly while watching for the old loss rate to return. Keep a haul road and a spoil area planned before the trucks arrive, and keep the sediment out of any ditch or waterway leaving the site.
Sometimes the honest answer is that the pond is in the wrong place. If the basin sits over a gravel seam with no practical source of clay nearby, patching it every few years will cost more than rebuilding it in better soil or lining it properly once. Compare the repair against the cost of a new pond before committing, and if the pond is old and silted, consider that dredging and sealing in the same project is usually cheaper than doing them separately. See how much does it cost to dig a pond, dredging a pond, building a construction haul road, and managing spoil piles on a construction site.