Concrete Pavement Construction

Concrete pavement is one of the few parts of a site that the contractor builds once and the owner lives with for decades. It is also one of the least forgiving. A slab that is placed a little too wet, sawed a few hours too late, or laid over a subgrade that drains unevenly will show the damage within a few seasons, and no amount of patching brings it back. The difference between a pavement that lasts thirty years and one that cracks in five usually comes down to decisions made before the first truck ever pours: how thick the slab is, how far apart the joints go, and how uniform the support underneath is.
This guide walks through how a jointed plain concrete pavement is actually built, from subgrade through curing, and points out the places where contractors most often lose the job.
Concrete Pavement Is a Slab System, Not a Surface
It helps to stop thinking of concrete pavement as a hard surface laid on dirt. It is a structural slab that carries loads by spreading them over the subgrade, and it does that work through geometry rather than through bending strength alone. A slab that is supported evenly can carry heavy truck traffic at a thickness that would fail quickly if it were bridging a soft spot.
That is why the ACPA's jointing guidance spends as much time on slab dimensions as it does on joint details. The slab, the joint pattern, and the foundation act as one system. Change one and the others have to change with it. The design side of that relationship is covered in subgrade, subbase, and base course, and the field side starts with the same principle.
Why Concrete Pavements Crack — and Why Joints Exist
Concrete cracks because it shrinks and because it moves. Some of that is drying shrinkage: more water goes into a mix than the cement needs to hydrate, the surplus bleeds out, and the concrete occupies slightly less volume than it did when it was placed. The rest is thermal. The heat of hydration peaks shortly after final set, then the slab cools overnight and contracts.
Subgrade friction resists that contraction and puts the slab in tension. Left alone, an unjointed pavement relieves that tension by cracking wherever it happens to be weakest, and the ACPA notes that those first cracks land anywhere from roughly 40 to 150 feet apart depending on the concrete, the friction, and the weather. Once the slab hardens, curling and warping from temperature and moisture gradients add more stress, and traffic adds more still.
Joints do not prevent cracking. They give the crack a place to happen — a straight, sealed, load-transferring line instead of a wandering one. That is the whole purpose, and it is why joint layout is a design decision rather than a finishing detail.
Thickness and Joint Spacing: The Pair That Has to Match
Street and parking-lot pavements typically run from 5 to 8 inches thick. The joint spacing has to scale with that thickness, because a panel that is too long for its depth will crack somewhere in the middle no matter how well the joint is sawed.
The ACPA guidance for jointed plain concrete streets is a spacing of 24 to 30 times the slab thickness, capped at 15 feet. In practice that produces a table like this:
- 5-inch slab: 10 to 12.5 feet
- 6-inch slab: 12 to 15 feet
- 7-inch slab: 14 to 15 feet
- 8-inch slab or thicker: 15 feet
Two more constraints matter. Panels should stay as square as possible, and transverse spacing should not exceed 125 to 150 percent of the longitudinal joint spacing. When a transverse joint would land within about 5 feet of a catch basin, manhole, or other structure, the panels on either side are shortened or skewed so the joint meets the structure cleanly. That joint also has to be carried through the adjacent curb and gutter — skip it, and the curb cracks at every pavement joint as the slab moves.
Subgrade and Subbase: Uniform Support Beats Raw Strength
The single most useful sentence in the ACPA's subgrade guidance is that low-strength soils where construction produced reasonably uniform support perform better than stronger soils that lack uniformity. Strength matters, but uniformity decides performance.
In the field that means a few specific things. Unsuitable material comes out rather than getting buried. The subgrade gets scarified, moisture-conditioned, and compacted to the density the specification requires, tested by the method the specification names — see how soil compaction is tested for why the test method has to match the material. Utilities crossing the slab get properly backfilled, because a trench that settles under a pavement turns into a longitudinal crack. And a proof roll with a loaded truck before any base goes down is worth more than an argument later; the procedure is in proof rolling a construction site.
Expansive soils deserve their own conversation. A clay that swells and shrinks with moisture change can be compacted perfectly and still heave a slab out of profile, so the ACPA guidance treats volume change as a separate evaluation from bearing capacity. Where expansive soil is present, the fix is selective grading, moisture control, or chemical modification rather than more compaction. The pattern is the same one described in expansive clay soil and foundations.
Dowel Bars, Tie Bars, and Load Transfer
Load has to cross each joint without the slabs deflecting past each other. Two mechanisms do that work. Aggregate interlock relies on the rough faces below the saw cut bearing against each other, and the ACPA cites Minnesota DOT research finding it acceptable where truck volumes stay under roughly 80 to 120 trucks per day per lane. Dowel bars are smooth steel bars that transfer load directly and keep the slabs aligned.
Dowels become the better answer as slabs get longer or traffic gets heavier — the ACPA points to slabs over 20 feet, truck volumes above that 80-to-120 range, or accumulated traffic beyond four to five million ESALs. Typical sizes from the ACPA tables run from 3/4-inch dowels on a 6-inch slab with 5 inches of embedment each side, up to 1-1/4-inch dowels on an 8-inch slab with 8 inches of embedment, all spaced at 12 inches on center.
Tie bars are a different animal: deformed bars that hold longitudinal joints closed so the slabs keep bearing against each other. On street pavements the standard detail is a No. 4 bar at 30 inches on center at mid-depth, kept at least 15 inches away from transverse joints so it does not fight the joint movement, and never greased or coated — the bond is the point.
Construction, Contraction, and Isolation Joints
Contraction joints are the sawed or formed grooves at the planned spacing. The initial saw cut has to be at least one-quarter of the slab thickness and no narrower than 1/8 inch, and on a stabilized subbase the cut deepens to one-third of the thickness. Where dowels are used, the cut has to be centered over them.
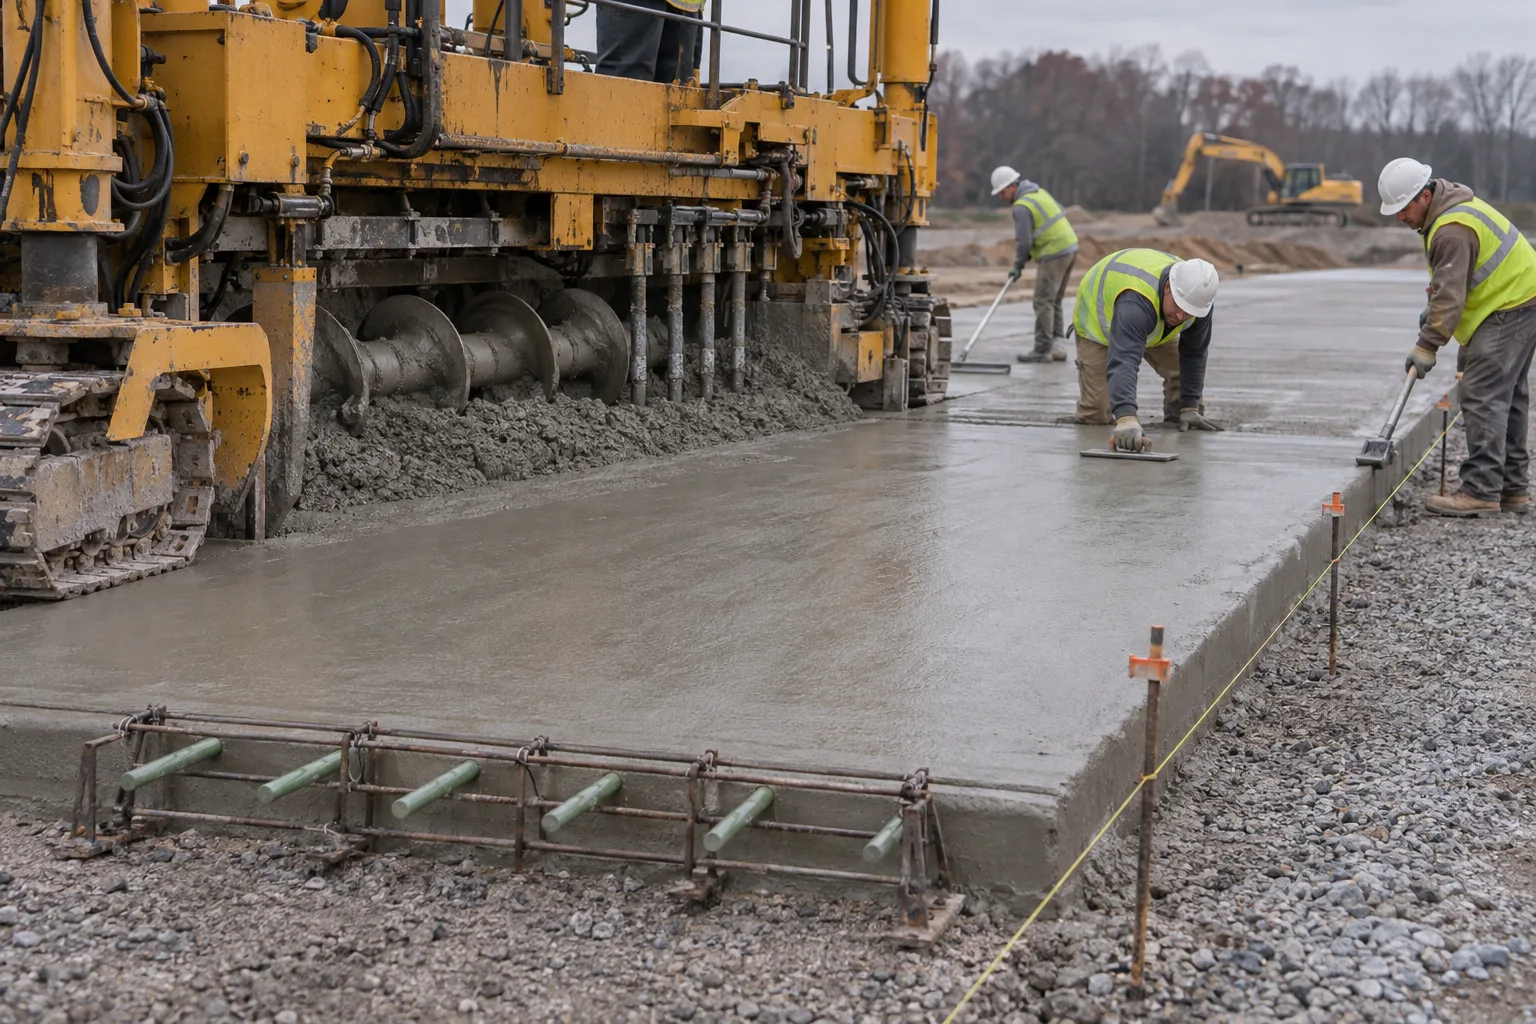
Construction joints happen at the end of a day's pour or at any unplanned stop. A planned joint at the normal spacing is a butt joint with dowels, since there is no aggregate interlock to help. An emergency stop in the middle of a panel is usually built as a keyed joint with tie bars. Either way, the header board and the dowels set through it determine how that joint performs for the next twenty years, so the consolidation around the dowels deserves hand-vibrator attention rather than a wave of the screed.
Isolation joints separate the pavement from structures — bridge abutments, inlets, manholes, footings, and old-to-new pavement transitions. Where they carry traffic, they get dowels with closed-end expansion caps long enough to cover 2 inches of the bar, and the capped end is coated so it can slide.
Saw-Cut Timing: The Window Nobody Gets Twice
Sawing too early ravels the joint edges. Sawing too late means the slab has already relieved its own stress somewhere else, and the crack shows up mid-panel. The ACPA puts the practical window at roughly 4 to 24 hours after placement, and within that window weather drives everything: temperature, temperature swing, wind, humidity, and direct sun all move the moment.
This is a schedule decision disguised as a finishing task. On a hot, windy day with a falling evening temperature, the window may be a couple of hours wide and it may open at 10 p.m. Somebody has to be on site with a saw and a light. Longitudinal joints are less time-critical — the transverse shrinkage movement is smaller — but they should still be completed within about 48 hours and before heavy equipment runs on the slab.
Placing, Consolidating, and Finishing
Slipform pavers place, consolidate, and shape the slab in one pass off a stringline; fixed-form paving uses side forms and a screed. The choice is mostly a function of width, volume, and access, not quality — a well-run fixed-form crew produces a better slab than a sloppy slipform operation.
What matters in both cases is steady supply. A paver that stops and starts produces uneven consolidation and a surface that is hard to finish consistently. On-site logistics — truck spacing, turning room, a haul road that does not track mud onto the grade — are covered in building a construction haul road. Dust is a related nuisance: airborne grit settles on fresh concrete and on curing membranes, and the controls are the same ones described in dust control on a construction site.
Grade control before the pour matters as much as the pour itself. A slab placed to a stringline that is 3/4 inch off produces the thickness and drainage problems that surface months later. The surveying basics are in how to set grade, and the difference between coarse shaping and final trim is covered in rough grading vs. finish grading.
Curing: The Seven Days That Set the Service Life
Curing is where paving budgets quietly get spent twice. Concrete that dries out before it has gained strength ends up with a weak, dusty, poorly durable surface layer, and no surface treatment fixes that.
The ACI baseline is concrete kept moist and above roughly 50 degrees Fahrenheit for at least seven days, or three days for high-early-strength mixes. Membrane-forming curing compounds are the common field method, applied after the water sheen disappears and finishing is complete. ACI 301 caps the application rate at about 5 square meters per liter, and rough surfaces get two coats applied at right angles. Two practical warnings come with that: curing compound is a bond breaker, which matters if the owner plans an overlay or a topping later, and applying it before bleeding has stopped traps water and cracks the membrane.
Evaporation is the enemy that decides whether the compound can keep up. ACI 308's guidance flags an evaporation rate at or above 1.0 kg per square meter per hour as requiring active measures to prevent moisture loss, with rates above 0.5 kg per square meter per hour potentially needing them as well. Wind and low humidity push that number up fast, which is why fogging and windbreaks show up on paving specs that would otherwise look simple.
What Goes Wrong on Concrete Paving Jobs
The same failures recur. Random transverse cracks appear when joints are sawed late or spaced too far apart for the slab thickness. Joint spalling shows up when the saw cut is too shallow or the joint is sawed while the concrete is still green. Faulting and pumping at joints point to a foundation problem — a subbase that erodes or drains poorly under repeated loading. Longitudinal cracks at the centerline usually mean the longitudinal joint was missing, too shallow, or the slab was paved too wide without one. Corner breaks typically trace back to poor load transfer or a slab that is too thin for the traffic.
Surface scaling and dusting come from curing failures or from finishing while bleed water is still on the surface. And a pavement that holds water in the wrong places is usually a grading problem, not a concrete problem: the profile, the cross slope, and the drainage structures were set before the first truck arrived. The inlet side of that equation is covered in installing a catch basin.
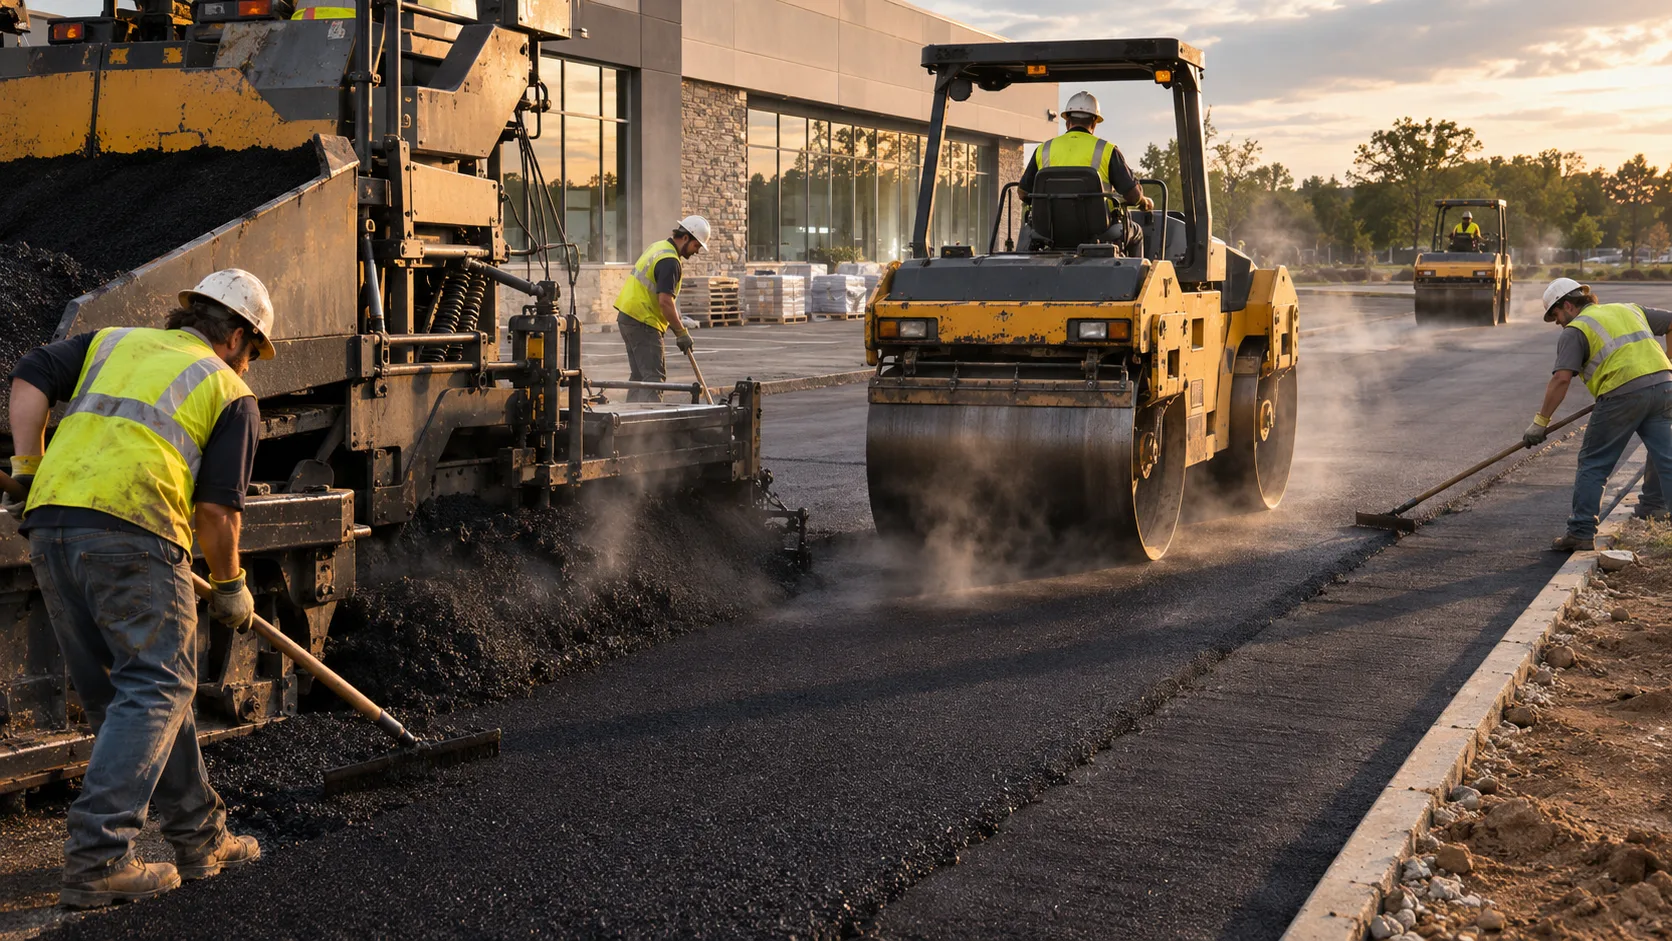
It is also worth comparing the alternatives honestly. Asphalt fails differently, is maintained differently, and is compacted rather than cured — see compacting asphalt pavement for that side of the decision. A pavement base built on recycled concrete has its own considerations, covered in is crushed concrete a good driveway base.
Pre-Pour Checklist
- Confirm slab thickness and joint layout against the approved plan, including panels adjusted around structures.
- Verify subgrade moisture, density, and uniformity with tests run by the specified method.
- Proof roll the prepared grade and repair soft spots before base placement.
- Confirm subbase thickness, gradation, and compaction, and check that it drains.
- Set and check stringline or forms for grade, cross slope, and alignment.
- Verify dowel size, spacing, alignment, and embedment, and confirm saw cuts will center over them.
- Confirm tie bar size, spacing, depth, and clearance from transverse joints.
- Have the saw on site, fueled, and staffed before the pour starts, with a named person responsible for timing.
- Stage curing compound, sprayer, and fogging equipment, and check the evaporation forecast.
- Verify the joint sealant plan and the cure time before sealing begins.
None of that is exotic. It is the ordinary discipline that separates a pavement that quietly does its job for thirty years from one that becomes a maintenance line item before the warranty is up.