Removing Asphalt Pavement

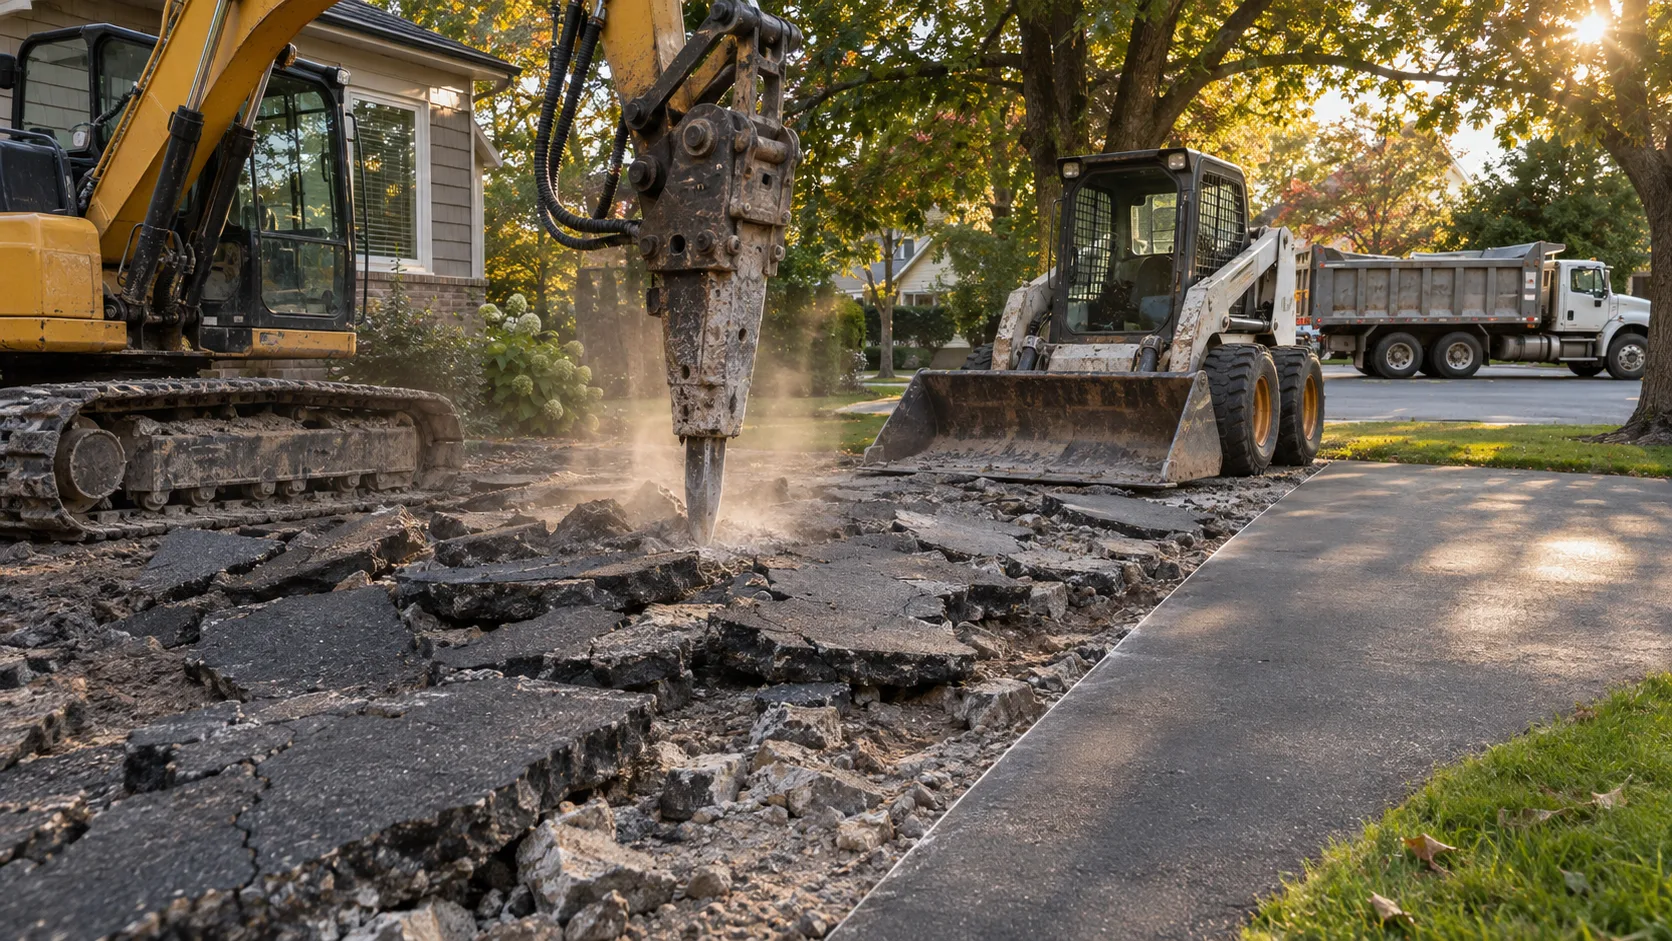
Asphalt removal looks like the simplest part of a paving job: break it up, load it, haul it, and get on with the new surface. In practice, the decision that shapes the entire project is how much of the pavement comes out. Take too little and the new asphalt inherits the old failure. Take too much and you pay to haul material that was still doing its job.
There are two main ways to remove asphalt, plus a third that sits between them. Each leaves a different base, a different grade, and a different pile of material to dispose of or sell.
Milling and Full-Depth Removal Are Different Jobs
Milling, also called cold planing or profiling, uses a machine with a rotating drum and carbide-tipped teeth to remove a controlled depth of the asphalt surface. FHWA's materials guidance describes a milling machine removing up to about two inches in a single pass. The pavement that remains keeps its line and grade, the operation leaves a uniform textured surface for the new layer to bond to, and the material comes off in a form recyclers want.
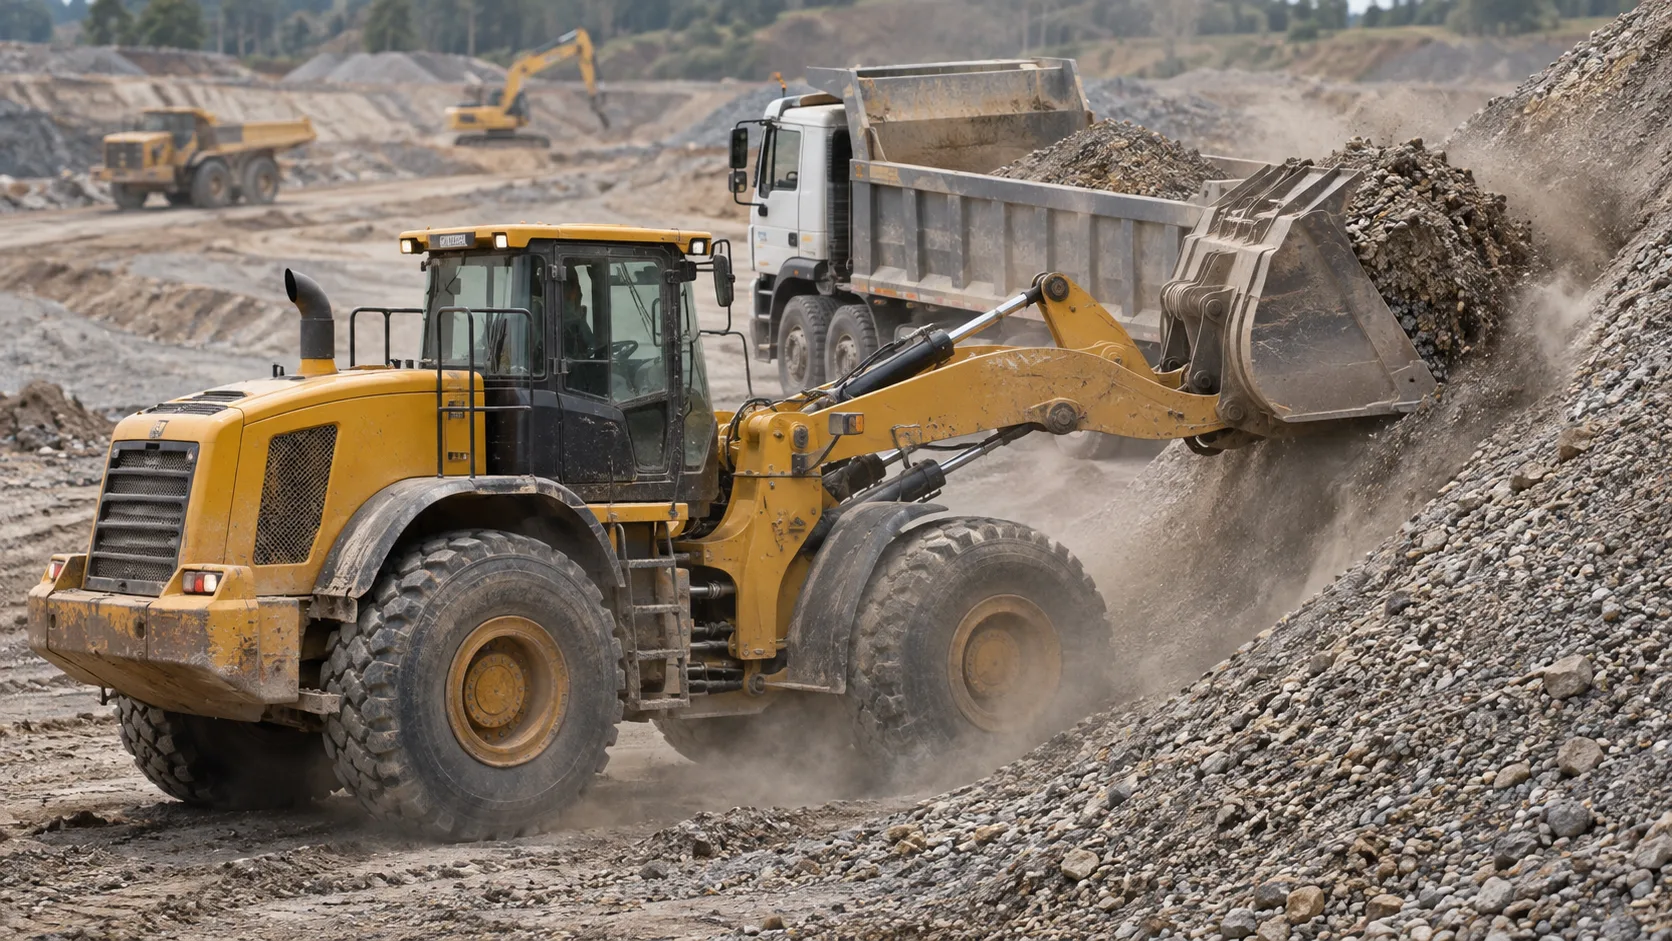
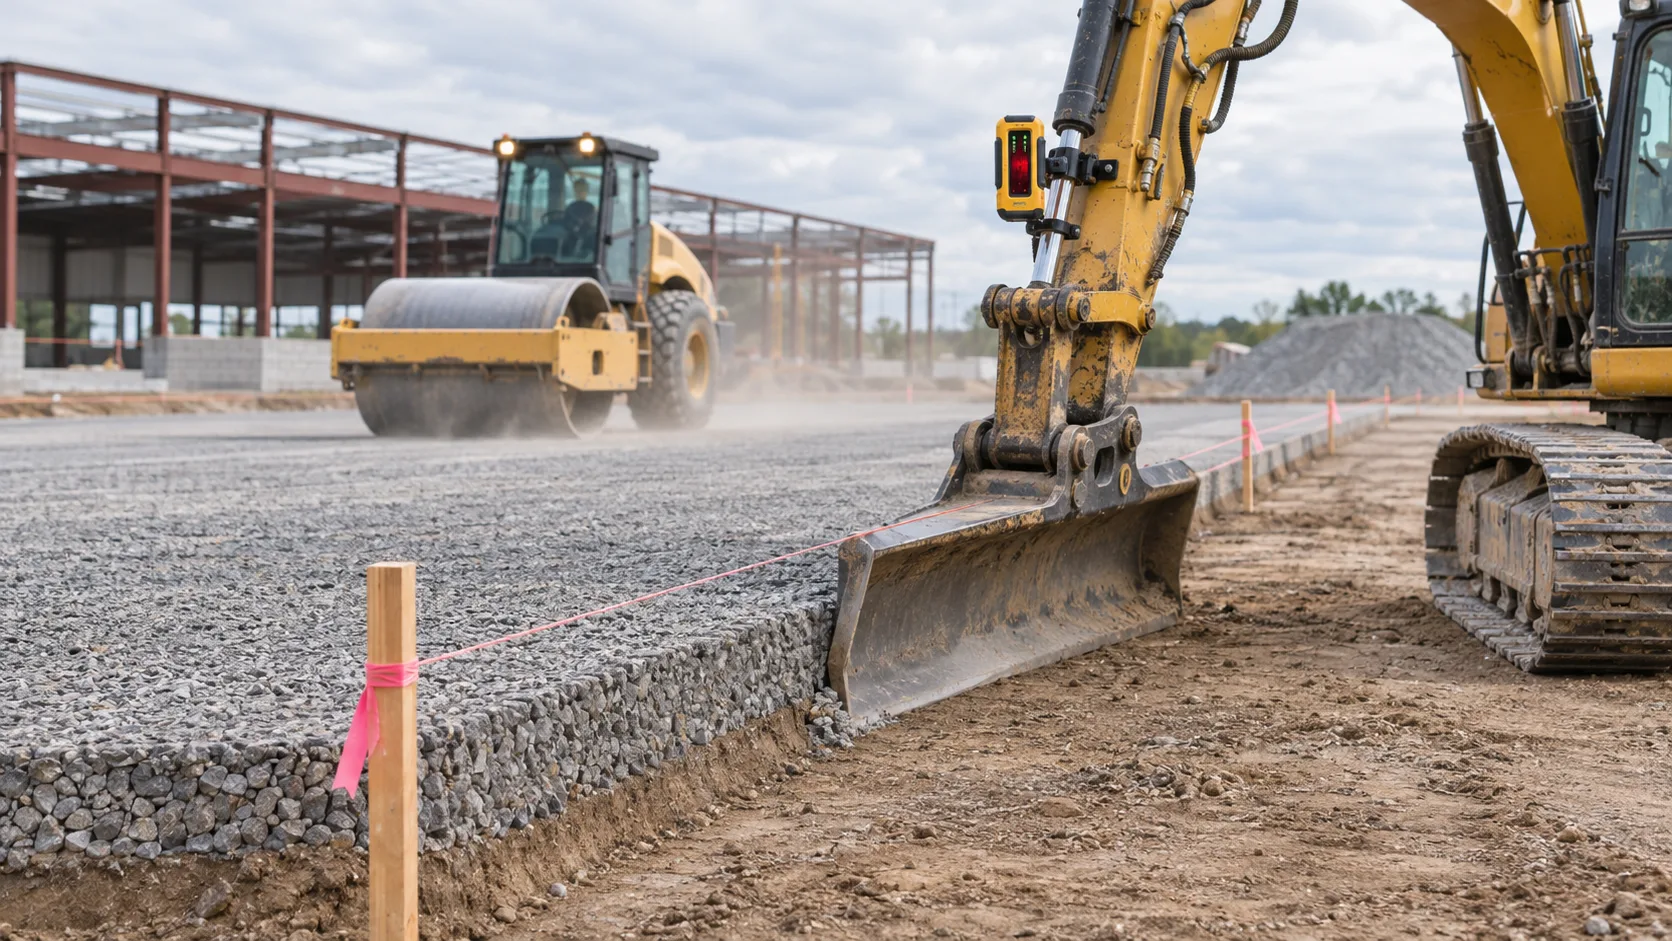
Full-depth removal is the heavier option. The pavement is ripped and broken — FHWA describes a rhino horn on a dozer and pneumatic pavement breakers — and the broken material is picked up by a loader and hauled away. That is the right approach when the base or subgrade has failed, when grade has to change, when utilities under the pavement need replacing, when the pavement is being widened, or when the asphalt is too thin and too broken to mill cleanly.
The third option is full-depth reclamation, where asphalt and some underlying base are pulverized in place and recompacted as new base. FHWA describes in-place processing equipment breaking asphalt to roughly four inches and mixing it with the granular material below to a total depth of about eight inches. Depth has to be watched: cut too deep and you pull subgrade into the mix; cut too shallow and the blend is too rich in asphalt.
Measure Before You Bid or Cut
Nobody can price or sequence removal from a photograph. Cut a test pit or pull a core and measure the actual section: asphalt thickness, base thickness, base material, and what the subgrade looks like underneath. A residential driveway carrying two to three inches of compacted asphalt over four to eight inches of aggregate is a very different job from a commercial lot with twice that section, and the difference shows up in truck count, disposal cost, and base repair.
While the pit is open, look for what changes the plan: a saturated base, old gravel mixed with dirt, fabric or geogrid between layers, a settled utility trench, or asphalt patched over a previous failure. Those are the places new pavement will crack first if they are simply covered back up.
Saw-Cut the Edges First
A saw cut gives the removal a vertical face instead of a ragged, feathered edge. That matters twice: it protects adjacent pavement from breaking back under the machine, and it gives the new asphalt a clean joint to butt against. Cut through the full depth of the asphalt, not into the base, and keep the line straight and the corners square — a wandering joint is visible for the life of the pavement.
Cut around inlets, valve boxes, manholes, and anything else that has to survive the removal. Saw cutting produces a slurry of water and fines, and that slurry cannot go into a storm inlet or a ditch; contain it and dispose of it properly. On a street or shared drive, the work zone is usually the only way in and out, so the removal also needs traffic control.
The Removal Sequence
- Call 811 and locate private utilities, then mark the removal limits in paint.
- Saw-cut the perimeter and any internal boundaries, including around structures.
- Mill the surface or break the pavement to the required depth.
- Load the material, keeping asphalt separate from base and dirt.
- Sweep the exposed base clean.
- Proof-roll the base and mark soft spots.
- Repair failed base and subgrade areas.
- Re-shape, recompact, and verify grade before the new surface goes down.
The order matters more than it looks. Loading asphalt and base into the same pile turns a saleable recycled product into a disposal problem, and skipping the proof roll means the soft spot is discovered by the new pavement instead of by the crew. Concrete pavement is a separate job with a different failure mode and different handling, covered in how to remove a concrete slab.
Breaking, Milling, and Loading
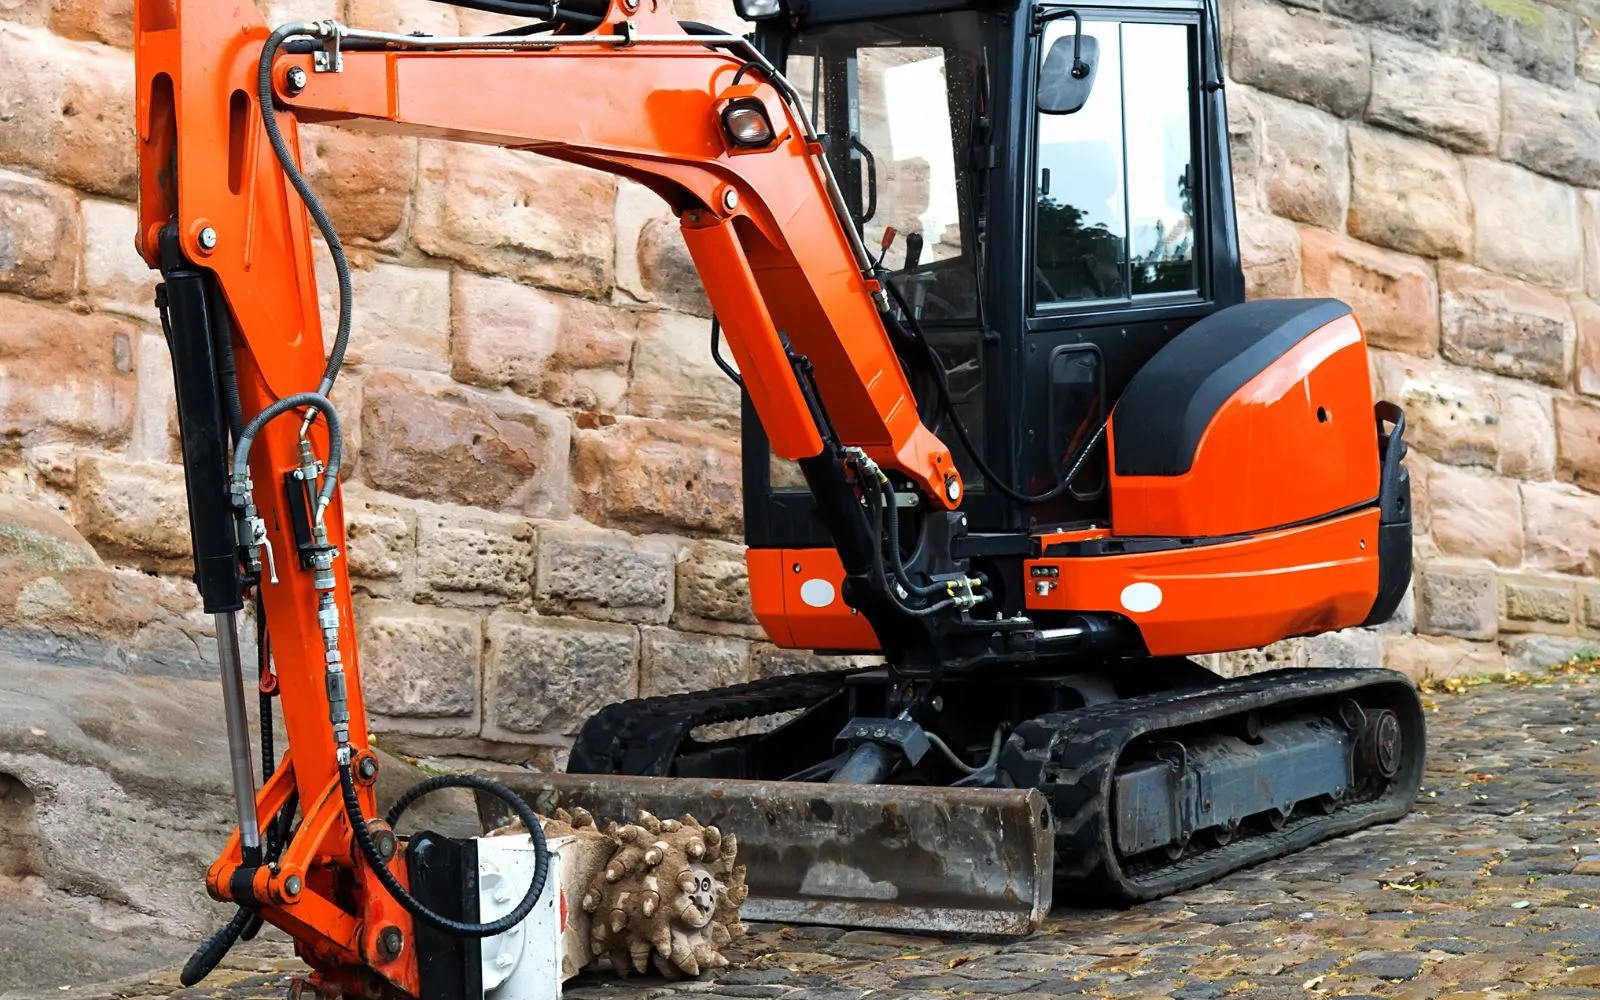
A cold planer is the cleanest tool for large areas and for any job where grade control matters, because drum depth is set and the material is conveyed directly into a truck. On a driveway or small lot, a skid steer with a breaker or planer attachment does the same work at a smaller scale.
An excavator with a hydraulic breaker is fast on thick pavement, but on thin asphalt the breaker punches through and starts pulling base material, which contaminates the load and leaves a hole to repair. A wide bucket or grapple is usually better for picking up broken slabs than a narrow digging bucket.
Loading discipline is where money leaks. Keep the asphalt pile clean, do not run over the stockpile, and load the truck to a legal weight rather than to the top of the sides. The legal weight limits for hauling dirt apply to demolition hauling just the same, and overloading costs more in tickets and suspension damage than it saves in trips.
The Base Is the Real Story
Asphalt fails from the bottom up. Rutting, alligator cracking, and pumping at the joints are usually symptoms of a base or subgrade that cannot carry the load or cannot drain, not a problem with the black surface on top. If the base is wet, contaminated with clay, or too thin, new asphalt placed over it will reproduce the old failure within a few seasons.
That is why the proof roll and base inspection are the most valuable hour of the job. A loaded truck rolling slowly across the exposed base reveals soft spots that a visual inspection misses, which is exactly what proof rolling a construction site is for. Where the base is marginal, remove it and replace it with spec aggregate and compact it in lifts; the layer-by-layer logic is set out in subgrade, subbase, and base course. Where the base is sound, leave it alone and spend the money on thickness where it counts.
What Happens to the Old Asphalt
Asphalt is one of the most recycled materials in construction. FHWA's guidance estimates that 80 to 85 percent of excess asphalt concrete is reused, either in recycled hot mix, cold mix, or as aggregate in granular or stabilized base. Milled material commands more value than broken material because it is more uniform, which is another reason to keep the load clean.
Recycled asphalt pavement can be used as a granular base, but not by dumping broken chunks and rolling them. FHWA notes that RAP used in base applications generally has to be crushed, screened, and blended with conventional aggregate, and that bearing capacity drops as the RAP percentage rises — the California Bearing Ratio falls below conventional base performance once RAP exceeds roughly 20 to 25 percent of the blend. Blends up to about 30 percent are common. RAP also compacts differently: FHWA reports that compaction improves with little or no water, and nuclear gauges tend to overestimate moisture in RAP.
If the pavement has a coal-tar sealcoat, ask the receiving facility whether it accepts the material and whether testing is required before it is recycled or landfilled. Coal-tar-based sealcoat is a well-documented source of polycyclic aromatic hydrocarbons, and disposal requirements are not uniform. Sorting and documentation are the same disciplines that keep any demolition job out of trouble, and demolition debris disposal covers the weight, sorting, and roll-off side of the haul.
Dust, Noise, and the Neighbors
Breaking and milling generate dust, and saw cutting generates a wet slurry that can stain driveways, siding, and pavement. Water the work area when conditions are dry, keep slurry out of storm inlets, and give the crew the right respiratory protection for the material being cut — the practices covered in dust control on a construction site. Concrete base and concrete aprons bring silica into the picture even when the surface is asphalt.
Noise is the other constraint. A breaker on a residential street is loud enough to generate complaints, and many jurisdictions limit the hours when it can run. Planning the noisiest work for midday, and telling neighbors in advance, is cheaper than a stop-work order.
Prepping for New Pavement or Gravel
Once the old surface is gone, the exposed base needs to be shaped to the new drainage pattern, compacted, and protected from traffic and rain. If the new pavement is asphalt, the paving contractor will want a clean, dry, tightly graded surface, plus a prime or tack coat depending on the base type. Paving over a wet base traps moisture and guarantees a future failure.
If the plan is gravel instead of asphalt, the same rules apply with different materials: a compacted base, correct stone sizes, a crowned or sloped surface, and a geotextile only where the subgrade needs separation. The sequence is laid out in building a gravel driveway, and gravel and stone sizes explained covers which material goes in which layer. Removed asphalt can sometimes be reused on site as base or fill, but only if it is processed and blended rather than left in lumps.
What Drives the Cost
The big variables are square footage, pavement thickness, base condition, haul distance, and access. A driveway a machine can reach directly is cheaper than a backyard slab carried out by hand. Disposal cost depends on whether a recycler will take the material and whether it is clean, and base repair — or compaction that fails a test — can quietly double a job that looked straightforward from the surface.
Ask for the removal scope in writing: depth, whether base repair is included, where the material goes, and who pays the tipping fee. The cheapest removal bid is often the one that leaves the worst base behind.
Common Mistakes
- Removing only the visible damage. The crack pattern returns because the base was never fixed.
- Cutting too shallow. A partial-depth cut leaves a lip that breaks away at the joint.
- Mixing base into the RAP. The load loses value and the base loses thickness.
- Skipping the proof roll. Soft spots get paved over and fail within a year.
- No dust or slurry control. Fines reach storm inlets and neighboring property.
- Overloading trucks. Legal weight limits apply to demolition hauling just as they do to dirt.
- Leaving the base exposed to rain. A weekend storm turns a prepared base into a mud hole.
Removal Checklist
- Utilities located and marked, including private lines.
- Test pit or core measured and photographed.
- Removal limits saw-cut and marked.
- Dust and slurry controls in place.
- Removal depth matched to the pavement design.
- Asphalt kept separate from base and debris.
- Base swept, proof-rolled, and inspected.
- Soft spots repaired and recompacted in lifts.
- Grade and drainage re-established.
- Haul tickets and disposal receipts kept for the file.
The surface is the part everybody sees, but removal is where the next ten years of performance get decided. Measure the section, cut clean edges, keep the materials separate, and do not cover a base you would not build new pavement on.