Erosion Control Blankets

An erosion control blanket is one of the cheapest things on a site and one of the easiest to install wrong. The roll goes down over bare, seeded soil, gets stapled and trenched, and then has to survive the first real storm without water getting underneath it. Most failures are not material failures at all. They are anchorage failures, overlap failures, and blankets chosen for a slope or a channel they were never rated for.
This guide covers what the product actually does, how the class system works, and the installation details that decide whether a blanket holds or peels off the first time runoff concentrates.
What a Blanket Actually Does
The purpose of a rolled erosion control product is narrower than most people assume. It protects the soil surface from raindrop impact and overland flow while vegetation establishes, and it reduces soil moisture loss from evaporation. State practice standards describe exactly that function: temporary cover, not permanent structural protection.
Practically, that means four things happen at once. Raindrop energy is absorbed instead of detaching soil particles. Overland flow is spread out and slowed so it cannot concentrate into rills. The mat holds seed and fertilizer in place. And the mat moderates temperature and moisture at the seedbed, which is why germination is usually faster and more uniform under a blanket than under bare straw mulch.
The limit matters just as much. Temporary blankets degrade on purpose. Once the fibers and netting rot away, the site is protected only by whatever vegetation grew, so the class has to be matched to how long the vegetation will realistically take. A product that disappears in three months on a site that will not green up until the following spring is a scheduling error, not a material defect.
Blanket, Mulch, or Turf Reinforcement Mat
Three product families get used for three different jobs, and the names get mixed up constantly. Hydraulic mulch and straw mulch are surface treatments applied over seed. Erosion control blankets are manufactured mats of straw, wood, coconut, jute, or a blend, bound by netting or adhesive. Turf reinforcement mats are permanent, non-degradable three-dimensional mats that reinforce the root system for the long term. Illinois practice standards draw a usable default line: blankets on slopes of 1.5:1 or flatter, and swales, channels, and steeper slopes to turf reinforcement mats, with the tested performance data governing where the two disagree.
It also explains a common site argument. If the location is a drainage swale carrying concentrated flow, a biodegradable blanket is usually the wrong tool no matter how it is stapled. The channel needs a mat with a permissible shear stress rating that exceeds the calculated shear, or it needs a hard armor alternative like riprap.
The Class System, in Plain Terms
Most public specifications do not describe blankets by brand. They describe them by class, using the Erosion Control Technology Council classification that state manuals adopt. The class fixes two things: the steepest slope the product is rated for and the shear stress it can sustain in a channel.
The temporary classes run from 1.A through 4. Class 1.A and 2.A are mulch control nettings, Class 1.B and 2.B are netless blankets, 1.C and 2.C are single-net, 1.D and 2.D are double-net, 3.B is extended-term, and Class 4 is long-term. Durability typically runs three months for Class 1, twelve months for Class 2, twenty-four months for Class 3, and thirty-six months for Class 4.
The slope and shear values climb with the class. A Class 1.A product is rated to about 5:1 with 0.25 pounds per square foot of permissible shear. Class 1.C moves to 3:1 and 1.5 psf. Class 2.D reaches 2:1 and 1.75 psf. Class 3.B reaches 1.5:1 and 2.0 psf, and Class 4 reaches 1:1 and 2.25 psf.
The permanent turf reinforcement mats sit in Classes 5.A, 5.B, and 5.C. Those are rated to a half-to-one slope with permissible shear stresses of 6, 8, and 10 psf respectively, minimum tensile strengths of 125, 150, and 175 pounds per foot, and 80 percent tensile retention after 500 hours of UV exposure. Some agencies also require substantially higher tensile strength, on the order of 3,000 pounds per foot, where loading and survivability demands are severe.
Read the Numbers, Not the Label
Every class number traces back to large-scale testing. Tensile strength comes from ASTM D4595. Permissible shear stress comes from ASTM D6460 channel testing. The C-factor, which expresses soil loss from a protected plot as a ratio of soil loss from an unprotected control plot, comes from ASTM D6459 slope testing. UV stability is ASTM D4355, and mat thickness is ASTM D6525.
That matters on a real job because two products can look identical and perform nothing alike, and the same is true across the wider erosion and sediment control plan, where silt fence and seeding and stabilization are often specified alongside a blanket on the same slope. A straw blanket with a light photodegradable net and a heavy double-net blanket have the same approximate appearance on the pallet and wildly different shear ratings. The only defensible way to select one is to compare the tested properties against the slope gradient and the calculated shear stress at the location.
For a slope, the design inputs are gradient, slope length, soil type, and how long the cover has to last. For a channel, they are flow depth, velocity, and the resulting shear stress. If nobody has calculated the shear, the safe assumption is that the location is more severe than it looks, especially at the outlet end of a swale or anywhere flow converges.
Site Prep Before the Roll Comes Off the Truck
Blankets cannot fix a bad seedbed. The area is graded to a smooth, uniform surface first, free of debris and ruts. Topsoil is added and incorporated where the plan calls for it, then the seedbed is firmed but left friable.
Rocks and soil clods are the detail that gets skipped, and the same discipline shows up in topsoil stripping and stockpiling where the finish surface is set up for whatever comes next. Illinois standards require removing clods and rocks of 1.5 inches or larger before installation, and they are explicit that the blanket must never bridge over surface irregularities. A blanket spanning a clod has a void under it, and a void is where flow starts.
Seed and fertilizer go down before the blanket, never after. The mat is installed immediately after seedbed preparation, and the surface is raked or tracked so the mat can make full contact with soil across its whole area. Contact is the entire mechanism: a blanket that is stretched tight and tented above the soil does nothing except catch wind.
Anchor the Top, or Lose the Whole Roll
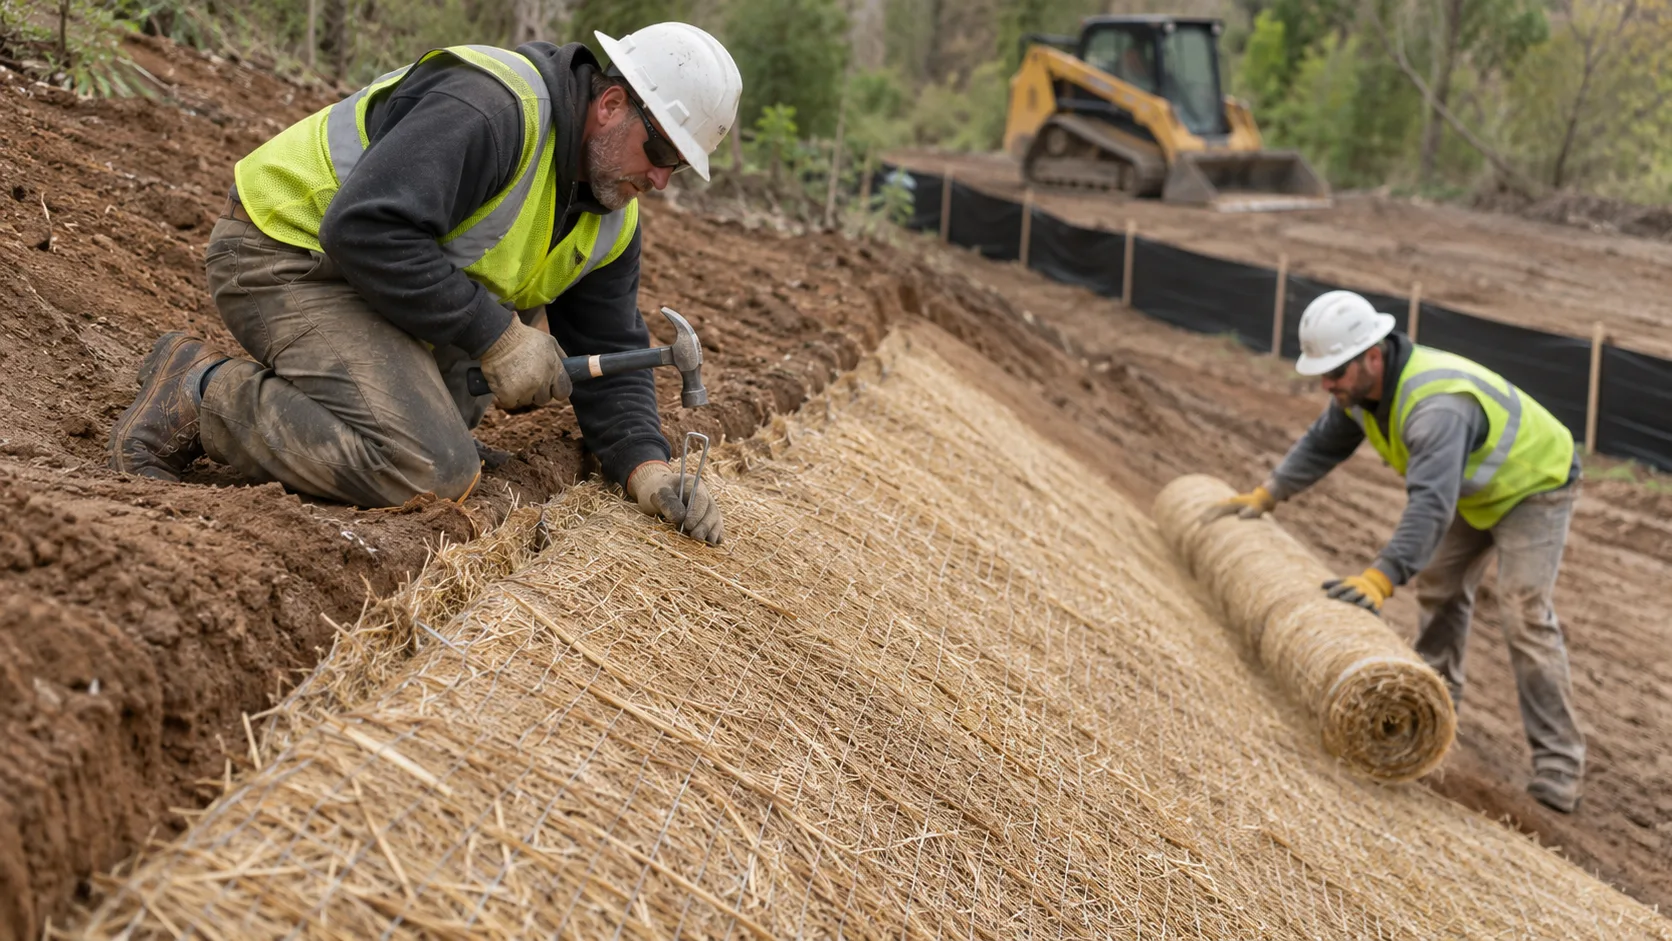
The top of the slope is where every installation either holds or fails. The upstream end of each strip is buried in an anchor trench, typically six inches wide and six inches deep, running across the slope. The mat goes into the trench, the trench is backfilled with compacted soil, and a row of staples finishes the anchor.
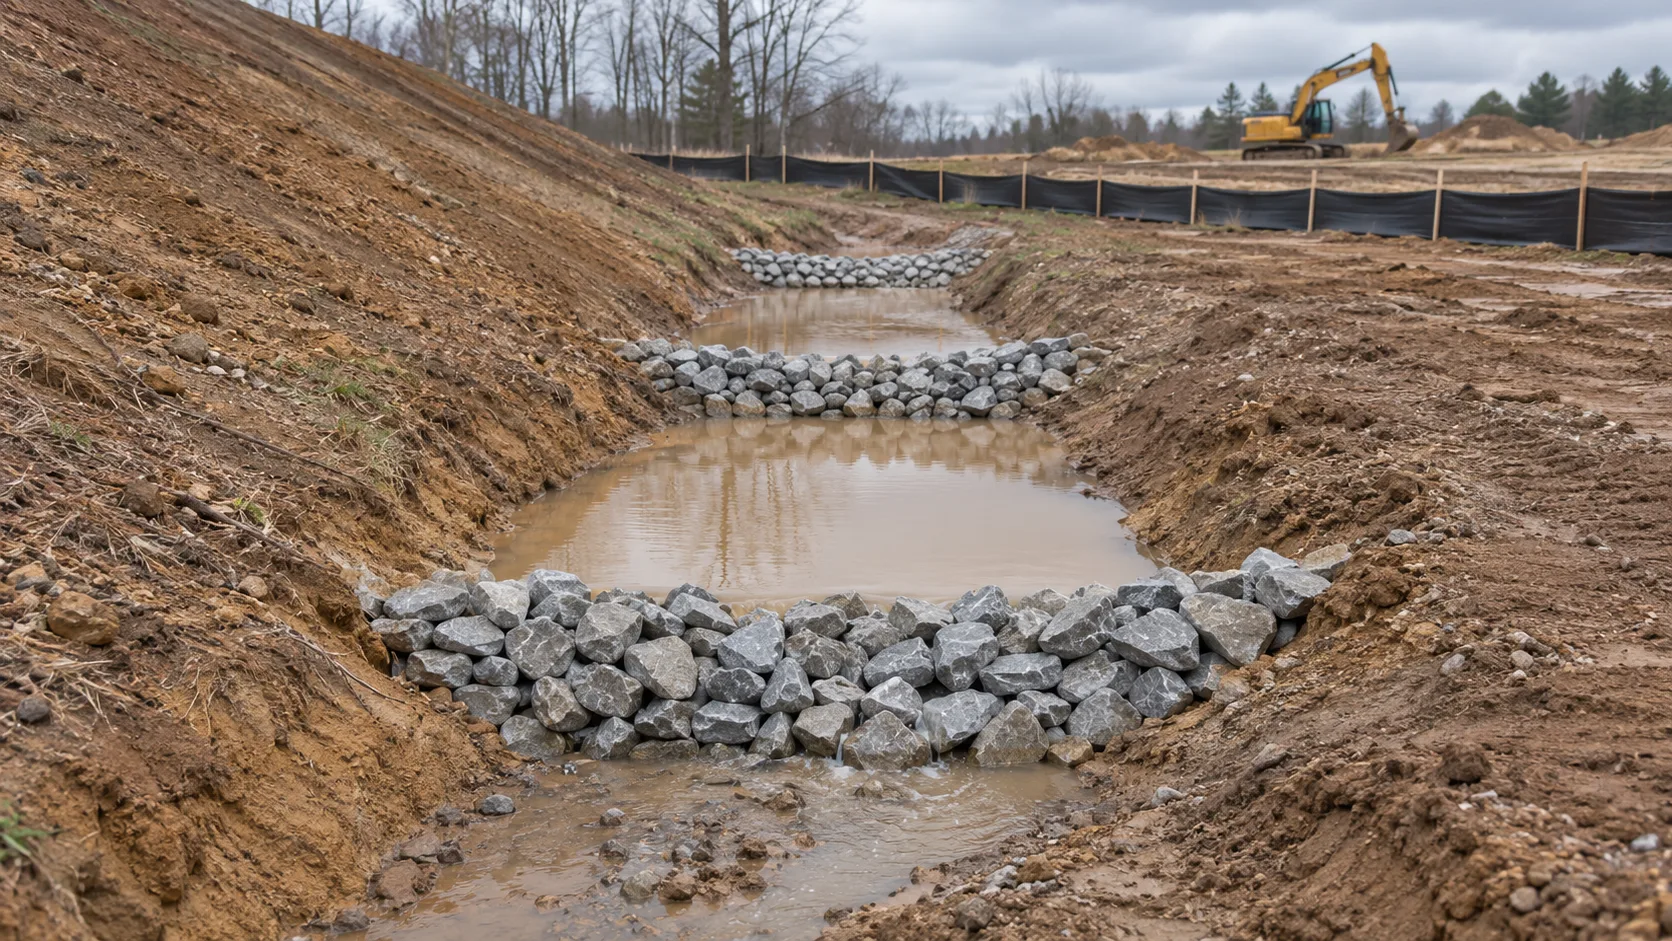
On longer slopes, the anchor detail repeats down the face, much like the spacing logic behind check dams, where the interval is what keeps water from concentrating between structures. Check slots, also called junction slots, are made by burying a tight fold of the mat vertically in the soil at least six inches deep, then tamping and stapling the fold. Mississippi standards call for a check slot at least 24 inches wide, placed so that a check slot, junction slot, or anchor slot occurs every 50 feet of slope. Illinois standards use the same 50-foot interval.
Every edge exposed to concentrated flow should be buried the same way, and transitions need the same care: where a blanket ends and riprap begins, the termination is buried and the receiving practice is armored, never butted against bare soil.
Direction, Overlap, and Shingling
Roll direction depends on the location. In channels, swales, and low-flow conveyances, strips are laid parallel to the direction of flow so water runs along the mat rather than across its seams. Illinois standards describe rolling upstream to downstream for slopes and low-flow channels. Some state manuals instead require strips perpendicular to flow on steep cut and fill slopes to break up rill paths, so the project specification wins where the two differ.
Overlap values vary by authority and all of them are minimums. Mississippi requires at least three inches between adjacent strips and six inches at strip ends, with the upgrade section always on top. Illinois requires four inches side to side and four inches at ends, shingled over the downstream piece. Federal Lands Highway standard drawings show a six-inch minimum end overlap with four-inch edge overlap. When the manufacturer's instructions are stricter than the specification, the stricter of the two governs.
Shingling direction is not optional. The upper strip always laps over the lower strip, so water running downhill crosses the seam and stays on top of the mat instead of lifting the edge. Reversed shingling is the single most common reason a blanket peels from the bottom up.
Staples, Patterns, and Stakes
Staple density is where contractors economize and where inspectors look first. A common specification is three rows per strip: both edges and the centerline, spaced no more than three feet apart, with ends and check slots stapled at nine-inch intervals across the width.
Staple size matters as much as spacing. For temporary blankets, the standard is U-shaped wire of 11 gauge or heavier, with legs at least six inches long and a one-inch crown. Permanent blankets use heavier anchors: either 11-gauge staples with eight-inch legs and a two-inch crown, or triangular wood stakes roughly one inch by three inches and 12 to 18 inches long, driven on four-foot centers along each edge.
Drive staples flush. A staple standing proud of the mat catches equipment, mower decks, and feet, and it does not hold any better than one set below the surface.
Channels, Swales, and the Wrong-Product Problem
Concentrated flow is a different design case, and it is where most blanket failures get blamed on installation when the real problem was selection. Flow in a swale or a ditch produces shear stress at the soil surface that rises with depth and velocity, and a mat has to be rated above that shear or it will be ripped out from underneath.
That is why turf reinforcement mats exist and why state standards route channels and steep slopes to them. It is also why a biodegradable blanket in a channel is a temporary measure at best: it will hold until it degrades, and then the channel is bare again. Where the channel is a permanent feature, the permanent answer is a reinforced mat, riprap, or a designed hard armor lining.
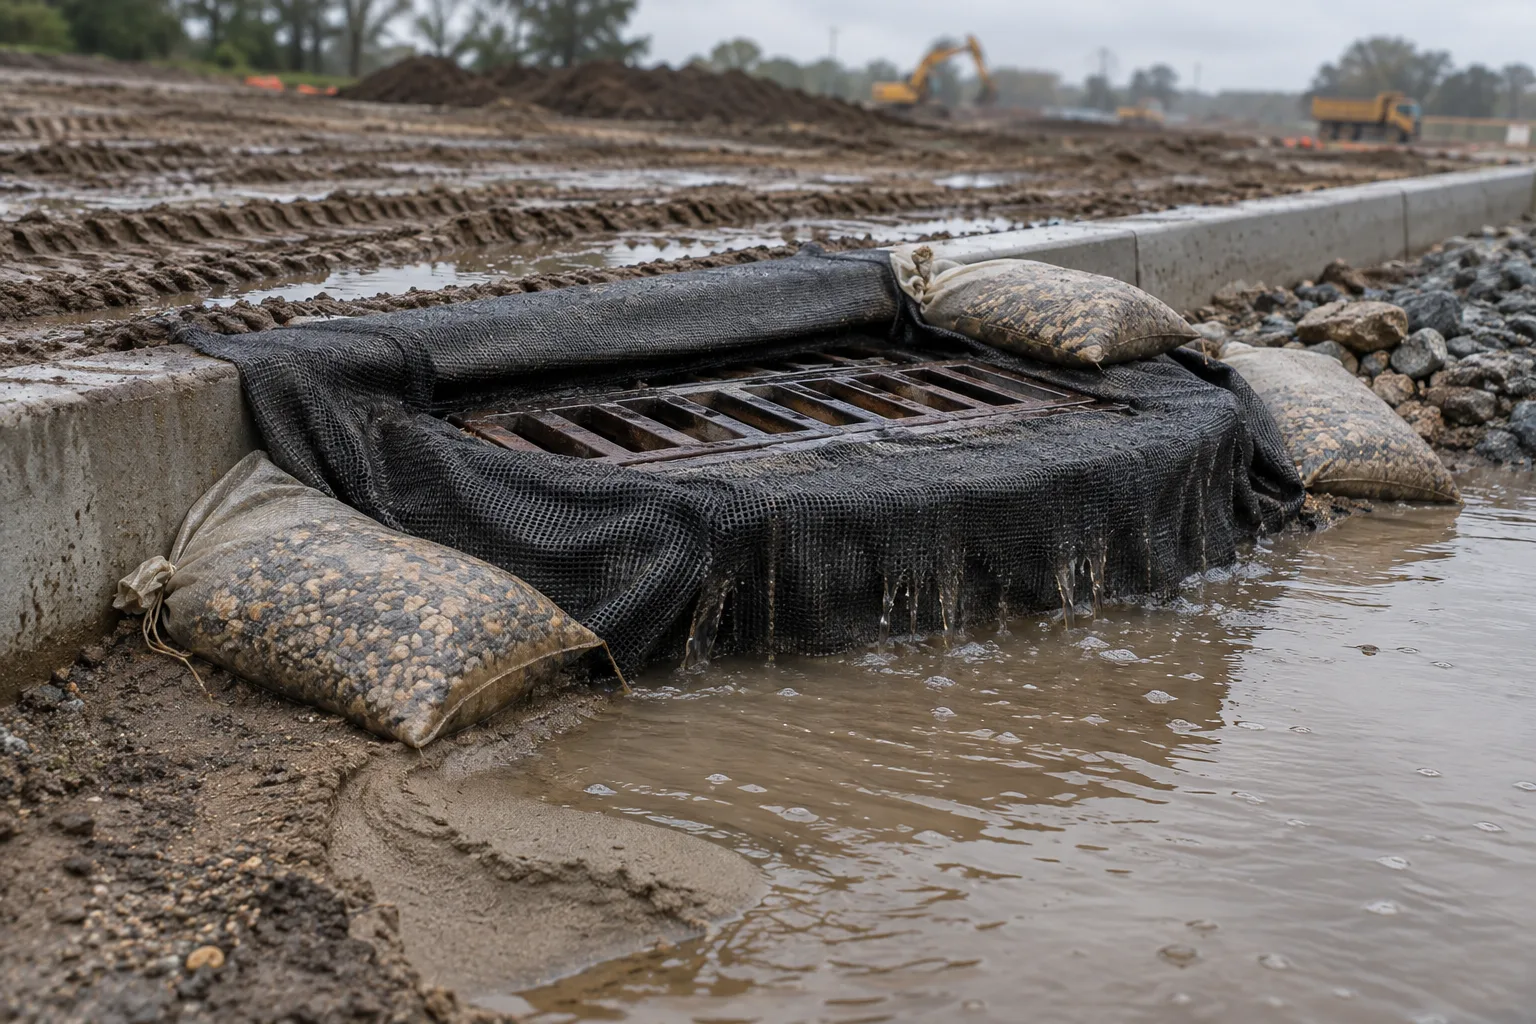
The same logic applies to inlets and outlets. A blanket terminating at a storm drain inlet should tie into the inlet protection, not stop short of it, and a blanket discharging into a sediment basin or trap should be keyed into the embankment. Water that gets under a mat at a structure will travel under it and surface somewhere inconvenient.
Regulatory Deadlines That Drive the Schedule
On permitted sites, stabilization is not a finish item. Under the EPA Construction General Permit, operators must initiate stabilization immediately when earth-disturbing activity has permanently ceased on a portion of the site, or has temporarily ceased and will not resume for more than 14 calendar days. Where more than five acres are disturbed at any one time, the stabilization deadline tightens to seven calendar days of initiating stabilization.
Blankets are one of the accepted stabilization measures, but only where vegetation is the objective and the slope and shear ratings fit. A SWPPP that lists blanket installation should also specify the class, the staple pattern, and the inspection interval, because an inspector will ask for all three.
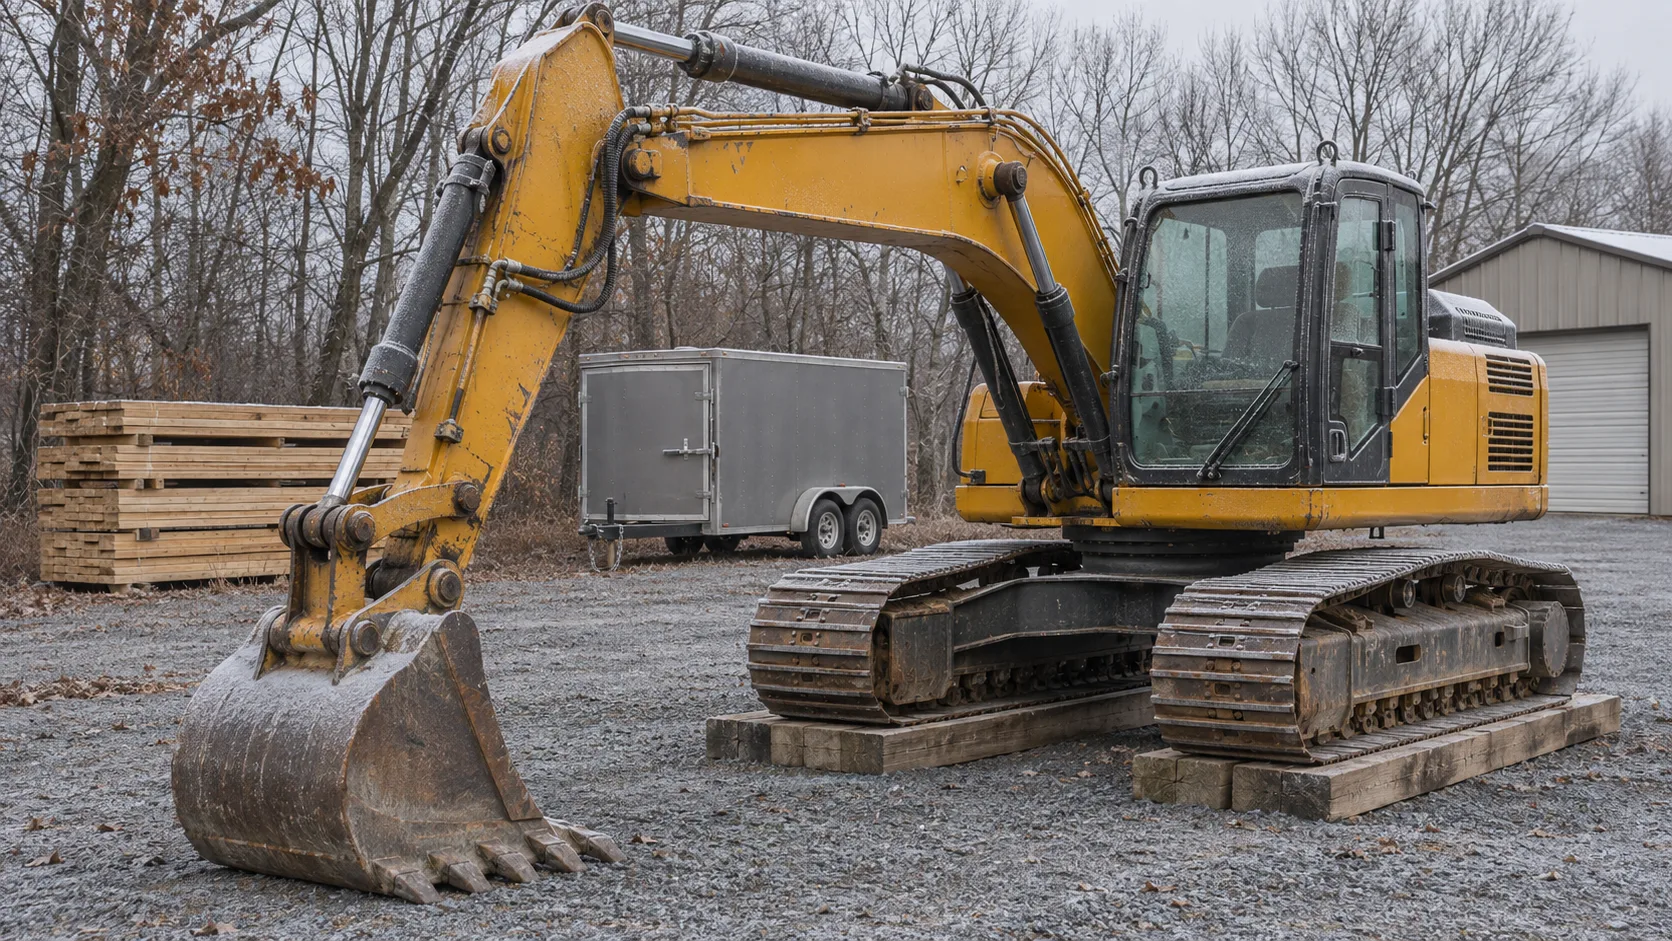
Steep sites also have to be workable in the first place. A machine that cannot track a slope safely will not produce a seedbed a blanket can hold, which is why working on slopes with an excavator belongs in the same conversation as the stabilization plan.
Inspection cadence under the permit is typically every seven calendar days, or every 14 days plus within 24 hours of a storm that produces a quarter inch of rain in 24 hours. Blankets get checked in that same walk. Look for water running under the mat, displaced or wind-lifted sections, undermined terminations, and erosion at transitions into other practices.
Repair, and What a Failure Is Telling You
Repairs are straightforward when the cause is understood. A displaced blanket gets reinstalled and re-stapled with more anchors. An area where water seeped under the mat needs additional staples, or additional anchor trenches, with better compaction. Significant erosion under the blanket means the soil surface has to be regraded and reseeded before the mat goes back down.
Repeated blowouts on the same slope mean the gradient, the slope length, or the concentrated flow path was underestimated, and repeated failures at a channel transition usually mean the shear rating was too low or the termination detail was never built.
An Installation Sequence That Works
- Grade to a smooth, uniform surface and remove debris, rocks, and clods over 1.5 inches.
- Place and incorporate topsoil where specified, then firm the seedbed.
- Apply seed and fertilizer, then rake or track for contact.
- Cut the anchor trench at the top of the slope, six inches wide and six inches deep.
- Set the roll in the trench, staple the buried edge, backfill, and compact.
- Roll out downslope or along the flow path, keeping the mat flat and in full contact.
- Shingle overlaps in the downhill direction: upper strip over lower, upgrade over downgrade.
- Staple in three rows at no more than three-foot spacing, then tighten to nine inches at ends and check slots.
- Install check slots every 50 feet of slope length, plus any additional slot the plan requires.
- Bury all edges exposed to flow and tie terminations into riprap, inlet protection, or the receiving channel.
- Photograph the finished installation, log the class and staple pattern, and add the area to the inspection route.
None of those steps is expensive. The expensive outcome is a blanket that looked right on the day it was installed and was gone after the first significant rain, taking the seed, the topsoil, and the schedule with it.