Sediment Basins and Sediment Traps

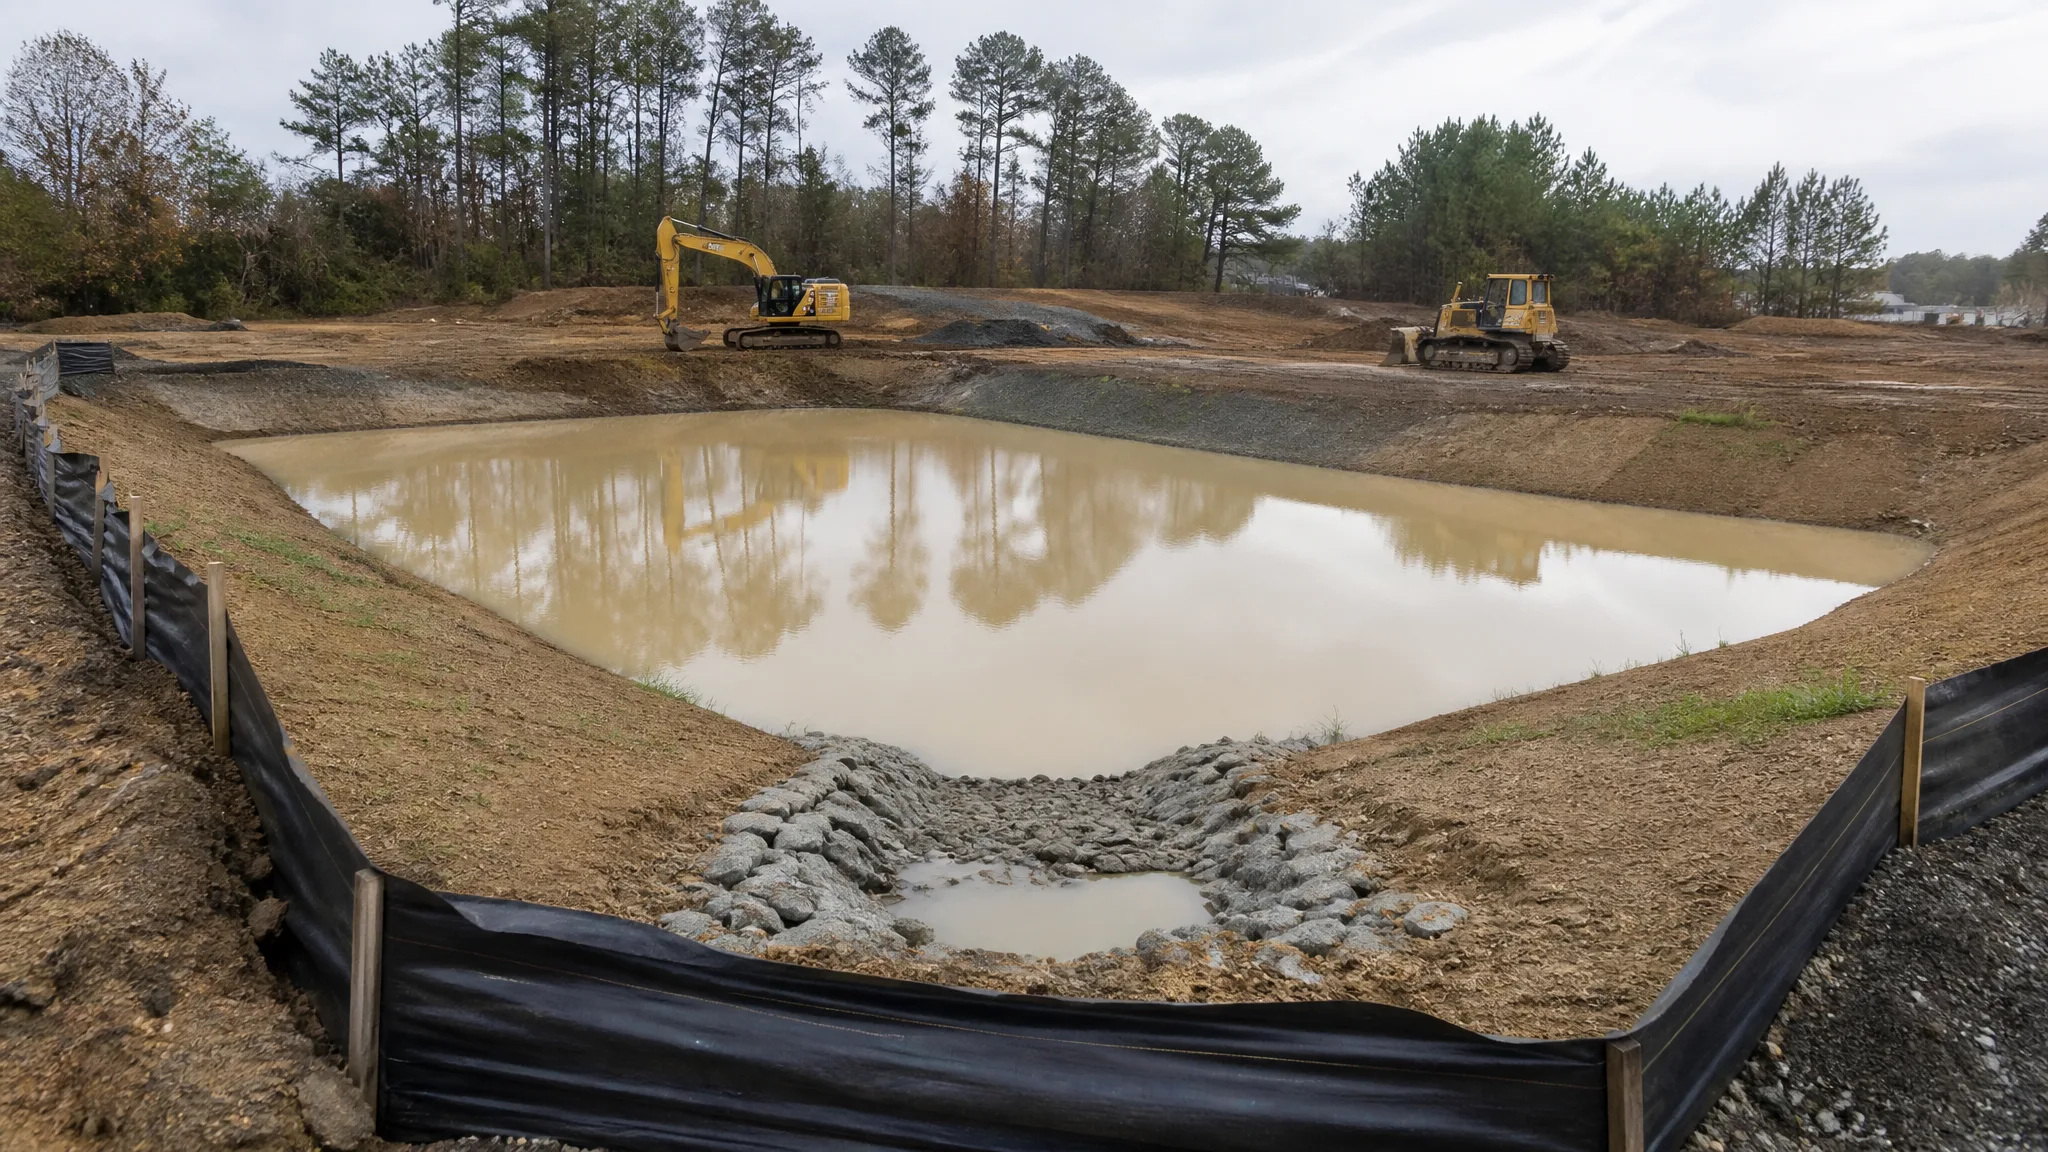
A silt fence catches the mud that sheet flow carries off a graded slope. It does nothing about the mud in a concentrated, fast-moving channel after a real storm. That is the job of a sediment basin or a sediment trap — a graded pool that slows runoff long enough for suspended soil to settle out before the water leaves the site. Get the sizing, the outlet, and the dewatering right and the basin quietly does 80 to 90 percent of the work your stormwater permit expects. Get them wrong and you have an expensive mud puddle that discharges dirty water anyway.
What Sediment Basins and Traps Actually Do
Both practices work on the same principle: pool sediment-laden runoff, hold it, and release the water slowly. Sediment settles because velocity drops, not because anything filters it. Because settling takes time, the two design variables that matter most are how long the water is detained and where in the water column it is drawn from.
Sediment control basins and traps are construction-phase practices. They are separate from the permanent stormwater detention pond that may be built on the same site to control peak flows long after construction ends, though the two are often combined. In that case the structure is built to the larger of the two required sizes, which usually means the sediment basin volume governs during construction.
Sediment Trap vs. Sediment Basin
The line between them is primarily one of drainage area and life span. A sediment trap is the smaller, simpler practice, typically used at the outlet of a small drainage area — commonly 5 acres or less — and often built with an earthen or rock embankment and a simple outlet. A sediment basin is the larger, engineered version used for more contributing area, deeper pools, and structures with a designed principal spillway and dewatering device.
Neither is a substitute for keeping clean water clean. Where possible, diversion berms and swales should route undisturbed runoff around the disturbed area so it never reaches the basin at all. The less water you send in, the smaller the basin has to be and the better it performs.
Sizing: Storage Volume Per Acre of Drainage
Nearly every state stormwater manual expresses basin size as a volume per acre of contributing drainage area — and "contributing" means the entire area draining to the structure, not just the disturbed portion. A widely used benchmark is a minimum total storage of 3,600 cubic feet per acre draining to the basin.
That total is usually split into two zones:
- Sediment storage (the dry or "dead" storage): the volume below the outlet invert, reserved for accumulated soil. It is not counted on as water storage.
- Water storage (the dewatering zone): the volume above the sediment storage, which ponds, then drains.
Common allocations put roughly 1,800 cubic feet per acre in each zone. Some states are more demanding. Pennsylvania, for example, requires 1,000 cubic feet per acre of sediment storage plus 5,000 cubic feet per acre of water storage, with reductions allowed down to a 3,600 cubic foot per acre water volume when features such as a skimmer, a permanent pool, a 4:1 length-to-width ratio, or a longer dewatering time are included in the design. California's construction permit sets a minimum containment volume of 3,600 cubic feet per acre draining to the structure, with average pond depth of at least 3 feet and at least 2.5 feet of depth at the outlet.
The takeaway: 3,600 cubic feet per acre is a floor, not a universal answer. Always design to the manual that governs the permit for that site, and always confirm what counts as storage.
Shape, Depth, and Side Slopes
Shape is what turns a hole in the ground into a settling device. Points to design to:
- Length-to-width ratio: 2:1 or greater, measured through the pool. Longer flow paths mean shorter travel paths to the outlet and less short-circuiting. Baffles can be used to lengthen the flow path where site geometry is tight.
- Side slopes: 3 horizontal to 1 vertical or flatter in the pool area is the common design standard, which also keeps the slopes stable and safe to maintain.
- Depth: deep enough to settle fines and shallow enough to drain — an average pool depth around 3 feet with roughly 2.5 feet at the outlet is typical where a minimum is specified.
- Bottom slope: graded toward the outlet at not less than about 0.5 percent so the basin actually empties and sediment can be reached with equipment.
- Forebay: a small cell at the inlet that drops the coarsest material first and is the easiest part of the basin to clean out.
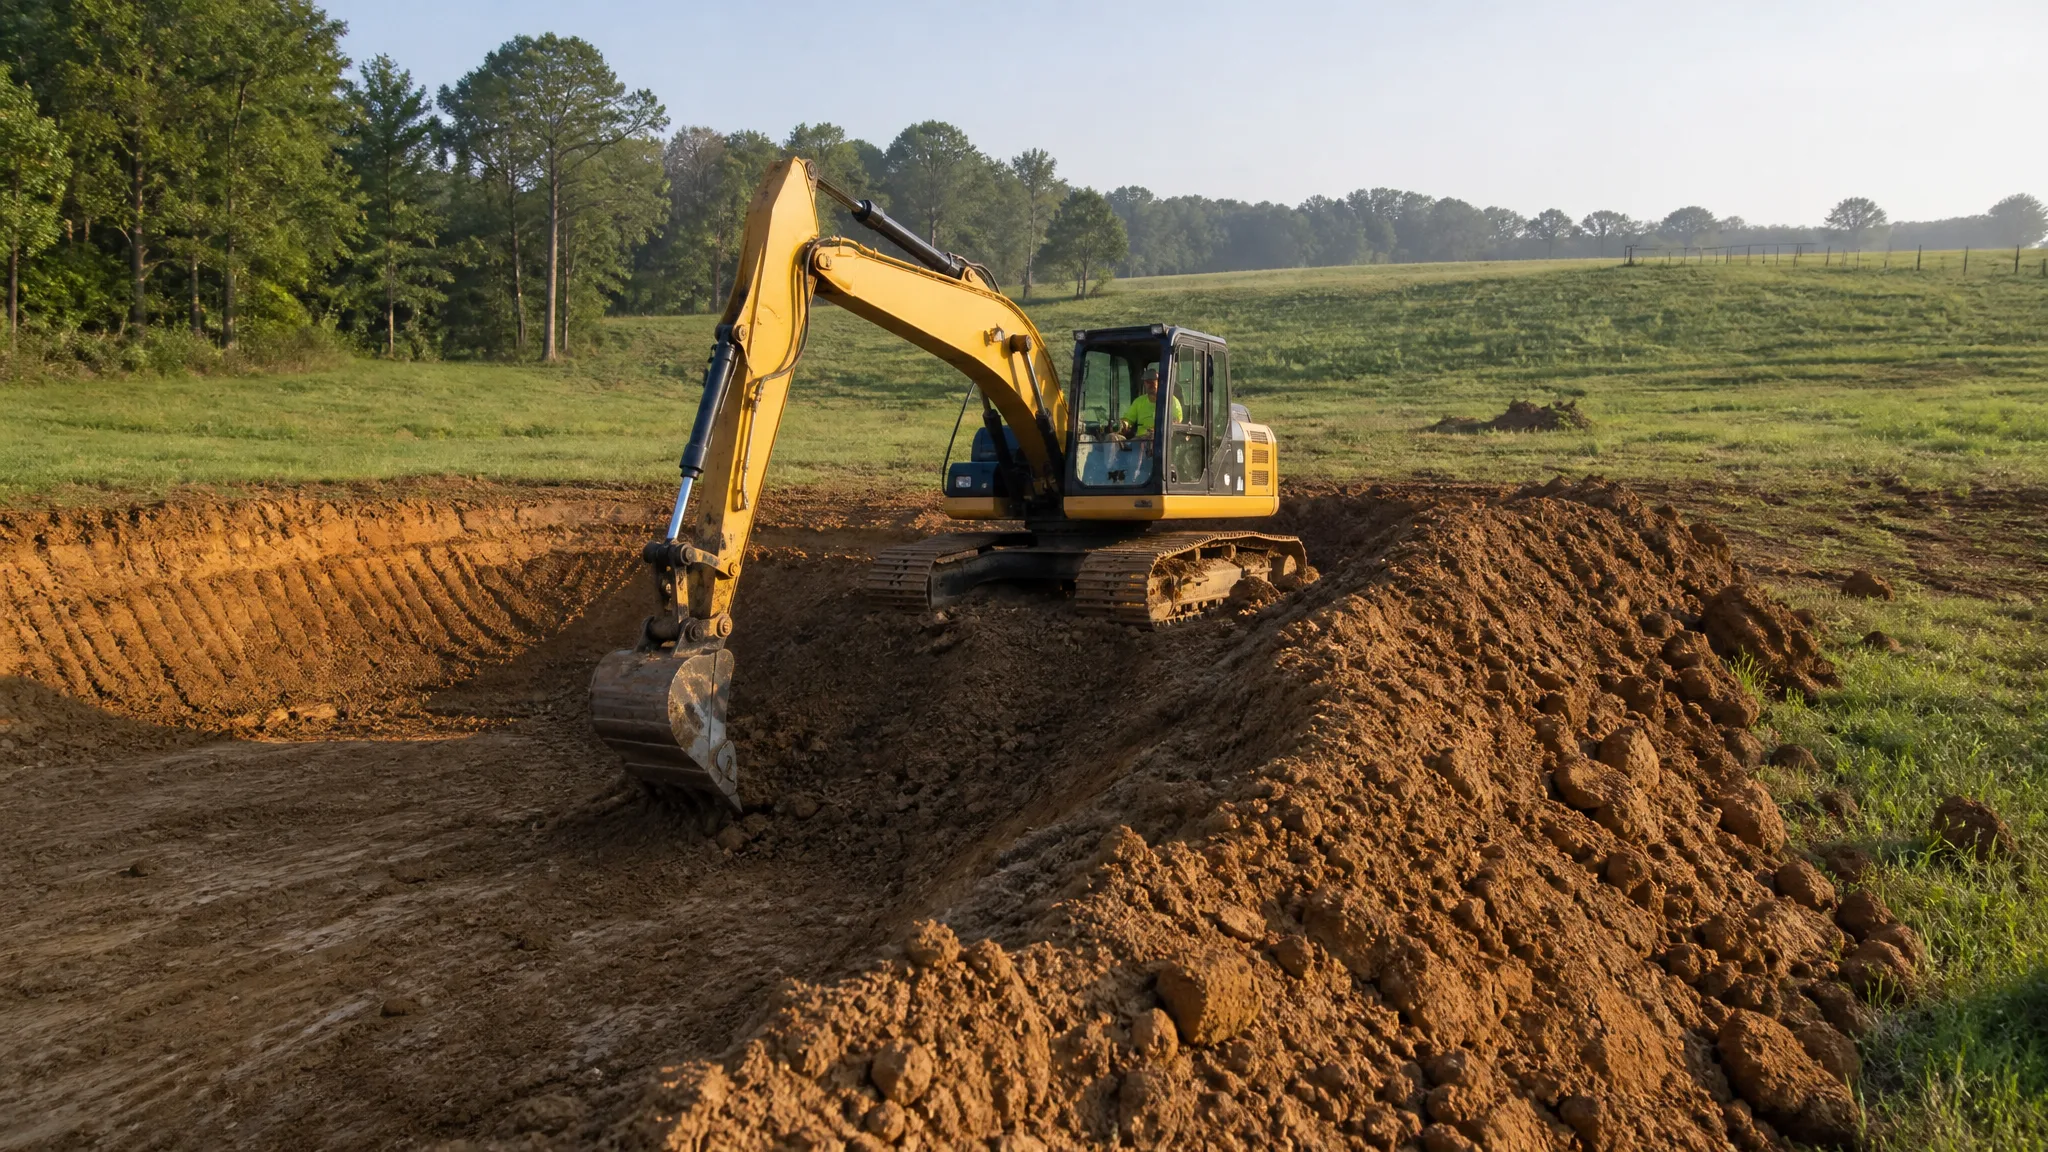
Remember that the basin has to be dug with an excavator or dozer to a design elevation, so it belongs on the same grade-control plan as the rest of the site. Slopes must be stabilized with seed and mulch or an erosion blanket promptly after shaping so the basin itself does not become a sediment source.
Outlets: Riser, Skimmer, and Rock Dam
The outlet is where most basins are won or lost. The two traditional outlets — a perforated riser or a rock dam — release water from throughout the water column, including the muddy bottom, and studies summarized by Penn State Extension put their fines capture at roughly 80 percent where dewatering takes at least 24 hours.
A skimmer does better. It floats on the surface and draws the cleanest water off the top through a flexible connection into the principal spillway. Penn State reports fines capture around 90 percent with a skimmer under the same 24-hour-plus dewatering assumption, which is why surface dewatering is required in most states for basins with earthen embankments. North Carolina Cooperative Extension describes the components well: a float holding the intake a few inches below the surface to avoid debris, a flexible joint so it rises and falls with the pool, a discharge into the riser or through the dam, an anti-seep collar where the pipe passes through the embankment, and a rope attached so a clogged skimmer can be pulled to the bank and cleaned. Many designs keep the outlet pipe above the basin bottom so a standing pool remains — which keeps the skimmer floating and softens the first flush.
Rock dams are the low-cost alternative where embankment dams are impractical. Rock-dam side slopes are commonly held to 2:1 on the basin side and 3:1 on the outlet side, with fine gravel capping the basin side to slow the release and improve settling. Whatever the outlet, the discharge point needs protection — typically riprap or an erosion blanket where the pipe or channel outlet hits grade. An emergency spillway sized to pass the design storm around the embankment is separate from the principal outlet and is not optional.
Dewatering Time: The Biggest Single Lever
Dewatering time is how long the basin takes to drain the water storage zone after a storm. Faster is not better. South Carolina's guidance, for example, targets discharge of the water storage volume in two to five days, with three days the recommended target so finer particles have time to settle. Delaware materials specify a minimum 48-hour dewatering time for the basin. Penn State treats four to seven days as desirable and notes that the 80 to 90 percent capture figures depend on at least a 24-hour drawdown. North Carolina describes skimmers sized to empty the basin in two to three days.
The practical implication is that the dewatering device — a skimmer orifice, a single orifice at the top of sediment storage, or the hole pattern in a perforated riser — has to be sized to the basin volume and the target drawdown, not picked off a shelf. Manufacturers publish flow rates and restrictor plugs for exactly this reason, and a dewatering plan for the rest of the site should account for where basin discharge actually goes.
Building the Basin in the Right Order
The construction sequence looks a lot like any other embankment job:
- Strip and stockpile topsoil from the basin footprint and the embankment area; clear and grub vegetation, including roots, which are a seepage path through a dam.
- Rough-cut the pool area to plan elevation, working from a stable bench rather than from the top of a loose slope.
- If an embankment dam is being built, place it from suitable fill in shallow lifts, compacted on each lift, and key the dam into the foundation with a core trench through any permeable layer.
- Install the principal spillway, riser, barrel, anti-seep collars, and the dewatering device, then connect the emergency spillway before the pool can fill.
- Finish, seed, and protect all disturbed slopes immediately after shaping, and confirm the outlet protection is in place.
Keep the basin out of the way of construction entrances and haul routes where it will be filled with track-out, and keep it well away from any catch basin or inlet that could plug with the material it is meant to trap.
Inspection, Cleanout, and Maintenance
A sediment basin that never gets cleaned out is a sediment source, not a control. The standard trigger is straightforward: remove accumulated sediment when it reaches one-half of the designated sediment storage volume. Some specifications apply the same 50 percent threshold to the forebay first, since it fills fastest. Dredged material is stockpiled in a controlled location to dewater and is disposed of or reused according to the site's plan.
Routine maintenance is mostly inspection work: after every significant storm, check the embankment for seepage, slumps, and animal burrows; check the riser and skimmer for clogging and clear debris; confirm the emergency spillway is unobstructed; verify riprap and outlet protection are intact; mow the embankment and remove woody growth that could open seepage paths. All of it gets recorded, because the SWPPP requires inspection documentation — and because a failed basin is usually a documentation problem before it is an engineering problem.
Common Mistakes
- Sizing to disturbed acreage instead of total contributing drainage area, which undersizes the basin from day one.
- Counting the sediment storage zone as water storage, so the basin is effectively a third smaller than it looks.
- Building with no surface dewatering device, no emergency spillway, or an outlet sized by guesswork.
- Detention-pond geometry (steep sides, an inlet and outlet, no settling length) built where a sediment basin is required.
- Using a silt fence or sediment fence to handle concentrated flow, which is a bypass waiting to happen.
- Leaving the embankment bare, which turns a high embankment into the biggest erosion source on the site.
- No haul access to the forebay and pool, so cleanout never happens and the basin fills permanently.
- Routing clean upslope water through the basin, wasting storage the design paid for.
Done well, a sediment basin is one of the cheapest things on an earthwork job relative to the fines and the stop-work orders it prevents. Done from a set of rules of thumb pulled out of memory, it is an expensive way to move mud downstream.