Backfilling a Foundation


Backfilling is the part of foundation work that everyone treats as cleanup. The concrete is poured, the forms are stripped, and the next step feels like simply putting the dirt back where it came from. But backfill is not filler. It carries the weight of everything placed on top of it, it decides whether water drains away from the wall or sits against it, and it pushes on the foundation with real lateral soil pressure. Done well, the house sits quietly for decades. Done poorly, the symptoms show up as hairline cracks, a settled stoop, a damp basement, and a driveway that sags toward the garage door.
This guide breaks down how contractors backfill a foundation correctly: what to finish first, how long the concrete needs, which material to use, how thick the compacted lifts should be, and the drainage and grading details that make the finished grade work with the house instead of against it.
Why Backfill Quality Decides Whether the Foundation Moves
Backfill behaves differently from undisturbed soil. When dirt is dug up and dumped back into a trench, it arrives loose and full of air voids, and loose soil consolidates under load. That settlement is the root of most backfill complaints: a strip along the house that keeps sinking, downspouts that no longer run away from the wall, and a visible crack where the settled fill meets untouched ground. Many building pad failures trace back to the same root cause.
Loose backfill also drains unpredictably. Water can pond on the surface and soak straight down along the wall, or follow a seam left by poor compaction and run into the foundation drain. Compact the fill and shape the grade correctly, and both problems largely disappear.
Finish the Below-Grade Work Before Any Dirt Goes Back
Once fill is placed, everything it covers becomes expensive to reach again. That is why the last few tasks of the foundation stage are done before the first bucket of backfill: apply the dampproofing or waterproofing membrane to the wall, install any rigid insulation, install the footing or perimeter drain, seal utility penetrations, and photograph all of it for the record — the same handoff discipline covered in the excavation handoff checklist. A simple pre-backfill checklist prevents the classic mistake of burying a missing drain or an unsealed pipe sleeve.
How Long the Concrete Needs Before Backfilling
Fresh concrete has not yet reached the strength it needs to resist lateral soil pressure, and backfilling too early is a common cause of bowing, cracking, and even wall collapse. The concrete industry's rule of thumb is to wait at least seven days after placement, with 28 days — full design strength — being the conservative target; the taller the wall and the wetter the fill, the more patience matters. Whatever the schedule pressure, follow the wall design and any engineer's direction rather than the crew's urge to clean up the site.
Waiting also matters because of balance. A basement wall is designed for soil pressure from both sides. Adding fill to one side only, or dumping a pile and leaving it against the wall, creates an unbalanced load the wall was never designed to carry.
Choose the Right Backfill Material
The best backfill is clean, granular, and free-draining: granular fill, sand, gravel, or crushed stone. These materials compact predictably, drain well, and place less lateral pressure on the wall than heavy clay. Suitable material is often saved from the original excavation, so sorting during digging pays off later. If the native soil is high-plasticity clay or expansive fill, importing granular material is usually worth the haul cost.
Just as important is what never goes back in the trench. Do not use organic topsoil, stumps, roots, construction debris, or frozen lumps. Expansive clay is especially risky: it swells when wet and shrinks when dry, working the wall back and forth with every wet-dry cycle. Where the wrong material is already on site, segregating it is far cheaper than fixing the grade later.
Compact in Lifts, Not in One Dump
Compaction is done in horizontal layers, called lifts, not in one full-height push. Contractors typically place and compact backfill in lifts of roughly 6 to 12 inches with a machine, and 4 to 6 inches where a plate compactor or hand tamper has to work close to the wall. Each lift is compacted before the next goes on top.
The goal is dense, uniform fill, commonly specified at 90 to 95 percent of maximum dry density per ASTM D698 (Standard Proctor), depending on what the fill supports. Two rules keep the compaction honest: keep the material near optimum moisture, because fill that is too wet or too dry will not reach density no matter how many passes are made; and keep heavy equipment back from the wall rather than running a roller right against it. Hand-operated plate compactors are ideal within a foot or two of the foundation.
Install the Footing Drain Before You Bury It
Water is the real enemy of a basement, so the drain that collects it has to be installed and tested before backfill. The building code requires drains around concrete or masonry foundations that retain earth and enclose habitable or usable space below grade. That drain is typically a perforated pipe laid in a bed of washed gravel alongside the footing, wrapped or topped with filter fabric, and sloped to a daylight outlet or a sump.
Inspect the slope and confirm a clear outlet before covering the drain. A drain that dead-ends, daylights uphill, or fills with fines does nothing except hold water next to the wall it was meant to protect.
Grade the Finished Surface Away From the House
Backfill is only finished when the surface sheds water. The building code calls for the ground to fall a minimum of about 6 inches in the first 10 feet away from the foundation, and general practice is to build a slightly steeper fall so settling does not reverse the slope. Never let the finished grade slope back toward the wall.
Shape the surface so runoff reaches a swale, a ditch, or the lawn rather than pooling along the foundation. Even a small low spot collects water and defeats the drain underneath. Mulch and planting beds should sit below the top of the foundation and slope away, not mound up against the siding.
Watch the Wall: Pressure, Bracing, and Even Placement
Lateral soil pressure rises with depth and with the weight of the material, so heavy, saturated fill placed high against a wall is the worst case. The building code sets design lateral soil loads by soil type, and engineered or tall walls may include bracing, geogrid, or a stepped design. On basement walls, place fill evenly around the structure and avoid concentrating a pile on one side.
Avoid dropping fill from a height that lets it strike the wall, and keep the machine bucket from bumping the membrane. Small impacts add up, and damaged waterproofing is invisible once it is buried.
Common Backfill Mistakes
- Backfilling too soon. Placing heavy fill against green concrete invites bowing and cracking.
- One-pass dumping. Thick lifts trap air and never compact fully, so the grade keeps settling.
- Using clay or topsoil as structural fill. Both swell, shrink, or decompose under walks and pavement.
- No footing drain, or a dead one. Water then finds the wall instead of the outlet.
- Flat or negative grade. The surface must fall away from the house.
- Running equipment against the wall. Impacts and over-compaction damage the wall and membrane.
- Mismanaging the spoil. Piles left in the wrong place block drainage and load the wall; spoil pile management is part of planning the backfill.
When to Hire an Excavator vs. Do It Yourself
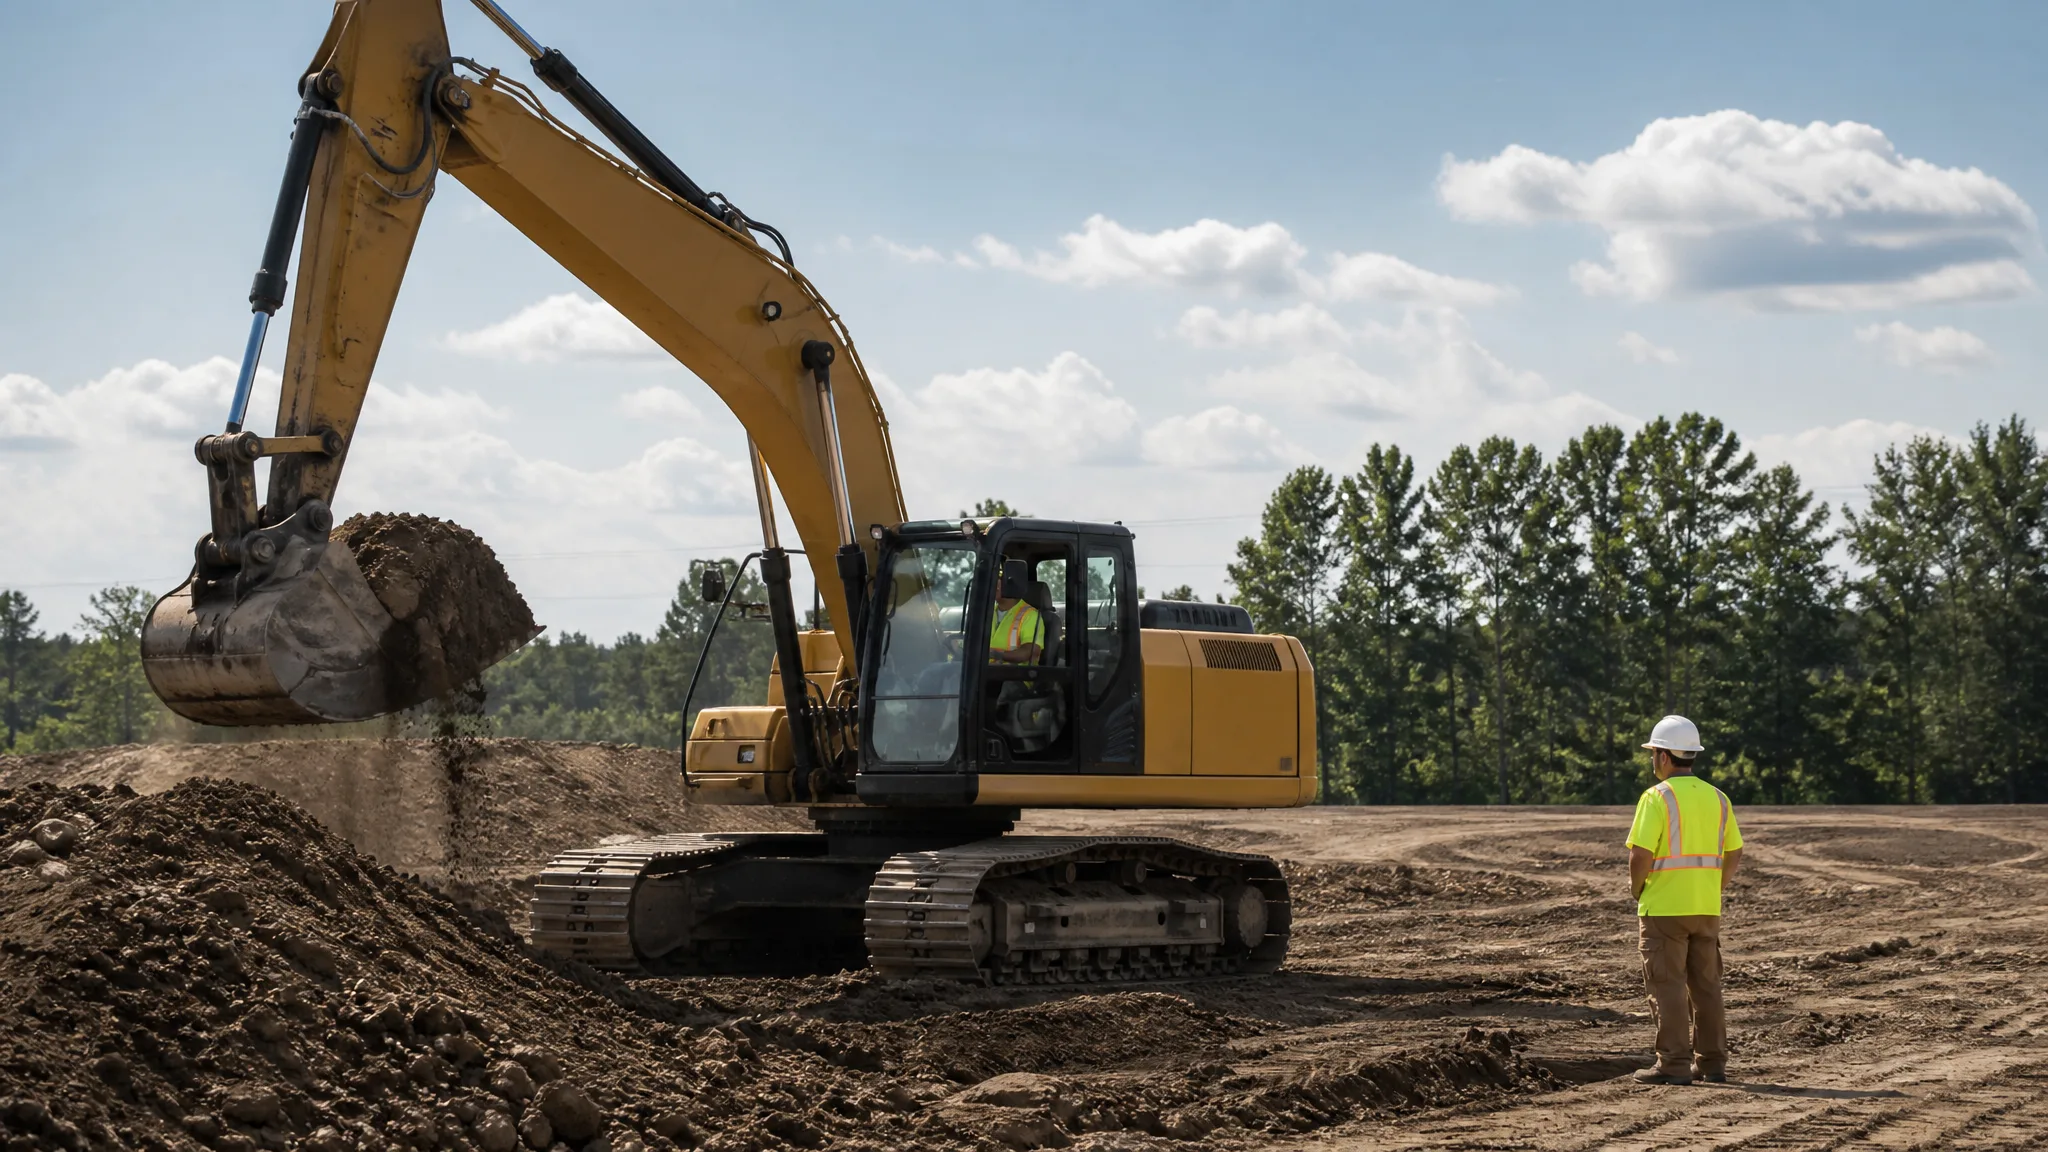
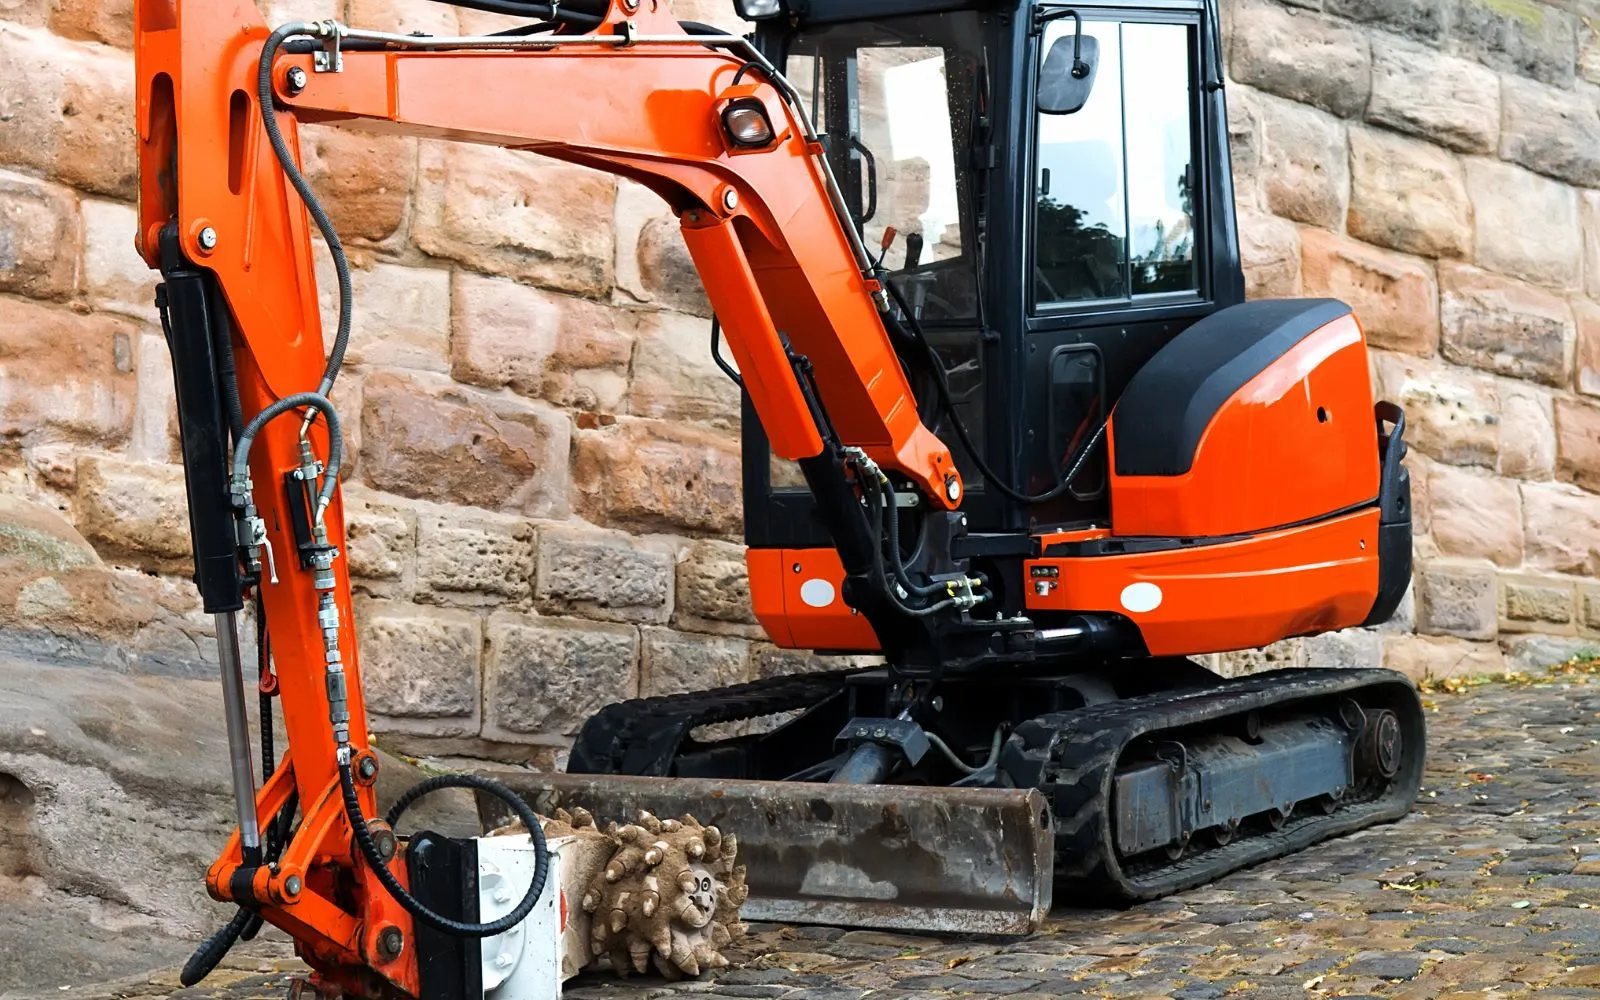
Small, shallow backfill jobs — a footing, a stoop, short runs beside a crawl space — can be handled with a plate compactor and hand tools. Once the volumes grow, or the machine has to reach over a wall or work in a tight void, an excavator with a bucket and a compactor attachment does in an hour what a crew does in a day, with better control near the wall. Weigh access, spoil volume, and how much of the fill must be compacted to a tested density; if any of those is significant, a contractor usually saves money as well as risk. Keeping fill density honest also means fewer surprises during proof rolling or the first wet season.
Backfilling is the last chance to get the ground around a foundation right. Material, moisture, lift thickness, and drainage are all decided in a single day of work — and they quietly govern how the building performs for the rest of its life.