Excavating for a Retaining Wall


Retaining wall excavation is the part of the job nobody sees and the part that decides whether the wall is still standing straight twenty years from now. A wall rarely fails because the block was wrong. It fails because the soil behind and beneath it was prepared wrong. Getting the base trench and the drainage zone right is the difference between a wall that lasts and one that bulges, tips, or opens at the joints after a few wet seasons.
This guide covers the excavation side of a retaining wall: digging to stable subsoil, sizing the base trench, cutting in the drainage layer, preparing the base, and backfilling so water never gets a chance to push the wall over.
Why the Excavation Decides Whether the Wall Lasts
A retaining wall is not really fighting the weight of the dirt. It is fighting the water trapped in the dirt. Clay and most native soils drain slowly, so after a heavy rain the water sits behind the wall and presses outward with hydrostatic pressure that does not relieve itself in a day. Freeze-thaw cycles make it worse. If the excavation gives that water no path to escape, the pressure eventually wins.
That is why the soil you remove and the material you put back into the void matter more than the finish on the block. A base set on loose soil settles unevenly, and every course above it inherits the error. Excavate carefully once, and the rest of the build goes straight.
Site Checks Before You Dig
Two questions drive every wall: what is it holding back, and how tall does it need to be? A low garden wall edging a bed carries almost nothing. A wall holding up a driveway, a slope, or a walkout basement carries a great deal, and the two are not the same project even when they use the same block.
Walk the site, ideally after a hard rain, and note the drainage patterns, the slope above the wall, and any loads that will sit on top. Locate all underground utilities before excavation. In the U.S. that means a free call to 811 before you dig, and any private lines the service does not mark must be located separately. Confirm whether your municipality requires a building permit, which is common for taller walls or walls near a property line.
As a rule of thumb, residential walls under about three feet that are not retaining a road or driveway can follow standard manufacturer details. Walls over three feet, or any wall carrying heavy static or dynamic loads, need a design from a qualified engineer before anyone digs.
How Deep and Wide to Dig the Base Trench
The base trench is where the entire wall is founded, so it is sized generously. The trench should be dug roughly eight inches deeper than the height of one wall block and about twice as wide as the block, following the manufacturer's specification. Most segmental walls lean back slightly, a tilt called a “batter,” so remove soil along that same angle as you go.
Depth also depends on wall height and frost. Any structural base should bear below the local frost depth, because a base sitting on shallow soil moves a little each winter until the courses no longer line up. Frost depth varies widely by region, so check local requirements rather than guessing.
The non-negotiable rule: dig down to stable, undisturbed subsoil. If you hit soft spots, deep topsoil, or loose fill, keep excavating until you reach firm ground. Building on the surface of weak soil is the single most common cause of a wall that settles.
Excavating the Drainage Layer Behind the Wall
Behind the block you are not just filling a hole, you are creating a drainage zone. As a minimum, excavate native soil back at least 14 inches from the vertical face of the wall so that area can be filled with clean gravel. That gravel column is the wall’s drainage layer, and without it the wall will fail.
A common specification for the base footprint is a minimum of six inches in front of the wall face, the depth of the block, and at least 12 inches behind the block. That 12-inch minimum behind the wall should be carried up all the way to the top. If geogrid reinforcement is required, excavate further back still to accommodate the geogrid and the reinforced soil it anchors into.
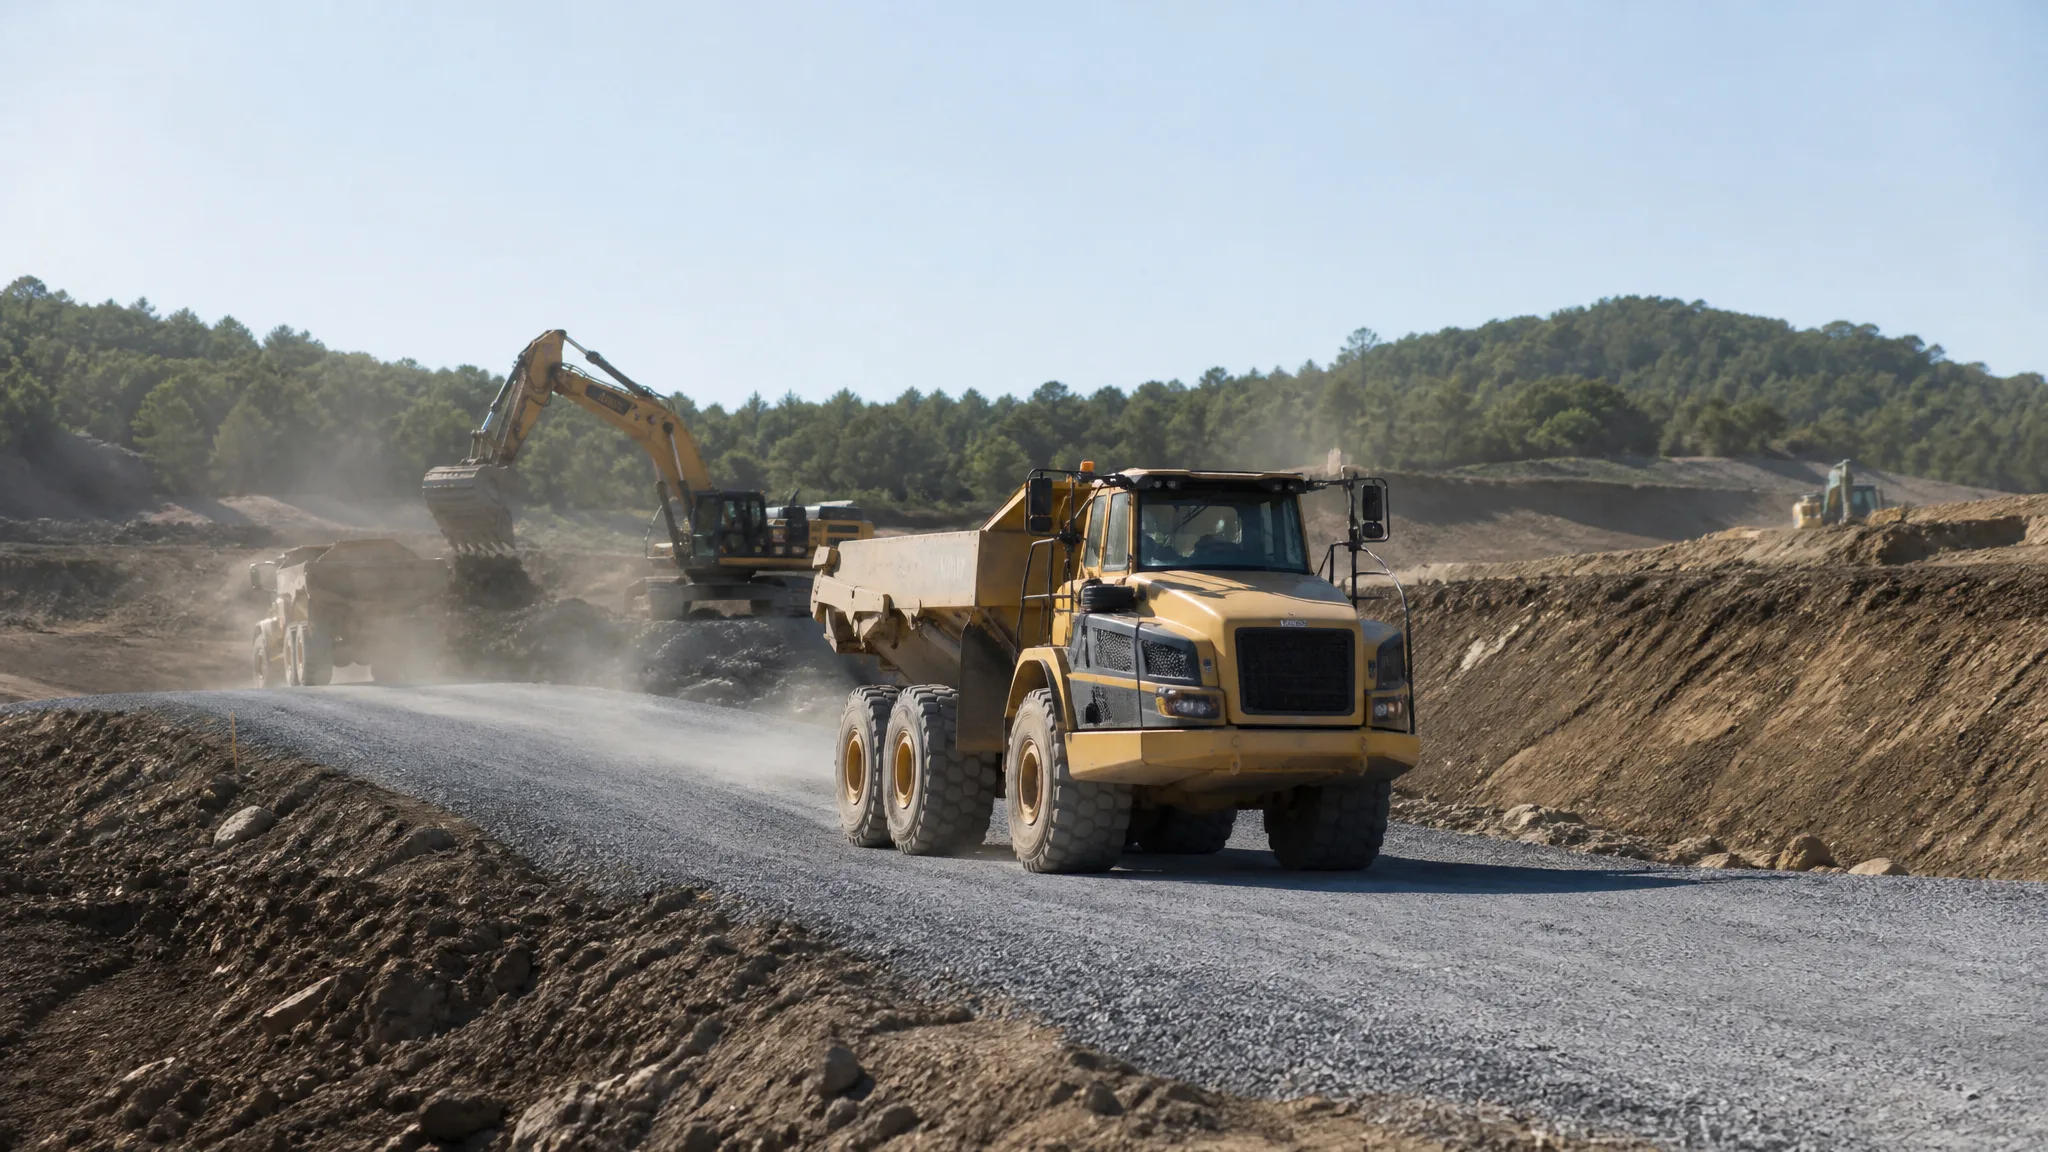
Volume is deceptive on these jobs. A long wall with a deep drainage layer can generate far more spoil than it looks like from the surface, so plan access, equipment, and disposal before the first bucket. Sorting and placing the excavated material well is part of managing spoil piles on a construction site.
Stabilizing and Compacting the Subgrade
Once the trench is at grade, compact the exposed subsoil with a vibratory plate or walk-behind roller to consolidate any loose particles. If the native soils stay soft, remove them and bring in a stable, compactable material rather than trying to build over them. Choosing between what is on site and imported material is the same trade-off covered in select fill vs. native soil.
Roll out a layer of non-woven filter fabric (geotextile) over the excavated surface. The fabric keeps fine soil particles from migrating into the gravel base and drainage layer, which would clog them over time and trap water behind the wall. Leave enough fabric on the upper side to later fold back over the backfill.
Building the Gravel Base and Leveling Pad
The base is built from clean, angular crushed stone, typically three-quarter-inch open-graded gravel such as ASTM No. 57. Fill the trench with about six inches of it, then compact in thin lifts rather than all at once, because a deep pile only compacts at its surface. Where a plate compactor cannot reach, finish with a hand tamper.
To set an accurate surface for the first course, screed a thin leveling layer of small chip stone such as ASTM No. 9 over the compacted base. Some systems use a proprietary base pad or a poured concrete leveling pad instead. What matters is that the first course sits perfectly level, because every course above it copies the error. For the underlying principles, see the science of soil compaction.
Drainage Pipe, Backfill Stone, and Geogrid
At the base of the drainage layer, place a perforated drain pipe, commonly four inches in diameter, and slope it about one-eighth of an inch per foot so water flows toward an outlet. That outlet must daylight to a lower grade or a storm drain, and it must discharge far enough from the wall that the water cannot flow back to the toe. On long walls, a tee pipe every 50 linear feet is a common detail.
Backfill the drainage layer with clean, washed, angular crushed stone, again typically three-quarter-inch clear stone such as ASTM No. 57. “Clear” means the stone is washed free of fines so water passes through it with minimal resistance and drops to the drain pipe instead of pressing on the block. Build the wall and the backfill together, keeping the backfill roughly one block behind the wall construction, and compact with care so you do not disturb the block you just set.
On taller walls, uniaxial geogrid is placed between courses and extends back into the reinforced soil. Geogrid must be installed at the correct elevations and embedded to the length the design calls for, which is one more reason the excavation behind the wall has to be wide enough to reach.
Concrete and Cantilever Wall Footings
Cast-in-place concrete walls work differently. A cantilever wall’s stem is supported by a footing that must bear on stable soil below the local frost depth, with reinforcing placed exactly as designed. That means excavating a footing trench to the design elevation, forming and pouring per the engineer’s drawings, and backfilling only after the concrete has cured. Do not shortcut the excavation depth on a footing; frost heave lifts shallow footings and cracks the wall above them.
Equipment, Access, and Spoil Management
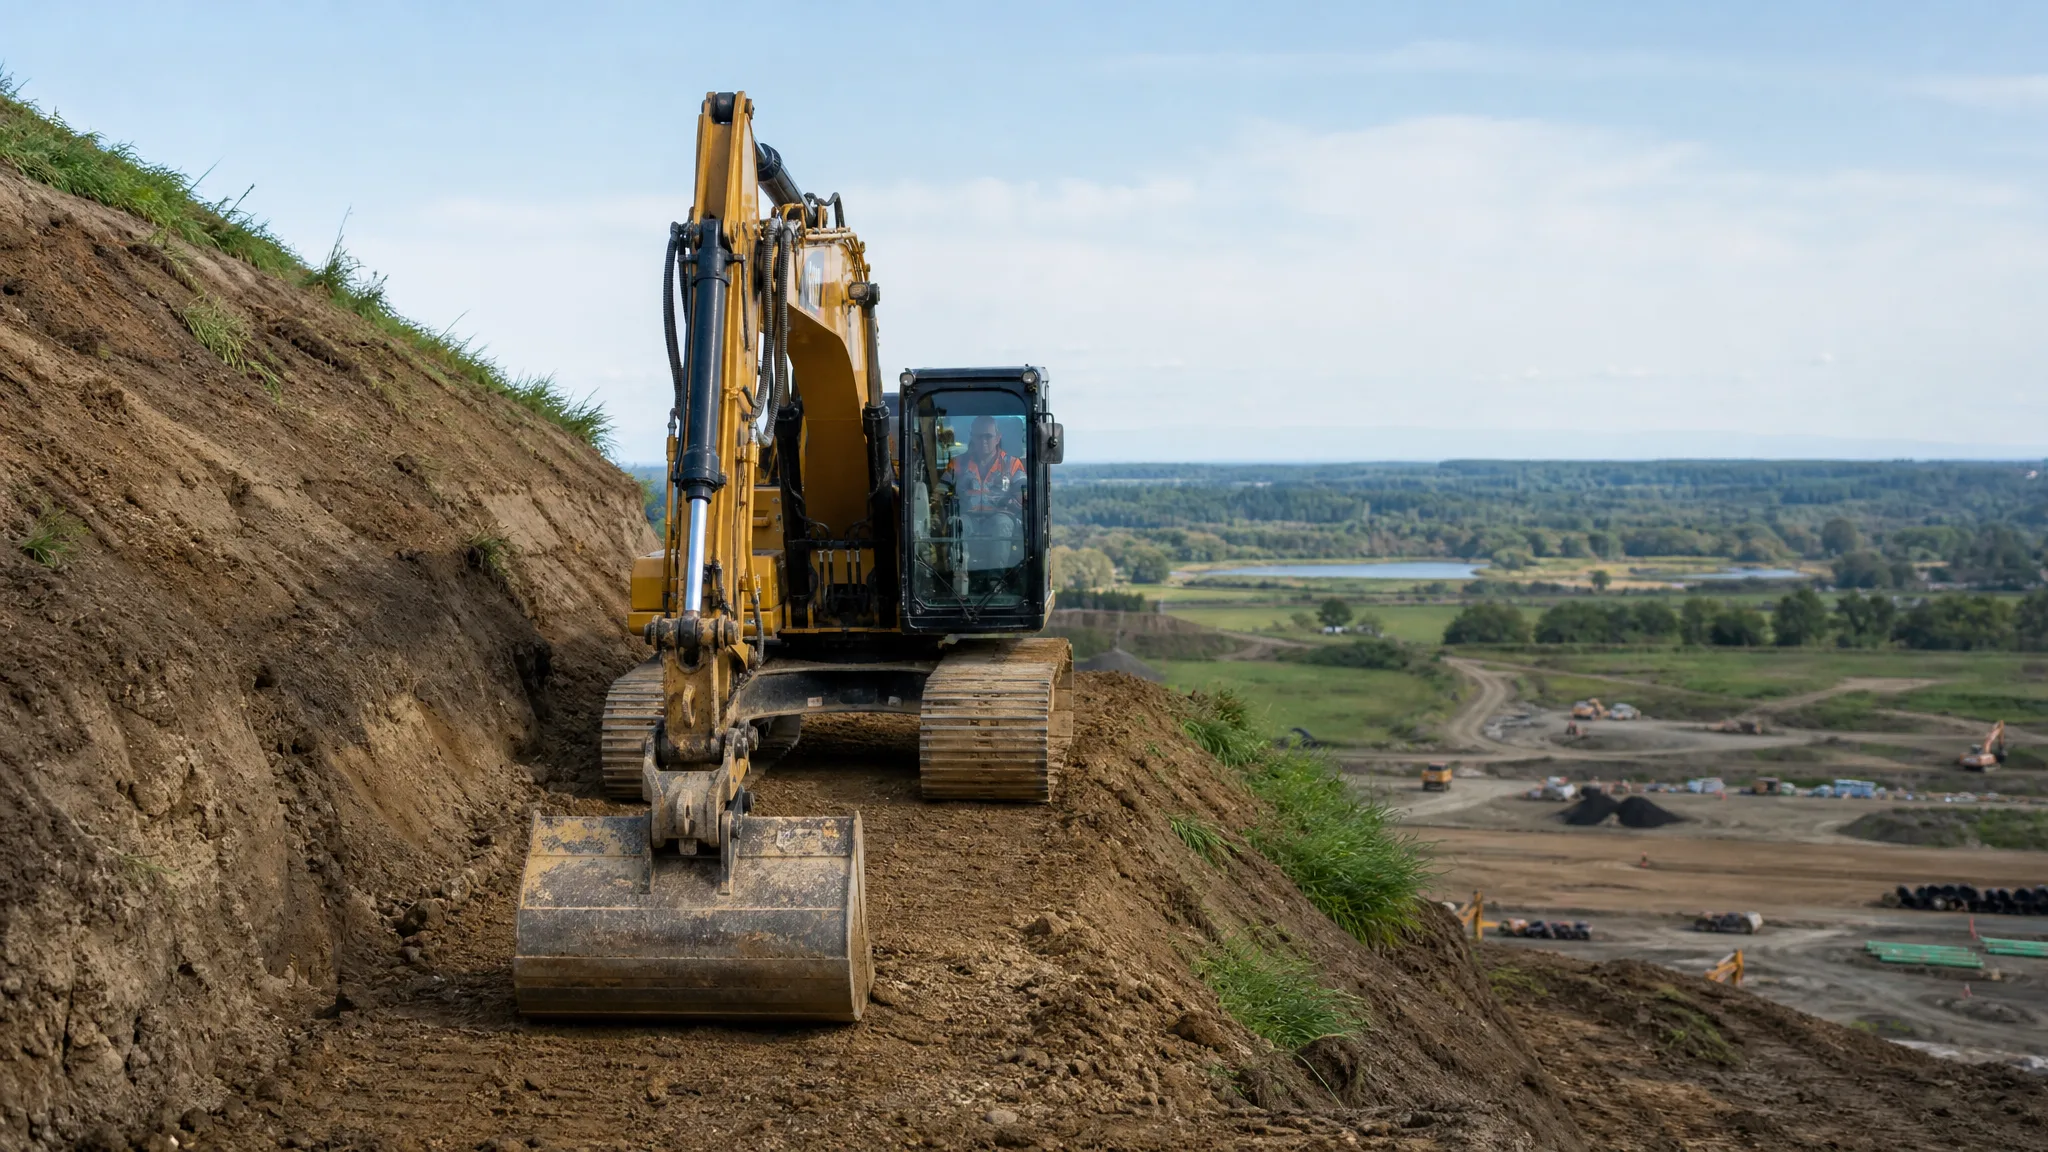
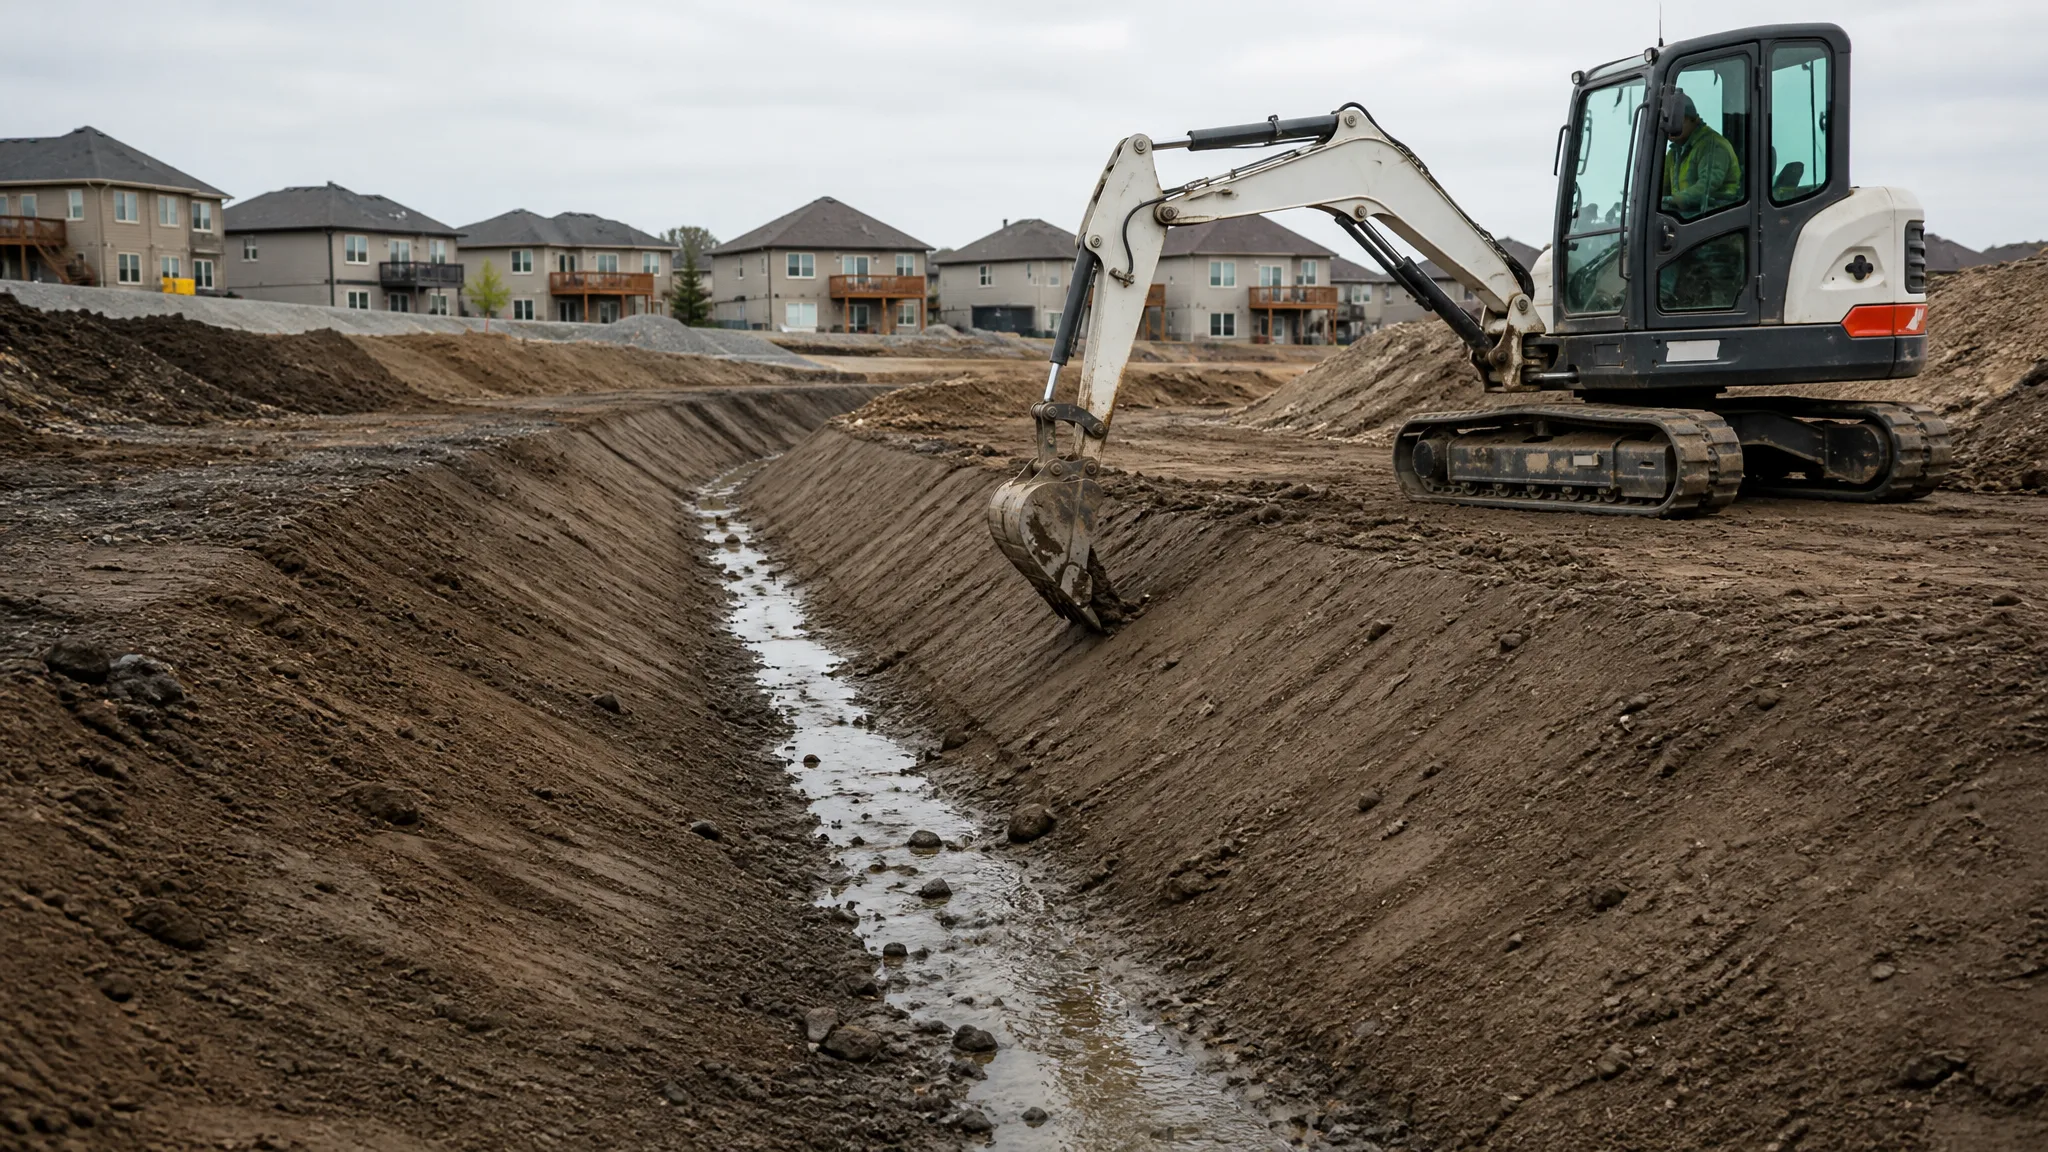
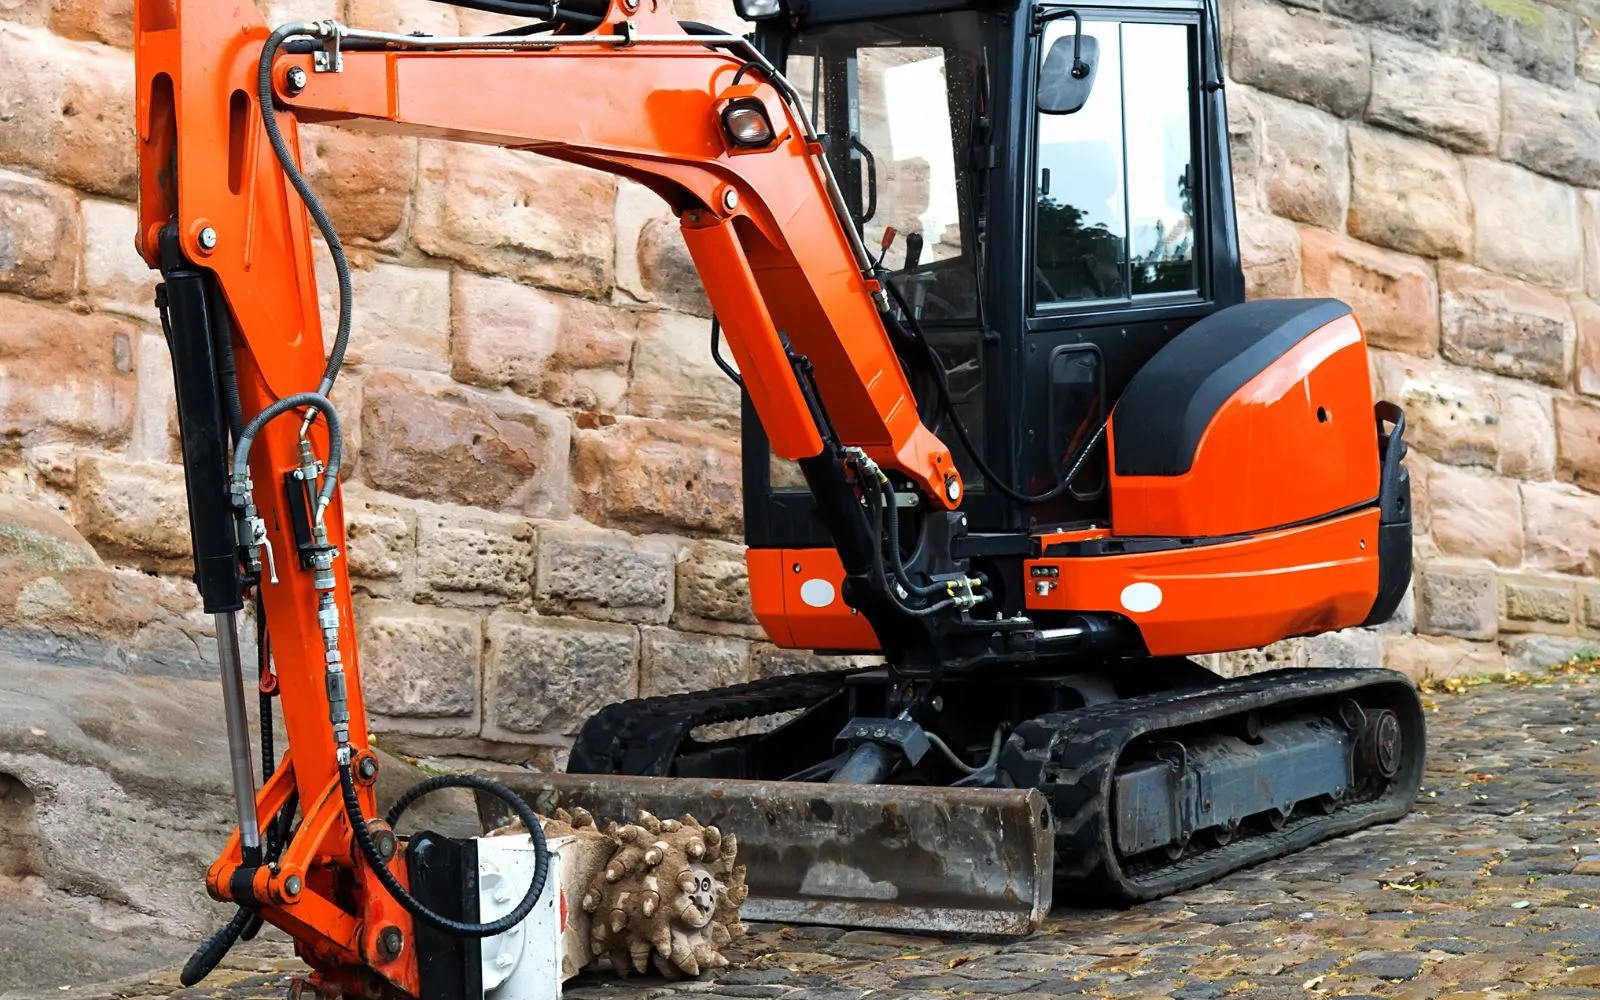
Most residential wall excavations are a good fit for a compact excavator running a bucket matched to the trench width, with hand digging around utilities. Picking the right machine is the same decision covered in how to choose the right excavation equipment for your home project. Space is often tight between a house, a fence, and a property line, so think through where the machine, the spoil, and the delivered stone will all sit at once. Keep excavated native soil separate from the clean stone so the two do not get mixed, and pay attention to the slope and stability of any cut behind the wall as described in advanced techniques in slope stabilization.
Safety and the Mistakes That Cause Failure
Any excavation five feet or deeper needs a protective system against cave-ins under OSHA rules, and even shallower digs deserve attention when the soil is loose or the sides are vertical. The thresholds are explained in when is trench protection required. Keep spoil piles and equipment back from the edge of the trench, at least two feet and further for heavy machines, so the surcharge does not collapse the wall you are digging. Never let a machine or a pile of material sit close to the top of a wall under construction, the same discipline that keeps work near existing foundations safe.
Water management ties the whole job together, because a wall that drains poorly is a wall that fails. The outlet, the stone, and the slope you build behind the block are all part of the drainage system you build during excavation, and the surface you leave above the wall should still send water away from it, just like the yard grades covered in how much slope a yard needs for drainage.
The failures all trace back to a short list of shortcuts: a base dug too shallow or never taken to undisturbed soil, no compaction, backfilling with native clay instead of clean stone, no drainage pipe, and skipping geogrid on a wall that needed it. Avoid those, and the excavation you cannot see is the reason the wall you can see stays straight.