Rough Grading vs. Finish Grading


Rough grading and finish grading are easy to lump together because both involve shaping dirt. On a real jobsite, though, they solve different problems. Rough grading builds the broad landform, controls bulk elevations, and makes the site workable for foundations, utilities, drainage, and access. Finish grading refines that work into the final surfaces that shed water, support paving or landscaping, and meet the tolerances shown on the plan.
If rough grading is rushed, the site can carry hidden low spots, soft areas, bad drainage paths, or excess material into later trades. If finish grading is treated like simple cleanup, water may still run toward buildings, driveways may hold puddles, and lawns may settle. The cleanest projects treat grading as a sequence.
What Rough Grading Means
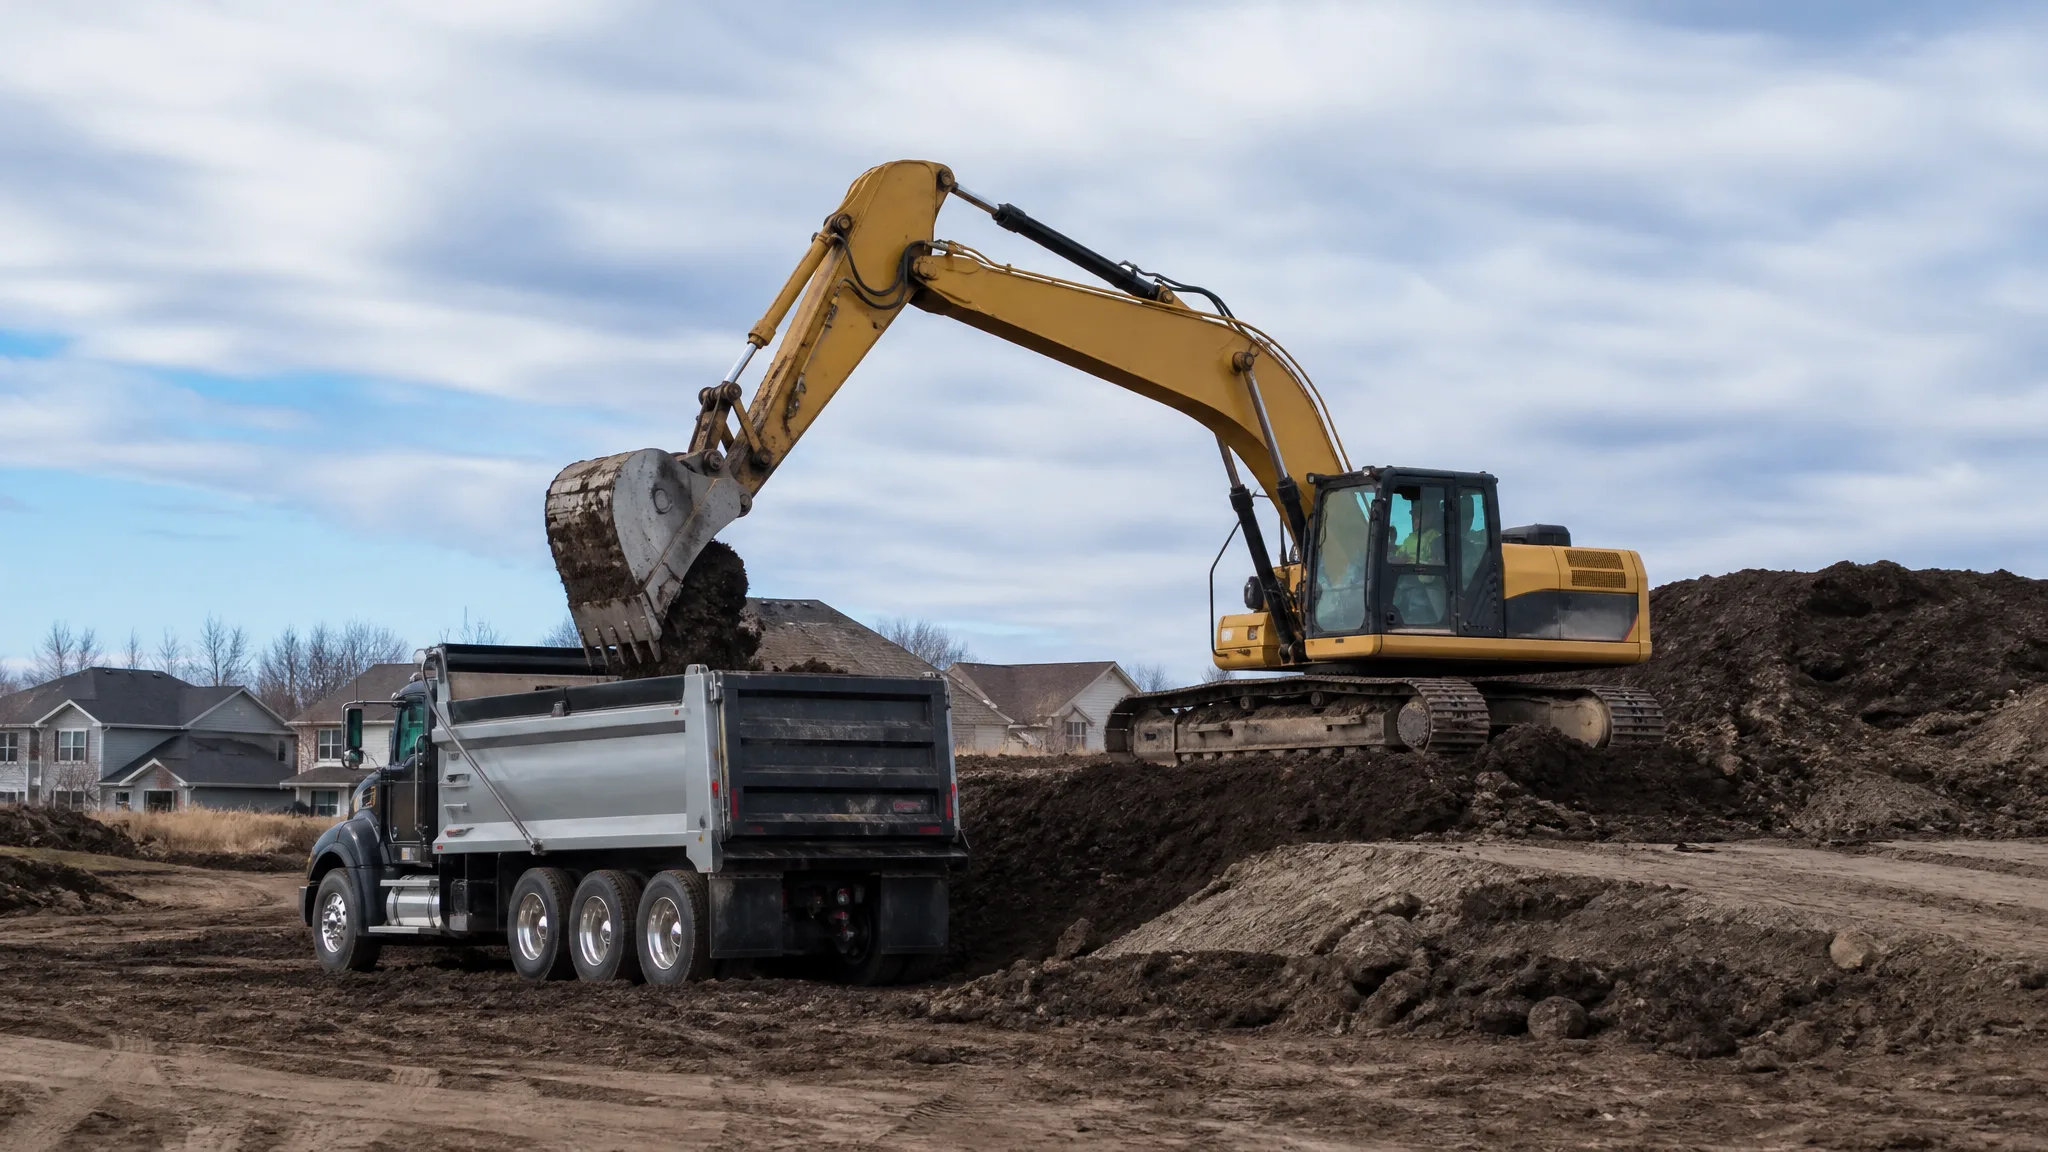
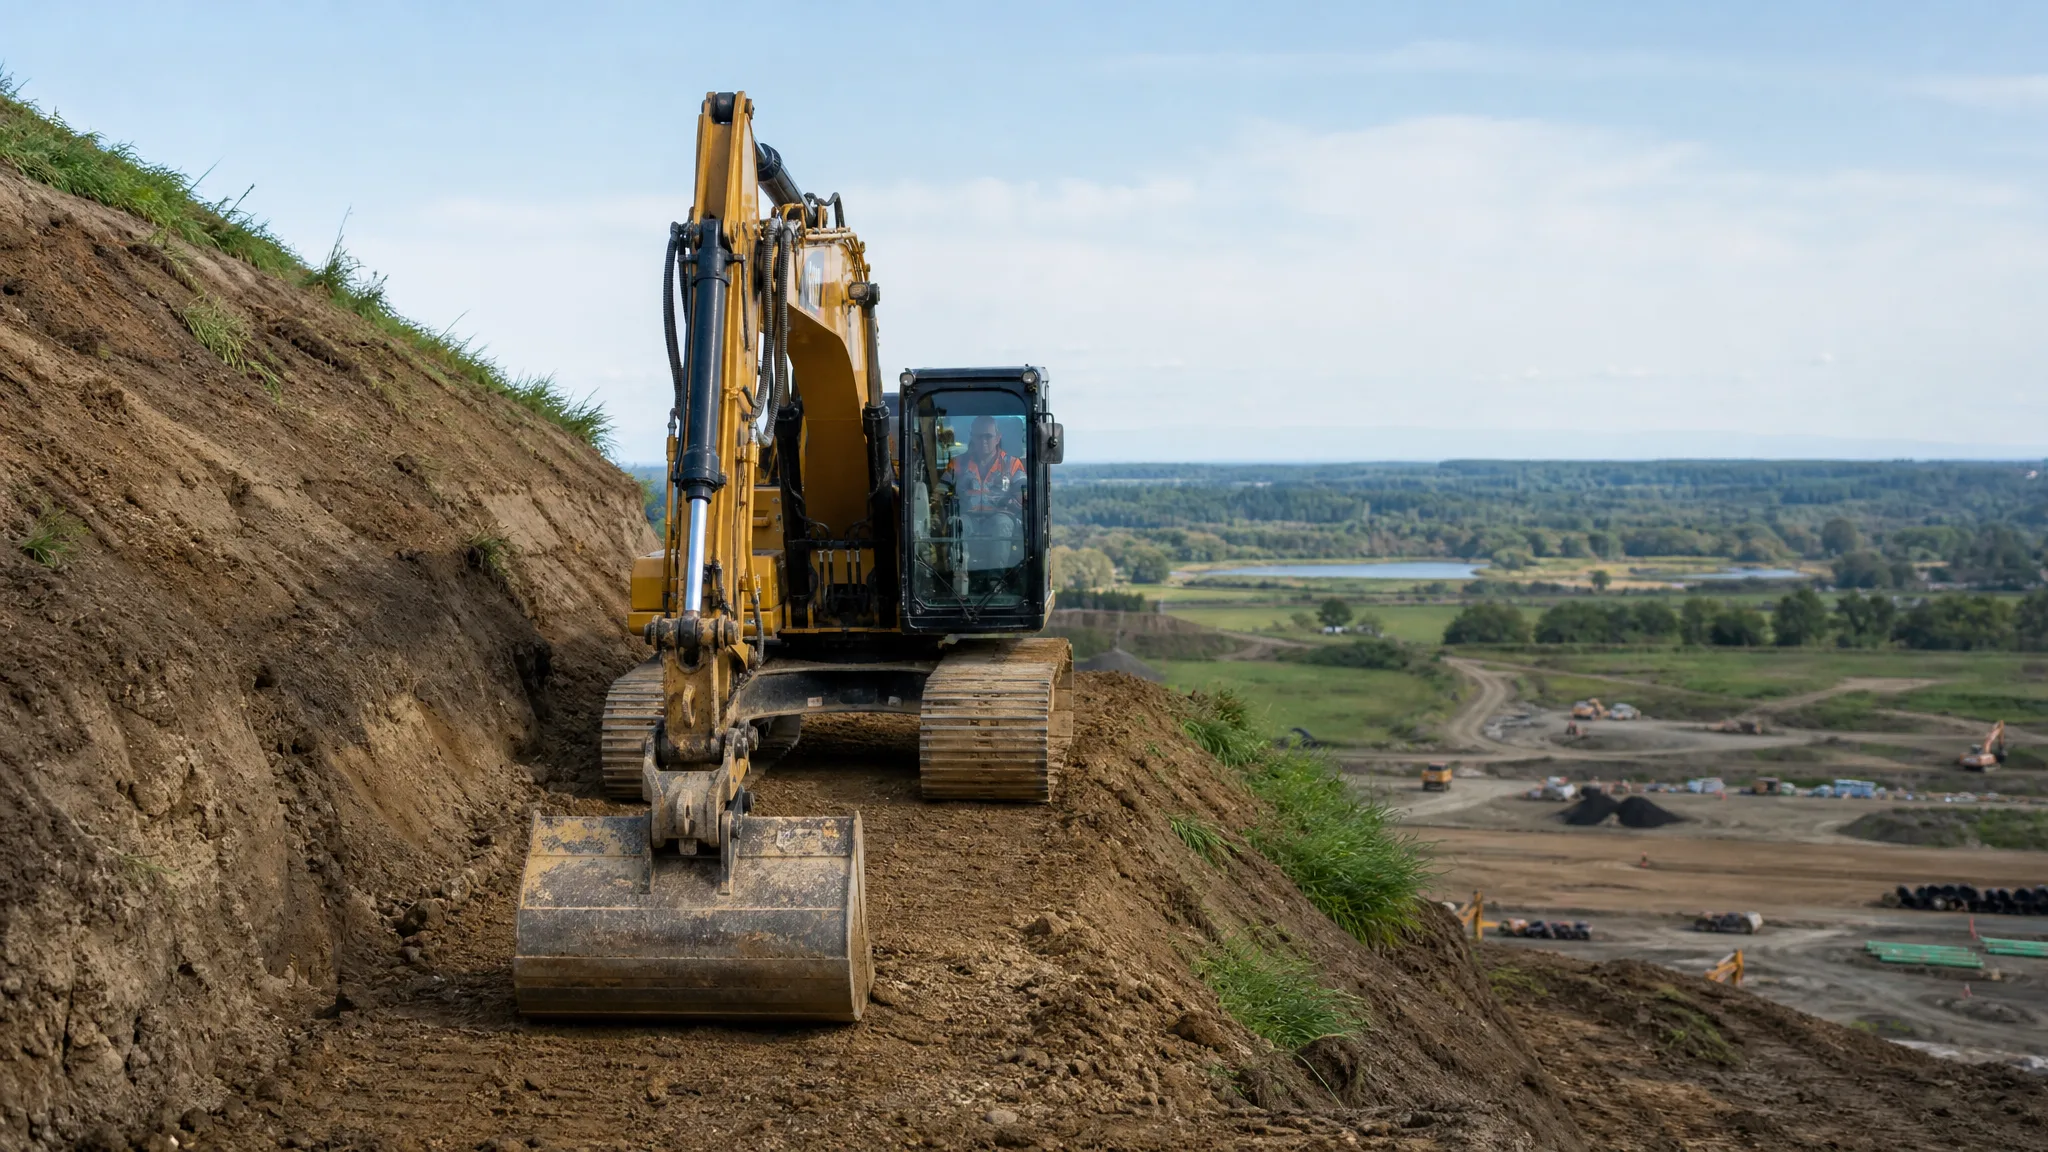
Rough grading is the first major shaping stage after clearing, stripping, demolition, or initial excavation. The goal is to move the site close to design elevations without trying to create the final finished surface. Crews cut high areas, fill low areas, build building-pad zones, open up access routes, and establish temporary drainage so the project can keep moving.
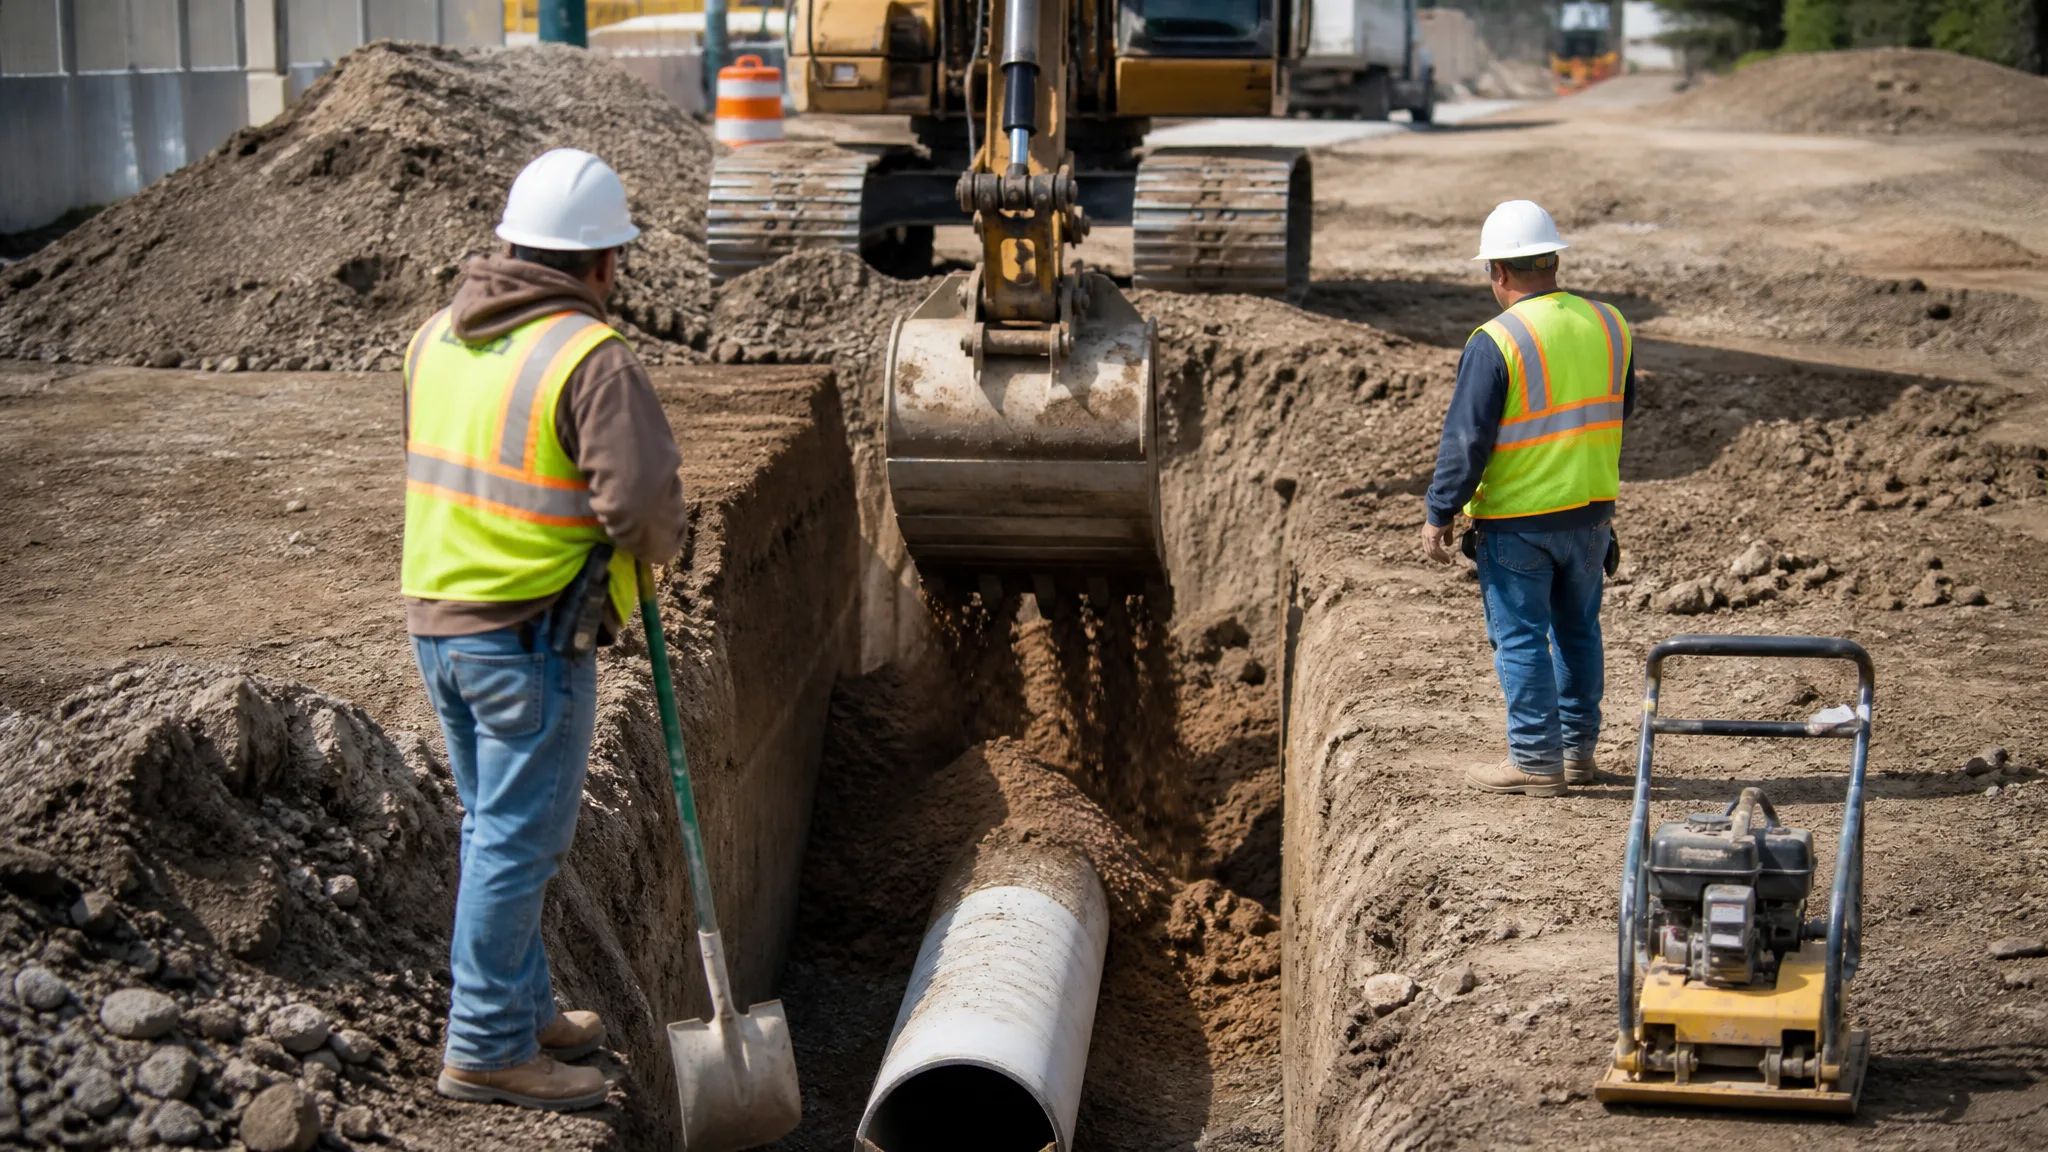
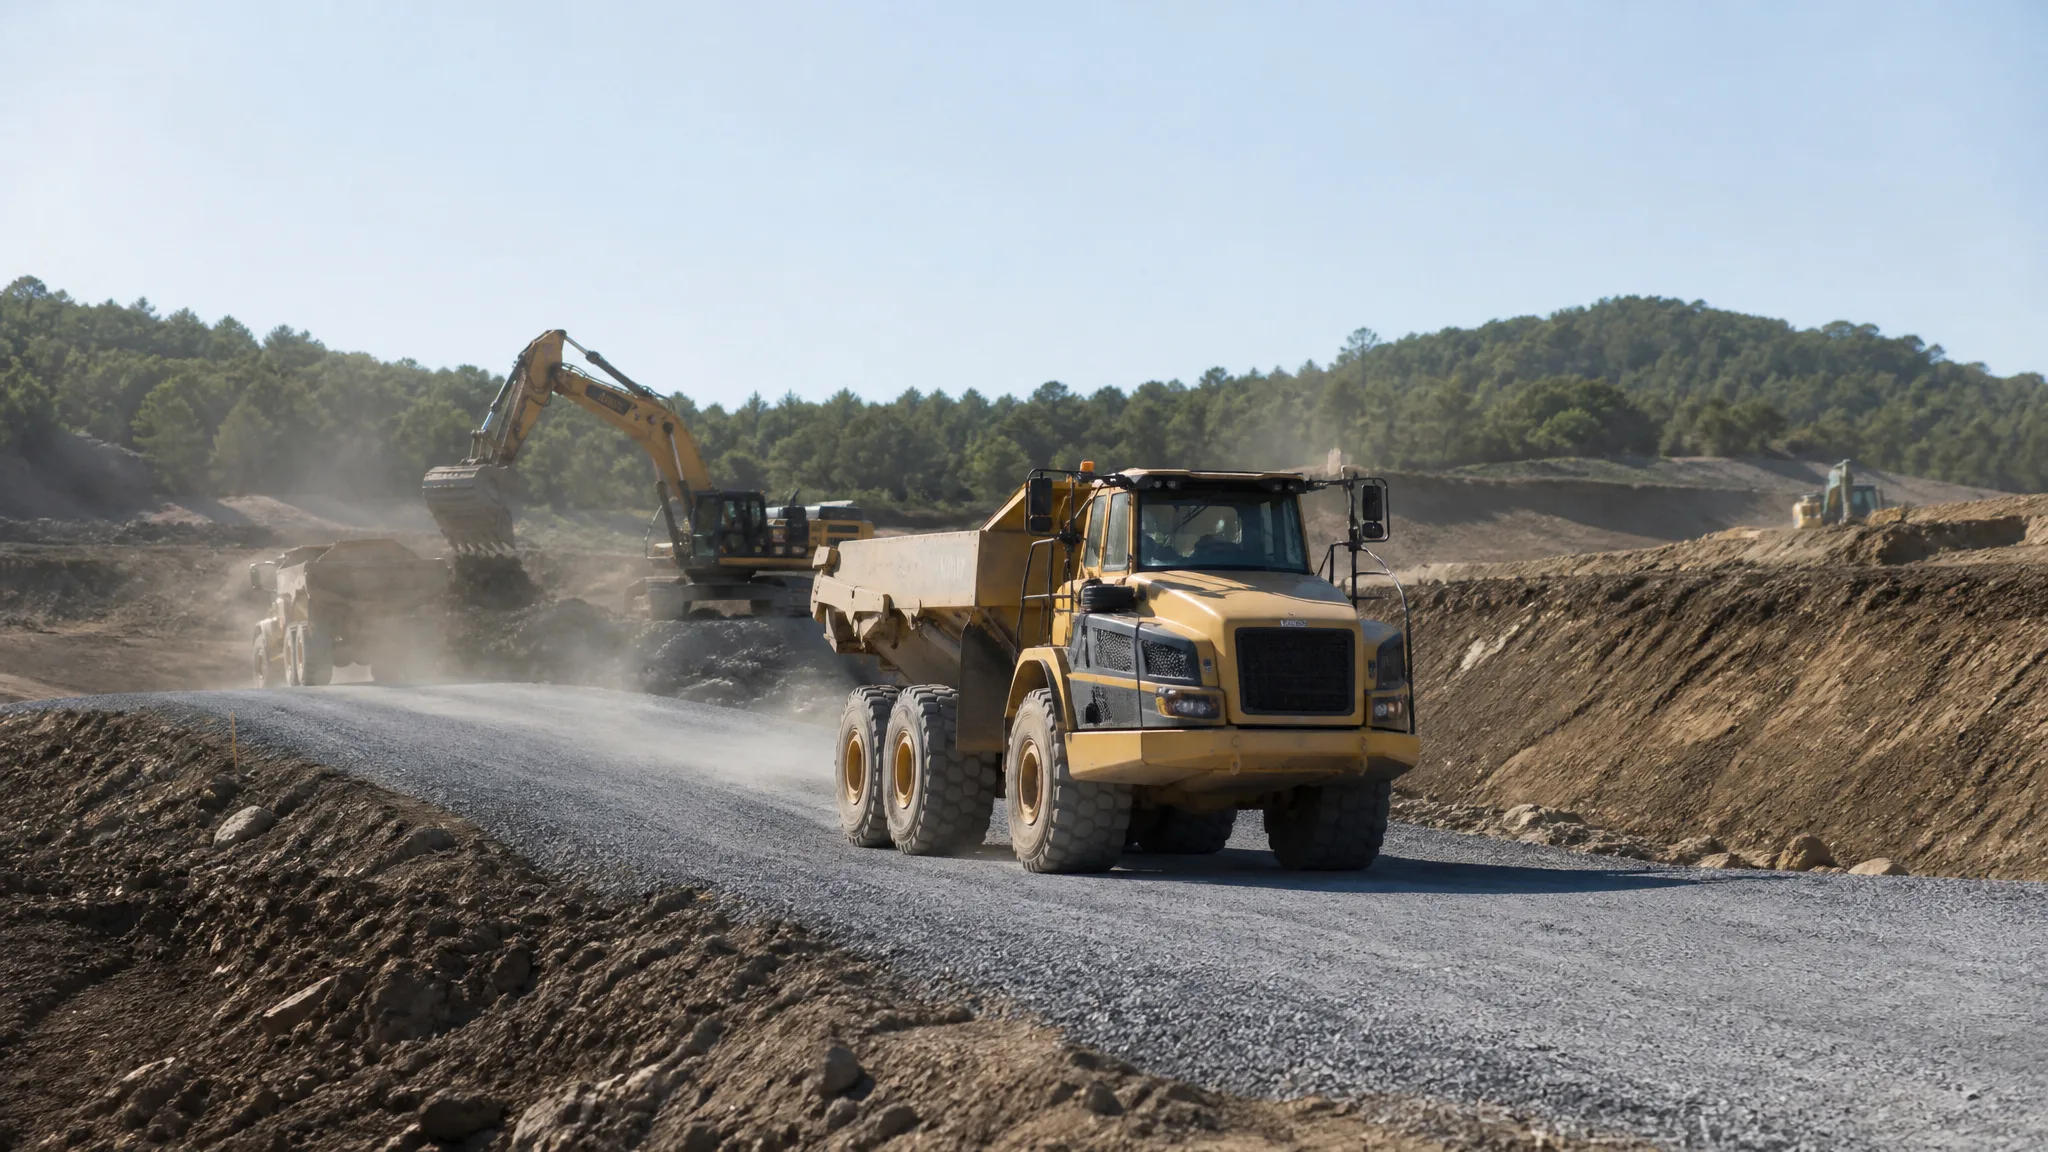
This is where the heavy dirt work happens. A contractor may use excavators, dozers, graders, compact track loaders, scrapers, dump trucks, and compactors depending on the size of the site. On larger jobs, rough grading follows a cut-and-fill plan like the one explained in cut and fill explained. On small residential jobs, it may be as simple as reshaping a yard, preparing a pad, or building a driveway subgrade.
Rough grade is not supposed to look perfect. It should be close enough that later work is efficient, stable, and predictable. A rough-graded site still needs room for base stone, topsoil, pavement sections, slab thickness, bedding, and final landscape grades.
What Finish Grading Means
Finish grading is the final shaping of the ground surface after the major elevations are already established. It creates the final slope for lawns, swales, pads, gravel areas, pavement subgrades, and landscape zones. The finish grade is what the owner sees and what water actually follows after the job is complete.
Finish grading often uses smaller, more precise equipment: compact track loaders with grading buckets, skid steers, box blades, laser grading attachments, hand rakes, compactors, and sometimes motor graders on road or parking areas. The work is slower because small changes matter. A half-inch ridge can hold water against a sidewalk, and a shallow low spot can become a recurring puddle after the first heavy rain.
For structures, finish grading also has to respect code and drainage requirements. The International Residential Code drainage rule commonly referenced for homes requires grade to fall away from foundation walls where site conditions allow. CEX covered the practical drainage math in how much slope a yard needs for drainage.
The Main Difference: Bulk Shape vs. Final Surface
The simplest way to separate the two is this: rough grading creates the bulk shape, while finish grading creates the final usable surface. Rough grading asks, "Is the site generally at the right elevation, stable enough to work on, and draining in the right direction?" Finish grading asks, "Is this exact surface ready for concrete, gravel, pavement, sod, seed, or final inspection?"
Rough grade is measured in broader tolerances and larger volumes. Finish grade is measured in tighter elevations, smoother transitions, cleaner slopes, and better water behavior. A rough grade may be several inches below final elevation because it still needs base material or topsoil. A finish grade should already account for those layers.
This distinction matters when owners compare bids. A low price may include rough grading only, leaving final shaping, topsoil spreading, drainage swales, or driveway base preparation as extra work. A clear scope should say which stage is included.
How Rough Grading Starts
Rough grading starts with information. The contractor needs existing elevations, proposed elevations, utility locations, building layout, drainage direction, soil conditions, access limits, and any areas that must be protected. Before heavy cuts and fills begin, the site should also be checked for buried utilities, soft ground, tree roots, old debris, and unsuitable material.
On many projects, topsoil and organic material are stripped before rough grading begins. Topsoil is useful for restoration, but it is poor structural fill because it contains organics. The article on topsoil stripping and stockpiling explains why separating it from structural fill keeps the finished site more stable.
After stripping, the contractor usually establishes working elevations with stakes, lasers, GPS, machine control, or a combination of layout tools. Then the site is cut, filled, and shaped in passes. Fill areas should be placed in lifts and compacted as the grade is built, not simply pushed into place in one thick layer.
Compaction Is Part of Grading
Grading is not only about making dirt look smooth. A site can look right and still fail if the fill below it is loose, wet, organic, or unevenly compacted. Building pads, driveways, slab areas, retaining wall zones, and utility trenches all need material that can carry load without settling excessively.
For structural areas, specs often reference a percentage of maximum dry density from a Proctor test, such as ASTM D698 or ASTM D1557. The exact requirement belongs to the plans or geotechnical report, but the concept is the same: fill needs the right moisture and enough compactive effort. CEX has a deeper breakdown in the science of soil compaction.
Moisture is a common reason grading stalls. Soil that is too dry will not bind well, while soil that is too wet can pump, rut, smear, and fail density tests. That issue is covered in how wet is too wet to compact soil.
Drainage Should Be Shaped Early
Drainage is not something to save for the last day. Rough grading should already move water away from work areas, future structures, stockpiles, and open excavations. Temporary ditches, swales, berms, and positive slopes keep the site from becoming a mud field and reduce the amount of rework after storms.
Finish grading refines those paths. The final surface should carry water to a safe outlet without trapping it against foundations, pavements, retaining walls, or neighboring properties. A swale that is too flat can hold water; a slope that is too steep can erode; a driveway with no crown can rut and wash. The article on creating effective drainage systems during excavation explains why grading and drainage belong together.
Good contractors check drainage visually and with tools. Lasers, string lines, grade rods, levels, and GPS data help catch shallow reverse grades before they become punch-list items.
Rough Grade for Pads, Slabs, and Driveways
Different final surfaces need different rough-grade elevations. A concrete slab area has to leave room for slab thickness, base material, and edge forms. A gravel driveway has to leave room for base and surface aggregate. A landscaped lawn needs topsoil depth without burying organic soil under structural areas.
That is why rough grade should be built from the final section backward. If the plans call for a compacted aggregate base under concrete, the dirt should not be finished flush with the top of slab. It should be low enough to receive the base and slab while still draining during construction. CEX walked through that sequence in how to prepare a site for a concrete slab.
The same logic applies to gravel driveways. Rough grading establishes the alignment, ditching, crown or cross-slope, and subgrade. Finish grading shapes the compacted stone layers so the driveway sheds water and does not trap runoff. See building a gravel driveway for the full driveway sequence.
Common Rough Grading Mistakes
The biggest rough grading mistake is moving dirt before understanding the final design. That leads to double handling, extra haul-off, added fill, or grade conflicts with foundations, utilities, steps, sidewalks, and drainage outlets. A second mistake is burying unsuitable material because it is faster than sorting it out.
Another common mistake is overfilling areas that still need base stone, topsoil, or concrete thickness. Poor stockpile placement is another problem. Spoil piles that block access or shed mud into drainage paths can create safety and erosion issues. CEX covered that in managing spoil piles on a construction site.
Finally, contractors sometimes leave rough grade too flat because it looks clean in dry weather. A flat site can become a problem as soon as rain hits. Even during construction, temporary positive drainage matters.
Common Finish Grading Mistakes
Finish grading mistakes are usually smaller but more visible. Low spots near foundations, back-pitched patios, uneven transitions at sidewalks, thin topsoil, exposed roots, and gravel surfaces with no crown all show up quickly after occupancy. These problems frustrate owners because the project may look complete until water reveals the miss.
Another mistake is using loose topsoil or uncompacted fill to correct a finished structural grade. That may hide a low spot for a week, but it can settle after rain or traffic. If a driveway, slab edge, or pad area is low, the correction should match the use of that area, not just the appearance.
Finish grading also needs protection. Heavy trucks, material deliveries, and repeated equipment traffic can destroy a finished surface. If the site still has major trades coming through, it may be smarter to bring the surface close and schedule the true final grade after heavy traffic is done.
How to Scope Grading Work Clearly
A clear grading scope should say whether the contractor is providing rough grading, finish grading, or both. It should describe the expected final condition: compacted building pad, driveway subgrade, stone-ready surface, seed-ready lawn, topsoil spread, swales shaped, erosion controls installed, or final cleanup complete. Those are different deliverables.
The scope should also say who handles testing, survey verification, import fill, unsuitable soil removal, topsoil, stone, stabilization, and repairs after other trades disturb the work. For a formal handoff, use a checklist like the one in what happens after excavation.
Rough grading and finish grading work best when they are planned together. The rough grade gives the project its structure. The finish grade gives it performance. When both are handled correctly, water goes where it should, surfaces support what they are supposed to support, and the site looks finished because it actually is.