Removing an Underground Storage Tank

Removing an underground storage tank is not a demolition job with a bigger hole. It is a regulated closure with a paper trail attached, and the paperwork starts before the machine does. A tank that comes out clean and documented is a few days of work. A tank that comes out leaking turns into a soil and groundwater investigation that can run for months and follow the property through every future sale.
That difference is decided before the excavator arrives — by how the tank was identified, how it was emptied and purged, where the samples were taken, and whether the right agency knew the work was happening. This guide walks the closure in the order an experienced contractor runs it, from the rules that apply to the excavation, sampling, and disposal that finish the job.
What Counts as a Regulated UST
Federal UST rules live in 40 CFR Part 280. The definition in 40 CFR 280.12 is broad, but it carries specific exclusions. Two matter most on residential and farm property: a farm or residential tank of 1,100 gallons or less used for storing motor fuel for noncommercial purposes, and a tank storing heating oil for consumptive use on the premises where it is stored. Any UST system of 110 gallons or less is also excluded under 40 CFR 280.10(b)(4).
Exclusion from the federal rule is not permission to ignore the tank. States run their own programs and often regulate residential heating oil tanks where the federal rule does not, tied to removal, replacement, property transfer, or a suspected release. Connecticut, for example, regulates heating oil tanks serving five or more residential units directly and publishes closure guidance for single-family tanks that includes soil sampling under the tank and piping. Local fire marshals add permit and abandonment rules on top. Call the state UST program and the local authority before scheduling the dig, not after.
The rules exist because underground tanks fail quietly. Steel corrodes inside and out, and a pinhole can run for years before anyone notices a loss. Under 40 CFR 280.53, a petroleum spill or overfill releasing more than 25 gallons, or causing a sheen on nearby surface water, must be reported to the implementing agency within 24 hours and corrective action begun. Once contamination is found at closure, 40 CFR 280.72(b) requires corrective action under Subpart F. Cleanup obligations can extend beyond the property line and are not erased by selling the house.
Step 1: Find and Identify the Tank
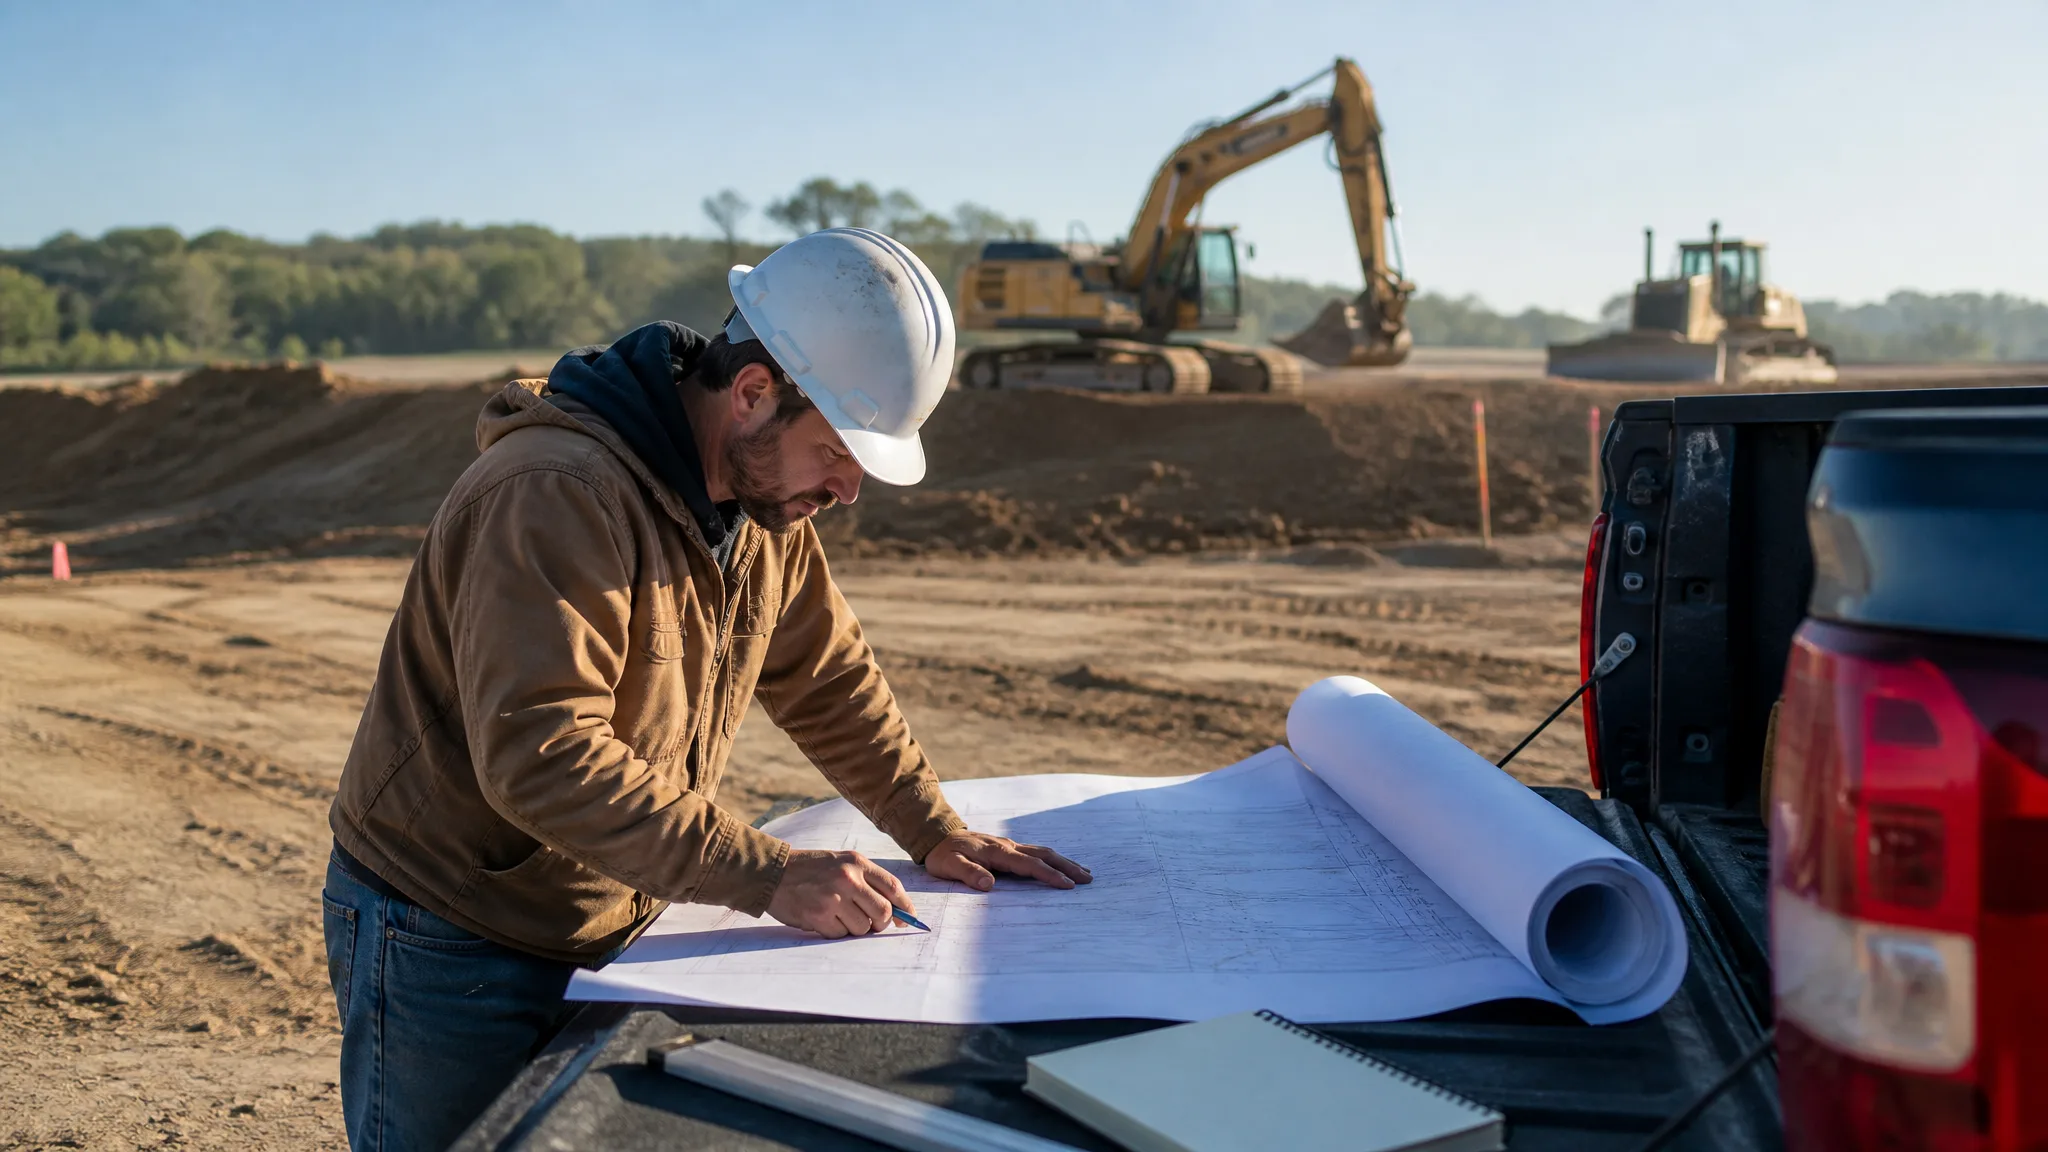
Start with records: prior removal reports, oil delivery records, a fill pipe and vent on the outside wall, or a concrete patch in a basement floor. Then confirm the location physically. Ground-penetrating radar and magnetic locating are common for a buried steel tank, and hand probing can confirm depth and ends where the ground allows.
Before any machine cuts ground, a locate ticket has to be open and the marks verified. Public locating covers utility-owned lines; private lines between the house and a detached garage, a pool, or an outbuilding are the property owner's responsibility. The process is covered in calling 811 before you dig, and the response when a line is damaged is covered in what to do if you hit a utility line.
Record what you find: material (steel or fiberglass), single or double wall, capacity, orientation, depth of cover, and the piping route. That information drives the excavation size, the lift plan, and the sampling plan, and it becomes part of the closure report.
Step 2: Notifications, Permits, and Disconnects
For a tank that falls under the federal rule, 40 CFR 280.71(a) requires notifying the implementing agency at least 30 days before permanent closure, or within another reasonable period the agency sets. The site assessment required by 280.72 has to happen after that notice and before closure is complete. Do not treat the notice as a formality — a closure that happens without it can be treated as an unauthorized abandonment regardless of how clean the excavation was.
State and local requirements stack on top: a tank registration or closure notification, a permit from the fire marshal or building department, sometimes a fee, and sometimes a required contractor license. Residential work often adds homeowner disclosure and lender documentation. The permit landscape for earthwork generally is covered in excavation and grading permits.
Disconnects come next. The oil supply and return lines are drained and disconnected, the fill and vent are capped or removed, and any electrical supply to the burner or pump is locked out. Photograph the lines and the disconnect before the excavation covers them.
Step 3: Empty, Clean, and Handle the Sludge
40 CFR 280.71(b) is direct: to permanently close a tank, it must be emptied and cleaned by removing all liquids and accumulated sludge. That means pumping out the product, then removing the sludge and scale that collect at the bottom of a steel tank over decades. A vacuum truck with a permitted waste hauler is the normal approach, and the material goes to a facility permitted to receive it.
The rule lists accepted procedures for cleaning and closure, including API Recommended Practice 1604, Closure of Underground Petroleum Storage Tanks, API Standard 2015 and RP 2016 for tank entry and cleaning, and NFPA 326, Standard for the Safeguarding of Tanks and Containers for Entry, Cleaning, or Repair. Those standards are the recognized way to do the work safely. Tank sludge can carry regulated constituents and may need testing before disposal, so confirm the receiving facility's requirements before the vacuum truck is on site.
Two practical points: the pump-out is usually a separate line item from the excavation, and the sludge is a waste stream with its own documentation. Disposal manifests belong in the closure file along with the liquid volumes removed.
Step 4: Vapor-Free the Tank Before Anyone Cuts It
An emptied tank is not a safe tank. Residual liquid and sludge give off flammable vapors, and a tank that has held heating oil or gasoline can sit in the explosive range long after the product is gone. The standard practice is to purge the tank with air or inert it with nitrogen or carbon dioxide, measuring the result with a combustible gas meter that reads in percent of the lower explosive limit. Cutting, grinding, or hot work does not begin until the atmosphere is verified safe, and the meter reading is recorded.
If entry is required to clean the interior, the tank is a permit-required confined space under OSHA's 29 CFR 1926.1200 rules: entry permit, atmospheric testing before and during entry, attendant outside, retrieval equipment, and trained entrants. Excavations carry a parallel testing duty — 29 CFR 1926.651(g)(1) requires testing for oxygen deficiency, combustible gases, and other hazardous atmospheres where they could reasonably be expected in an excavation deeper than four feet.
Ground and bond equipment, keep ignition sources out of the pit, and ventilate before and during any cutting. The tank should be cut so that it is left inert and open, not sealed with residual vapor inside. Contractors who do this work regularly use a written procedure and a gas meter on every tank; treating it as routine is how incidents happen.
Step 5: Excavate and Lift the Tank Safely
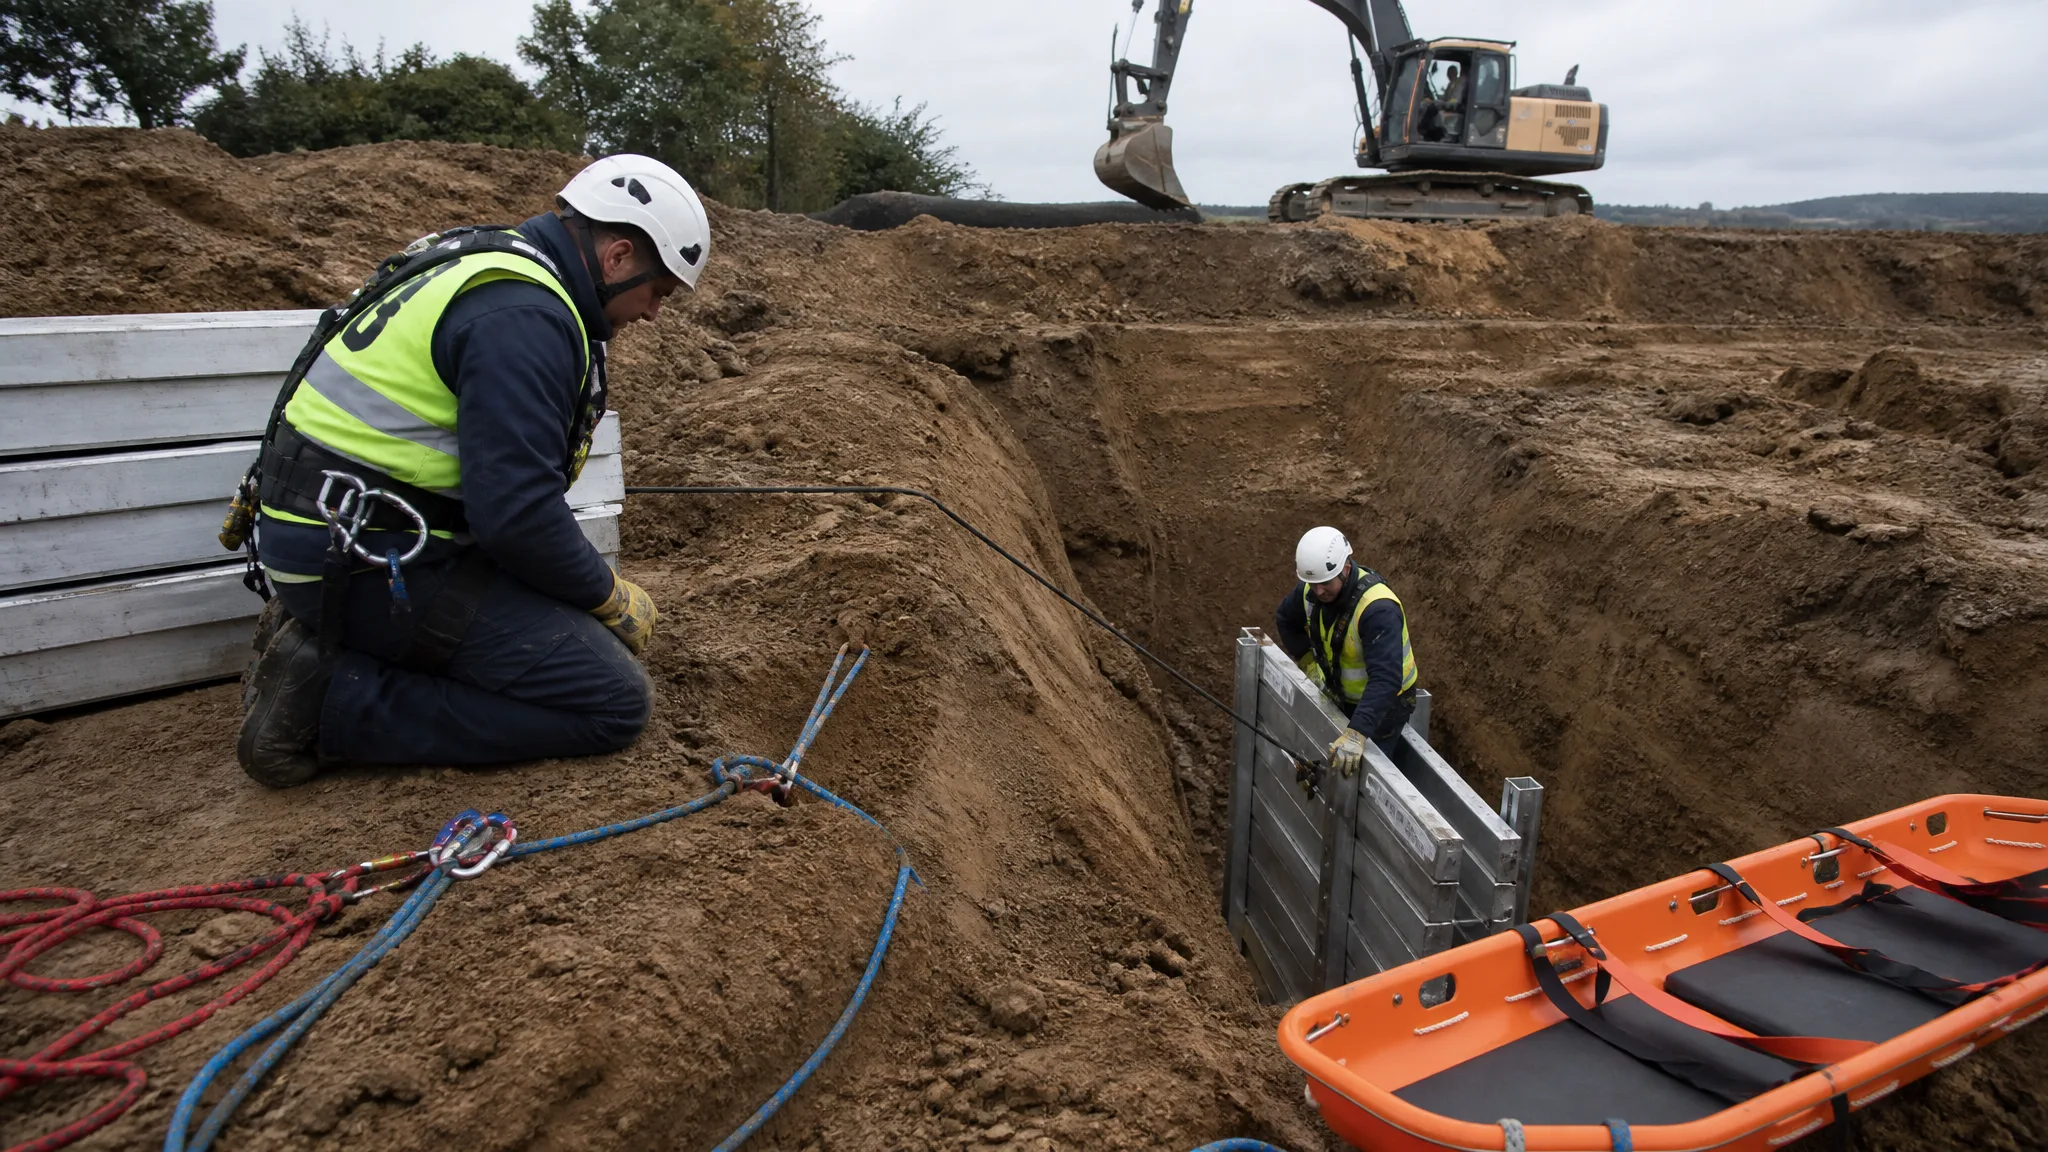
Excavate the soil over and around the tank with enough room to rig it and enough room for a person to work safely at the ends. Size the pit for the tank plus working space, and slope or shore the walls according to the soil and depth under 29 CFR 1926.652. A residential tank is often shallow enough to slope, but a commercial tank can be deep enough that a protective system is mandatory.
Keep the spoil where it does not surcharge the trench wall, and keep it segregated. Soil over the tank is likely to be the most contaminated material on the site, and mixing it with clean spoil only increases the volume that has to be tested and possibly disposed of. Spoil placement and setbacks are covered in managing spoil piles on a construction site.
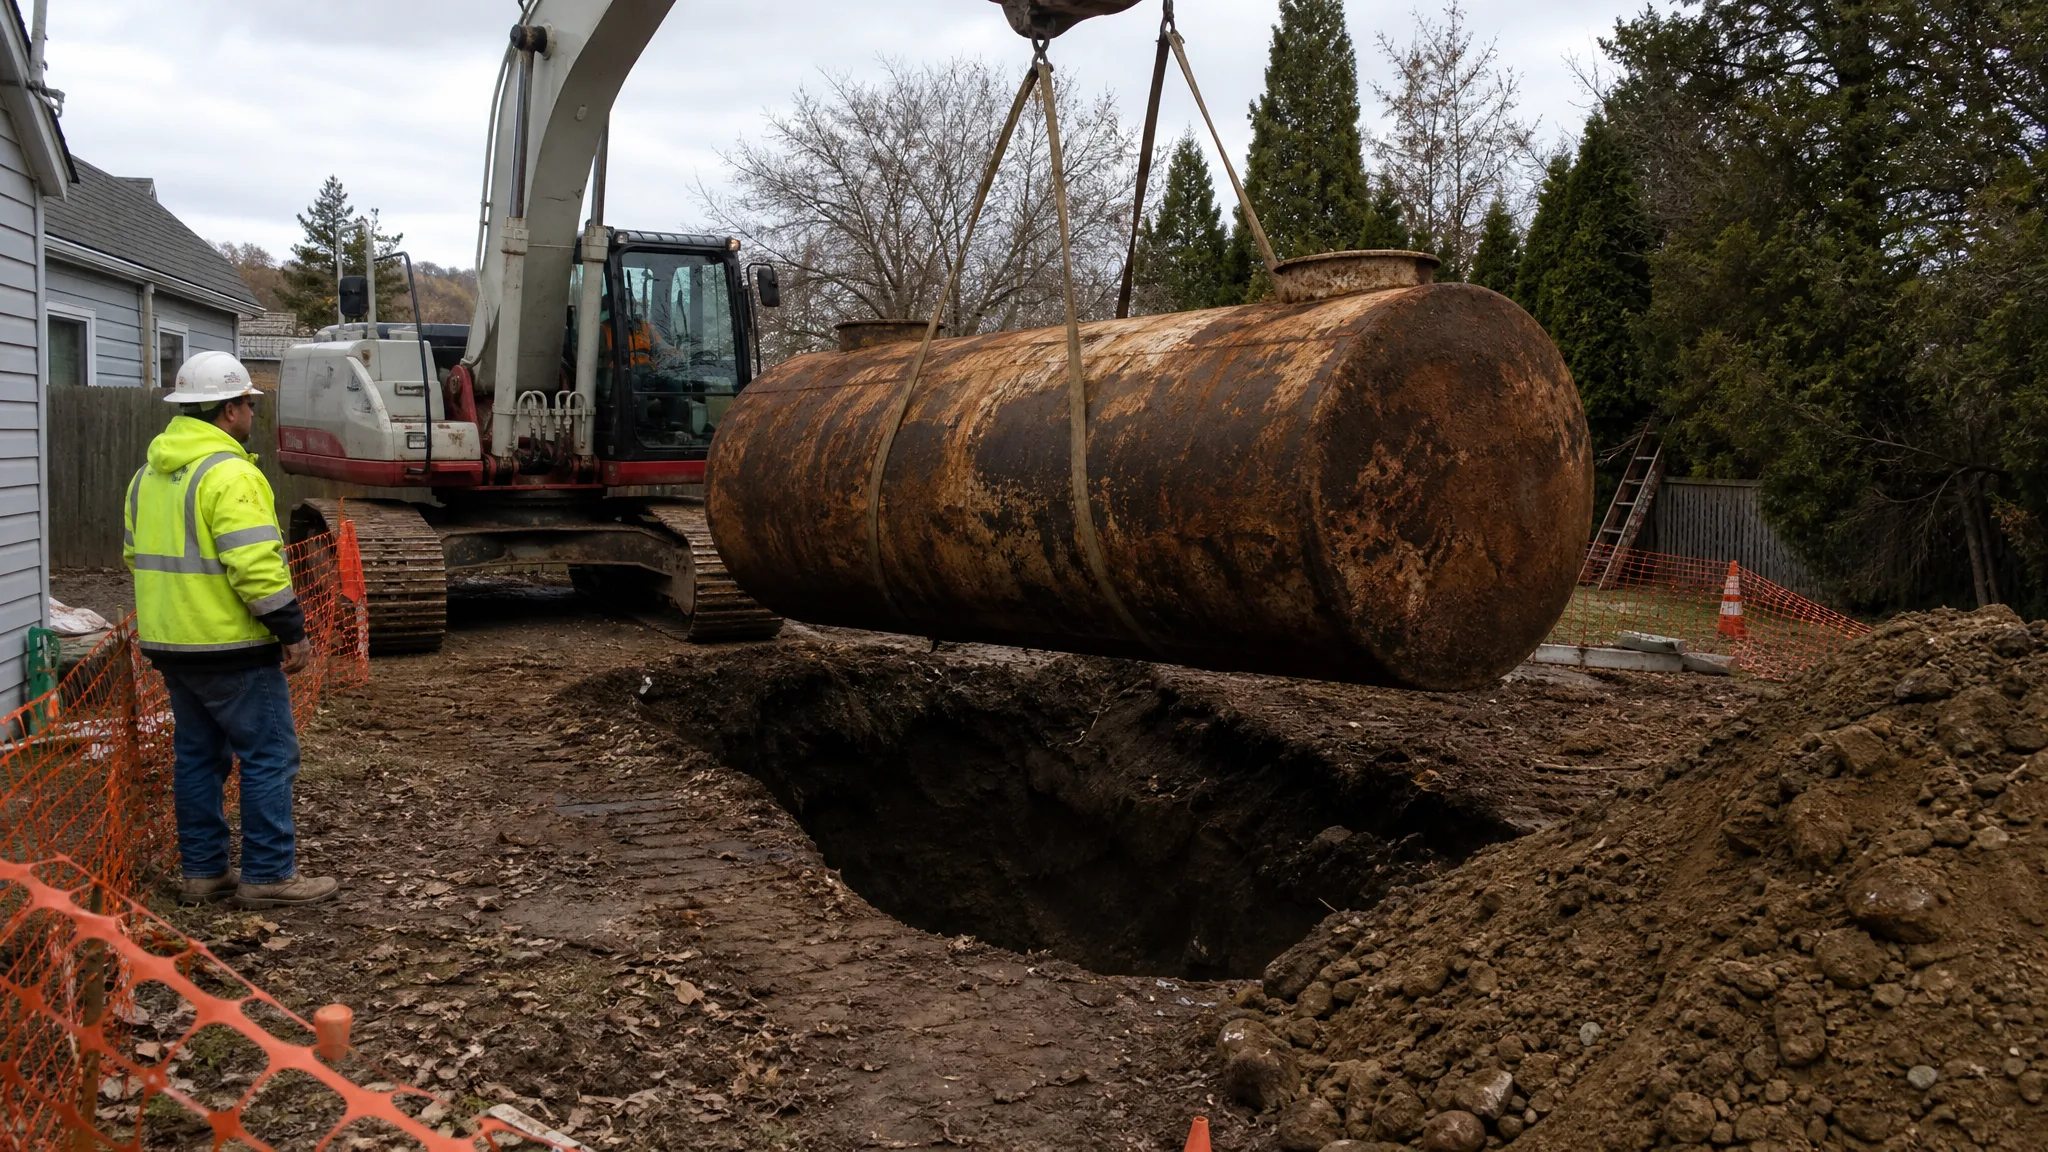
The lift itself is a rigging job. Confirm the tank's weight from its capacity and wall thickness rather than guessing, verify the machine's capacity at the required radius, and use rated slings with the load balanced. An excavator is not a crane, and the limits are explained in lifting with an excavator. Nobody stands in the pit or under the load while it comes out, and the tank is set on blocking, not dropped.
If groundwater is present, the pit needs dewatering before sampling and before anyone works in it. Sediment-laden water cannot go to a storm drain or ditch; it needs to be handled and settled. The methods are covered in dewatering an excavation, and tight residential access in tight-access excavation.
Step 6: Sample the Excavation Before Backfill
This is the step that most often decides the cost of the job, and it cannot be done after the hole is filled. Under 40 CFR 280.72, the owner or operator must measure for the presence of a release where contamination is most likely to be present before closure is complete. The rule requires considering the closure method, the substance stored, the backfill type, the depth to groundwater, and other site factors when choosing sample locations and methods.
In practice that means soil samples from beneath the tank, from the bedding, and along the product piping, plus any stained or odorous material found during excavation. Analyte lists, sample counts, and laboratory methods are set by the state program. Connecticut guidance for residential tanks calls for a sample from beneath the tank and piping analyzed for extractable total petroleum hydrocarbons at a certified laboratory. New Jersey's heating oil tank rules call for at least five samples from the excavation — one at each sidewall and one at the base — once a discharge is discovered. Either way, the sampling plan is defined before the pit is opened, and samples come from undisturbed material at the right depths, not from the spoil pile.
If the results come back clean, the closure can proceed. If they show contamination, the excavation stays open, the agency gets notified, and corrective action begins under the applicable state program or Subpart F. Backfilling over a known release to save a day is the most expensive decision available on this job.
Step 7: Dispose, Document, and Close Out
The tank itself is a waste stream. After it is emptied, cleaned, and made vapor-free, it is typically cut up or crushed and sent for scrap metal recycling, with the cut pieces inspected to confirm no residual product. Contaminated soil goes to a permitted disposal or treatment facility, and clean excavated soil can usually be reused as backfill. Every load should have a manifest or ticket that ties it to the site.
Backfill is placed in lifts and compacted, especially where the excavation will support a driveway, patio, or structure. The methods are the same as any utility excavation and are covered in backfilling a utility trench. Restore the surface to match the surrounding grade, and make sure drainage still runs away from the foundation.
The closure file is the deliverable: the notification and permit, the tank identification record, pump-out and disposal manifests, the vapor-freeing record and meter readings, photographs of the tank and the open excavation, laboratory reports, sampling locations, the backfill and restoration record, and a short report describing what was removed and what was found. Federal rules require closure records capable of demonstrating compliance, and 40 CFR 280.74 requires the excavation-zone assessment results be kept at least three years after closure. State retention and disclosure rules can be longer, and buyers and lenders will ask for the file regardless.
Removal vs. Abandonment in Place
Federal rules allow a tank to be closed in place by filling it with an inert solid material, or closed in place in a manner approved by the implementing agency, as an alternative to removal under 40 CFR 280.71(b). That option exists for real reasons: a tank under a foundation, a deck, or an addition may be genuinely inaccessible, and removal could threaten the structure.
It is still the weaker option in most residential situations. A tank left in the ground remains a future discovery for the next owner, a future digger, and a future lender, and its condition is unverified unless the soil beneath it was sampled first. Connecticut's guidance discourages abandoning tanks in place unless they are inaccessible or removal would endanger a foundation, and directs that a soil sample be collected beneath the tank before filling, with any contamination reported. The same logic applies nearly everywhere: sample before you fill, clean before you fill, and document the decision.
Cost and schedule follow the same logic. Tank size, depth, access, groundwater, the volume of soil that needs testing or disposal, permit timelines, and restoration all move the number more than the excavation itself does. A clean removal with clean samples is a short job. A removal that uncovers a release becomes an environmental project with its own schedule, and the difference is discovered in the sampling step, not in the bid.
Mistakes That Turn a Clean Removal Into a Project
- Digging before the notice or permit. A closure done out of sequence can be treated as an unauthorized abandonment even when the site is clean.
- Assuming the federal exclusion means no rules. State heating oil tank programs, fire marshals, and local ordinances routinely apply where Part 280 does not.
- Cutting before the tank is vapor-free. Empty is not the same as safe, and a combustible gas reading is the only proof that matters.
- Mixing contaminated and clean spoil. Blending soils multiplies the volume that must be tested and disposed of.
- Backfilling before sampling. Once the excavation is closed, the evidence is gone and the agency can require re-excavation.
- Guessing the tank weight. Capacity, wall thickness, and residual contents decide the lift, and the machine's chart decides whether it can be made.
- Skipping the closure report. Without photographs, manifests, and lab results, the next owner has no proof the work was done correctly.
- Leaving the former tank location unrecorded. A dimensioned sketch in the file keeps the next excavation from finding it the hard way.
An underground tank removal is a short excavation wrapped in a long compliance trail. The contractors who do it well are not the ones who dig fastest. They are the ones who confirm the rules before mobilizing, empty and purge the tank properly, sample the excavation before it disappears, and hand over a file that answers every question a buyer, a lender, or a regulator will ask years later.