Installing a Driveway Culvert


A driveway culvert is a short pipe that carries water under a driveway so the driveway can cross a ditch or a low spot without turning into a dam. It is a small piece of infrastructure, but it is unforgiving: when a culvert is undersized, has too little cover, or is backfilled loosely, the driveway above it fails, sometimes in the first big storm. Getting the excavation, bedding, and backfill right is what makes the crossing last.
This guide walks through how a driveway culvert is installed and the details that decide whether it survives: permits and sizing, choosing the material, digging the trench, bedding and slope, the minimum cover under traffic, backfill, and end treatments.
What a Driveway Culvert Actually Does
A culvert is a gravity-flow crossing. Water enters one end at roughly the natural ground level of the ditch or waterway, passes under the driveway, and exits at the same level on the other side. It never sees pump pressure, so the governing specs are stiffness and load capacity, not pressure ratings. The installer’s job is to give the water an open path and to build a soil-pipe structure strong enough to carry traffic.
That soil-pipe interaction is the part people miss. A flexible pipe, whether plastic or corrugated steel, carries a load as a system with the soil around it: the pipe deflects slightly, the compacted backfill pushes back, and the composite carries the truck. If the backfill is loose, the pipe keeps deflecting until it flattens.
Start With the Permit and the Local Standard
In most jurisdictions you cannot just dig a ditch crossing on your own terms. Counties and cities commonly require a driveway approach or culvert permit, and that permit typically dictates the minimum diameter, the minimum length, and sometimes the material. A 12-inch diameter and about a 20-foot length is a common minimum, but plenty of local standards require 18 inches for surface-water drainage, and no pipe should be smaller than the flow actually needs.
Confirm the local standard before you buy pipe. Sizing is often decided by the permit before hydraulics ever enter the conversation.
Sizing the Pipe to the Water It Has to Carry
Once local minimums are met, size the culvert for the water that will actually reach it. The three inputs are the size of the area draining into the crossing, the soil and ground cover of that area, and the local rainfall intensity. Together those set the peak flow the pipe must pass during a design storm, commonly a 10-year event for a residential driveway.
In practice, a small driveway with a shallow roadside ditch may be fine at 12 inches, while a large contributing watershed, heavy rain, or a wet climate pushes you toward 18 inches or more. Hilly terrain also changes how fast water arrives. If the numbers are close, go bigger, because an oversized culvert rarely causes trouble and an undersized one always does. The way water reaches and leaves a site is the same subject explored in the role of hydrology in excavation and grading.
Choosing the Material
Three materials cover almost every driveway culvert. Corrugated HDPE is light, rust-proof, and the easiest to handle; dual-wall pipe has a smooth interior that moves roughly twice the water of bare corrugated pipe at the same diameter, which is why it is the residential default. Corrugated steel (CMP) takes abuse and spans well but is the weak point in acidic or abrasive soils, where it can corrode from the inside out. Reinforced concrete (RCP) is the choice for deep fills and highway crossings, but it is heavy and needs equipment to set.
For most driveways, dual-wall HDPE is the sensible pick: corrosion-immune, light enough to position by hand, and available in the sizes and lengths a homeowner or small contractor needs. If the driveway will sit on a base of recycled aggregate, the material notes in is crushed concrete a good driveway base are worth a read alongside it.
Digging the Culvert Trench
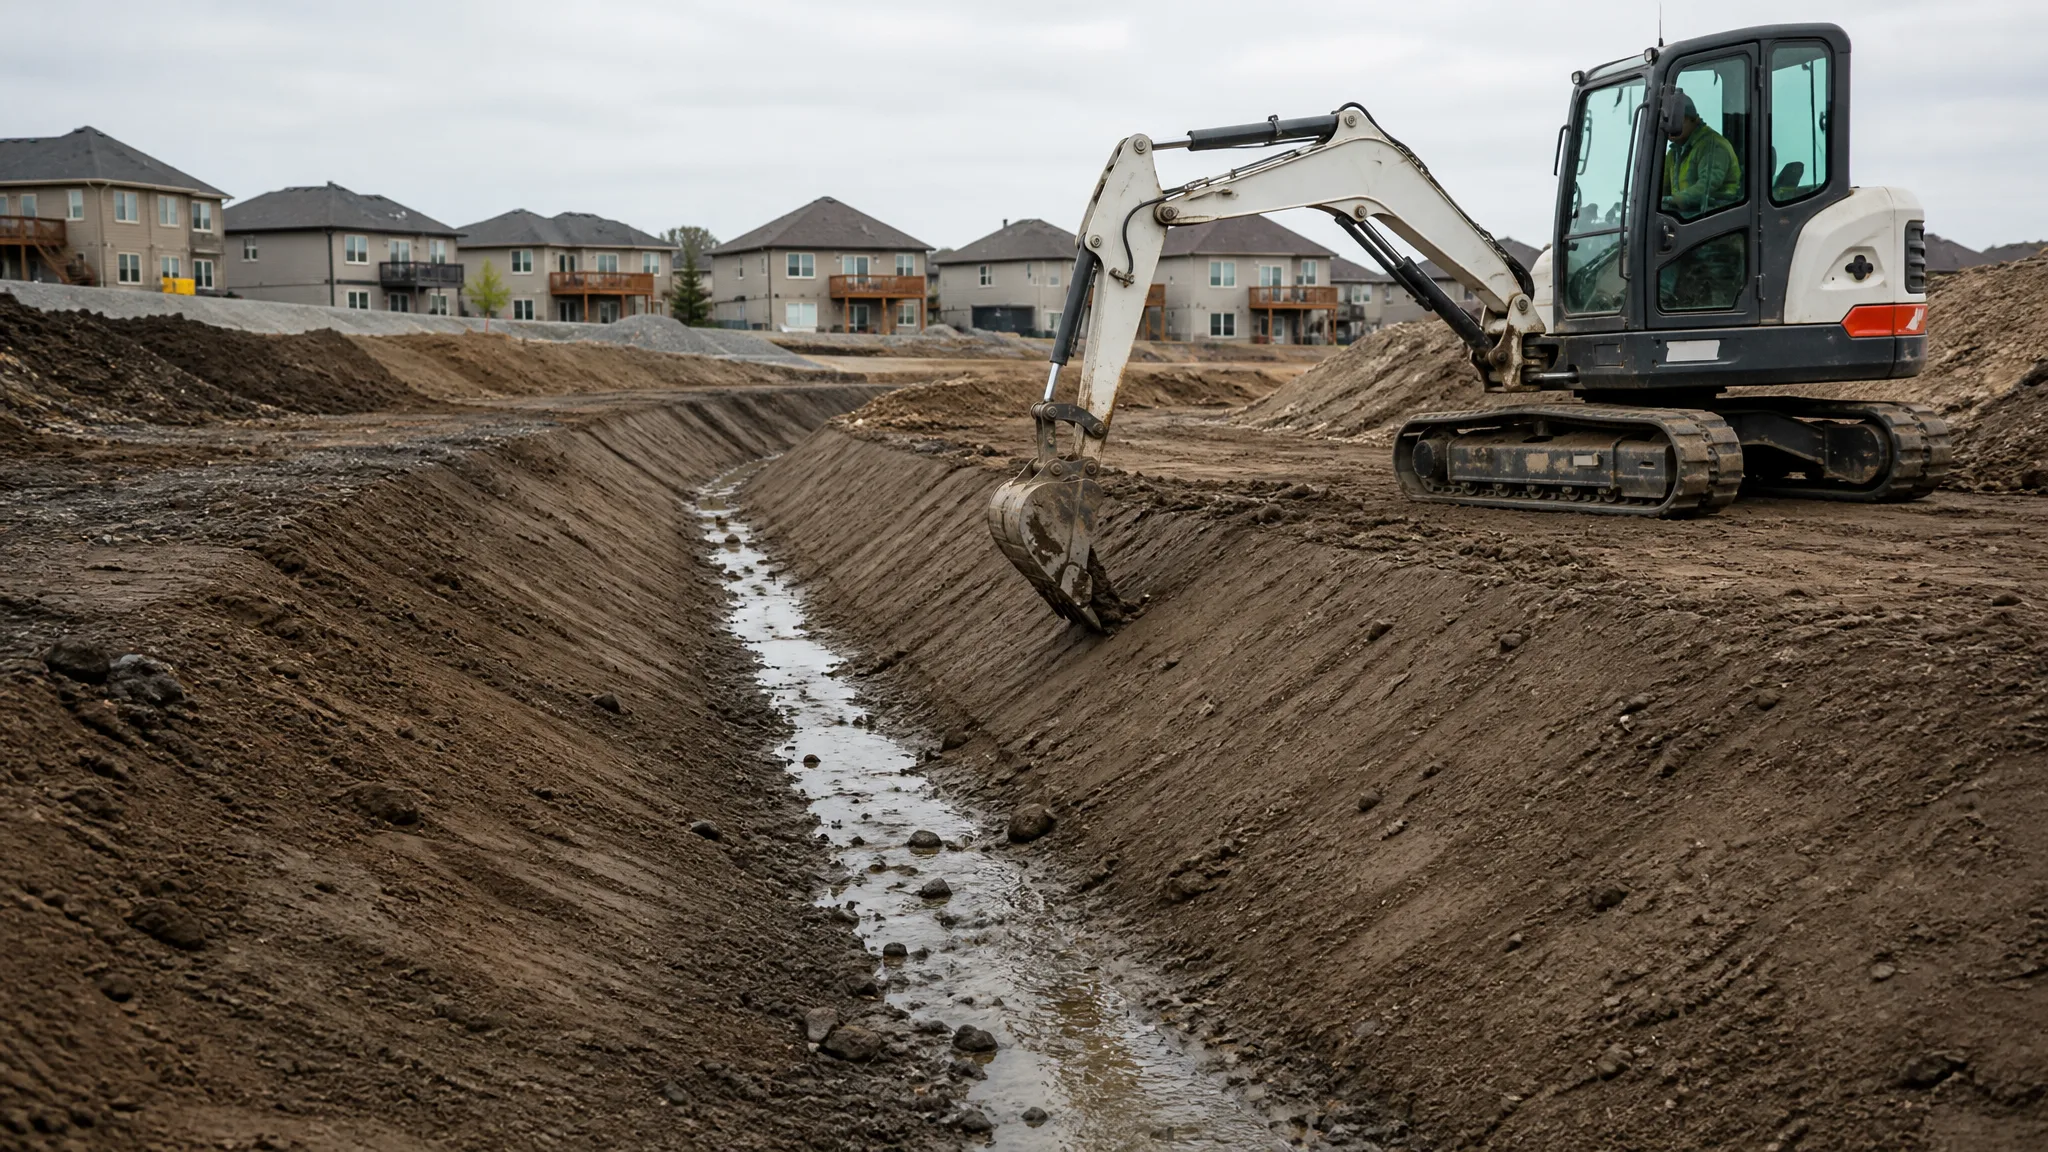
Set the culvert on the natural stream grade so the water leaves at the level it arrives. Dig the trench long enough to extend beyond both sides of the driveway. A working rule is driveway width plus about two feet of shoulder on each side, plus the horizontal run of the ditch slope, which is often taken at a 6:1 ratio, meaning six feet of horizontal run for each foot of ditch depth. A 20-foot driveway with two-foot shoulders and two-foot-deep ditches works out to roughly 36 feet, and lengths around 20 to 30 feet are common.
Dig the trench deep enough to hold the bedding, the pipe, and the required cover, and trench the full width so you are not fighting a cut edge later. The mechanics of cutting a straight, correctly sloped trench are covered in trenching techniques for different soil types. Keep spoil well back from the edges and plan where it will go, as described in managing spoil piles on a construction site.
Bedding the Pipe and Setting the Slope
Bed the pipe on granular material such as crushed stone or clean gravel, never clay or organic soil. Shape the bedding so the pipe sits evenly along its full length; a pipe bearing on a single high point mid-span will crack or deflect there. Give the pipe a continuous downhill slope of at least 0.5 percent, a little over one-sixteenth of an inch per foot, and 1 percent is safer so it drains fully and self-cleans instead of holding water and silt.
Lay the pipe straight, and check the invert elevations at both ends before you bury anything. The slope has to be continuous, because a sag in the middle becomes a permanent puddle. The same logic of building in a reliable fall applies to the surfaces above, as in the crowned roadway.
Backfill and the Minimum Cover Rule
Cover is where driveways fail. Under traffic loads (AASHTO H-20 or HL-93), corrugated HDPE from 4 to 48 inches needs at least 12 inches of cover over the crown, and 54- to 60-inch pipe needs more, so always follow the manufacturer’s table for the specific product. Backfill the envelope in accordance with ASTM D2321, using a suitable granular material compacted in lifts; a typical requirement is a Class III material at 95 percent of standard Proctor density, or a Class II material at 90 percent.
Backfill evenly on both sides in thin lifts, compacting as you go, so the pipe does not shift or ovalize. Do not drop large rock directly on the pipe, and do not compact so aggressively right over a flexible pipe that you crush it before the soil around it can support it. Extend the structural backfill to the crown at minimum, and to grade if settlement or rutting is a concern. All of this follows the same principles used in building a gravel driveway, where the layers below the surface carry the load.
End Treatments
Unprotected inlets are where culvert failures usually begin. Water scouring the soil around a bare pipe end undermines the driveway edge and washes the fill away from the pipe. Finish each end with a flared end section, a small headwall, or riprap around the inlet and outlet to spread the flow and protect the soil.
The outlet especially needs protection. Water leaving a culvert is moving fast and will cut a hole at the discharge point if nothing slows it. Riprap, a splash pad, or a short section of lined channel at the outlet prevents that erosion, the same way the systems in creating effective drainage systems during excavation protect soil elsewhere on a site.
Erosion Control During and After Installation
Any time you disturb soil near a waterway, the disturbed ground has to be stabilized. Keep stripped topsoil separate if you plan to reuse it, following topsoil stripping and stockpiling practice, and re-vegetate or otherwise stabilize the disturbed area as soon as the work is done. On larger or permitted jobs, sediment controls may be required, and the site’s erosion and sediment control plan will specify them.
Watch the first few storms after installation. Water should flow through the pipe with a clear, free outfall. If it backs up, ponds at the inlet, or cuts around the ends, fix the grade or add end protection before the problem grows. Handling standing water at a crossing is the same skill described in dewatering an excavation.
Common Culvert Installation Mistakes
The recurring failures are predictable: a pipe sized to the ditch rather than the watershed, cover that is too thin for the traffic above it, a slope flatter than 0.5 percent that silts up, bedding that lets the pipe sit on a hard point, backfill dumped in without compaction, and bare pipe ends left to scour. Working out the pipe length correctly also depends on simple volume math, the kind covered in calculating excavated soil volume and truckloads. Get the excavation, the bedding, and the soil around the pipe right, and a driveway culvert becomes one of the most durable things on the property.