Excavation Takeoff Methods


An excavation takeoff is a volume problem disguised as a paperwork problem. The plans show elevations and dimensions, the bid needs cubic yards, and the method you use to get from one to the other decides whether the number holds up when the first load leaves the site. There is no single correct method. There is only a method that fits the shape of the work, the quality of the survey, and the level of risk the job can carry.
Most bad takeoffs are not arithmetic errors. They are method errors: using a formula that suits a long highway cut on a square building pad, measuring a plan at the wrong scale, or quietly mixing two different elevation datums. This guide covers the four methods contractors actually use, the adjustments that change the answer, and the workflow that keeps a takeoff consistent from the first sheet to the final bid.
What a Takeoff Has to Produce
A useful takeoff does not produce one number. It produces a set of numbers, each tied to a pay item that is priced and performed differently. Topsoil stripping, mass grading, structural excavation, rock, and unsuitable material that has to leave the site are five different quantities with five different costs.
List the quantities the job actually needs: topsoil to strip and stockpile, cut in each material type, fill placed and compacted to a specified density, rock, unsuitable spoil for disposal, import, bedding stone, and any borrow or waste. Then take off each one separately. A takeoff that nets cut against fill before it separates suitable from unsuitable material is not a takeoff, it is a guess with a decimal point. The mechanics of balancing dirt are covered in cut and fill explained.
Start With the Plan Set, Not the Calculator
Before any volume is calculated, confirm what the drawings are telling you. A grading plan carries an existing surface and a proposed surface, and every volume is the space between them. If you calculate against the wrong surface, nothing downstream can save the number. Read the general notes for the vertical datum, the units, and whether elevations are in feet or meters.
Then check the scale. Plans get scanned, resized, and plotted at "fit to page," so the stated scale is a claim, not a guarantee. Measure a dimension that is also labeled — a building side, a property line, a pavement width — and confirm the drawing measures what the label says before you measure anything else. The elements on a grading sheet are broken down in how to read a grading plan.
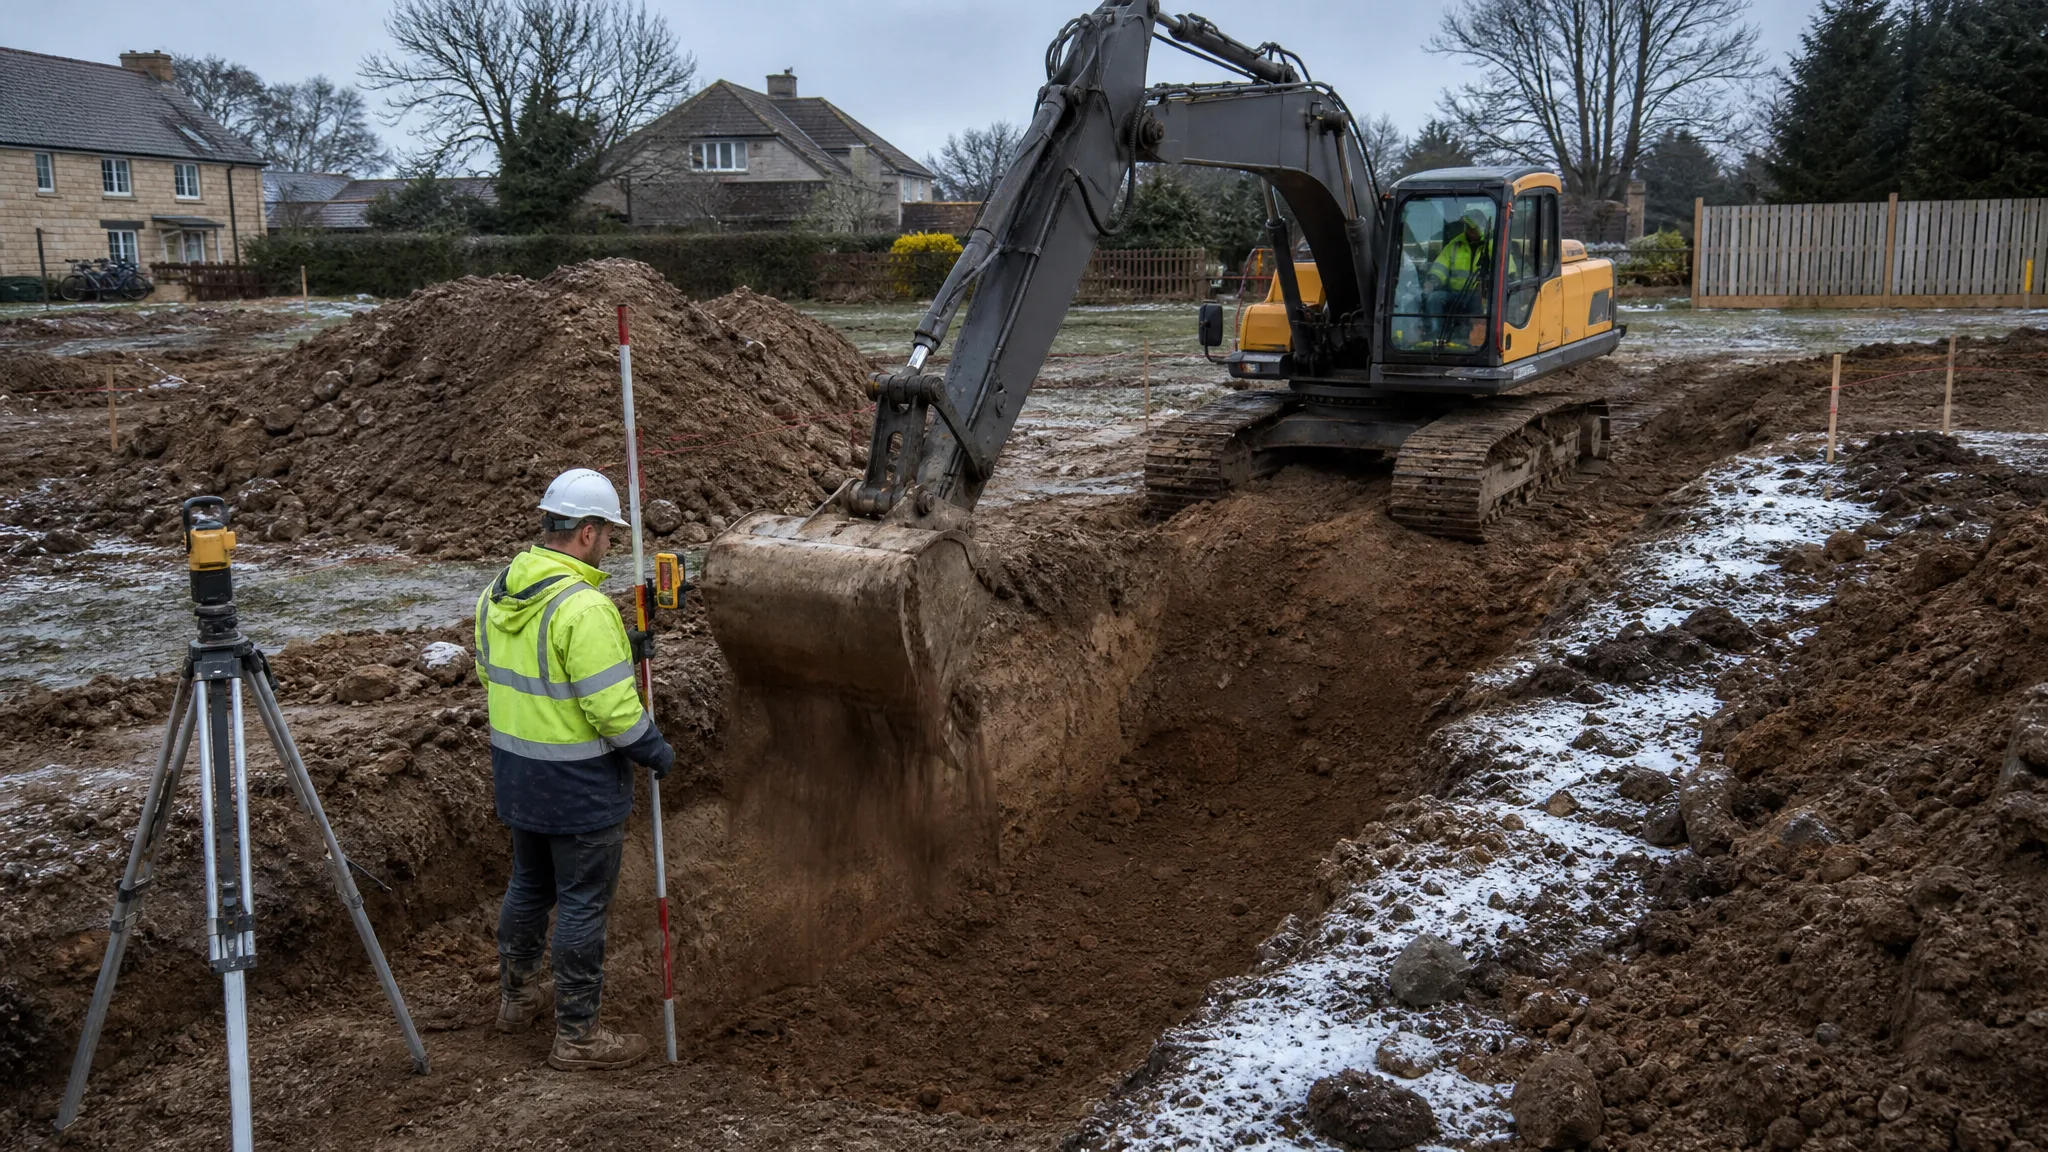
Finally, decide what the limits of work are. Excavation rarely stops at the building line. Working space around footings, side slopes on deep cuts, equipment access, stockpile areas, and temporary haul roads all consume volume, and none of them are usually drawn. Field elevations and benchmarks are covered in how to set grade.
Method 1: Simple Shapes
Where the excavation is regular, geometry is the fastest and most defensible method. A rectangular building pad is length times width times depth. A footing or utility trench with vertical walls is the trench width times depth times length, plus any bell or haunch.
Once the excavation has sloped sides, the shape is a prism with a trapezoidal cross-section. The volume is the average of the top and bottom widths, times the depth, times the length. A trench 4 feet wide at the bottom, 10 feet wide at the top, 6 feet deep, and 100 feet long holds roughly 4,200 cubic feet, or about 156 cubic yards of bank material.
Ponds and pits with sloped sides on all four walls follow the same logic in three dimensions: a frustum formula, or the average of the top and bottom areas times depth. Treat these results as bank cubic yards — the volume in the ground before it is disturbed — and apply swell before you order trucks.
Method 2: The Grid (Borrow Pit) Method
The grid method is the workhorse for irregular areas: building pads, parking lots, borrow pits, and any site where the depth changes across the footprint. Overlay a square grid on the plan, sized so that each cell is small enough to capture the shape of the ground. A 25- or 50-foot grid is common on building sites; a tighter grid means more readings and better accuracy.
At every grid intersection, record the existing elevation and the proposed elevation. The difference is the depth of cut or fill at that point. For each cell, average the four corner depths and multiply by the cell area. Sum every cell, and you have a volume.
Take a 50-foot grid with corner depths of 3.2, 2.8, 3.5, and 3.1 feet. The average is 3.15 feet. The cell area is 2,500 square feet, so the cell volume is 7,875 cubic feet, or about 292 cubic yards. A hundred such cells would be 29,200 cubic yards — which is exactly the kind of number that decides whether a job is worth bidding.
Two details matter. Cells on the edge of the work area are usually partial, so assign a fraction of the full area rather than a full cell. And keep cut and fill in separate columns: a cell that is 2 feet of cut is not offset by a cell that is 2 feet of fill unless the material is suitable and the haul makes sense.
Method 3: Average End Area for Linear Work
Roads, ditches, pipelines, and long cuts are better handled by cross-sections than by a grid. Take a cross-section at each station, calculate its area, and compute the volume between consecutive sections. The standard formula is the average of the two end areas times the distance between them.
If a 100-foot segment has cross-sectional areas of 400 square feet at the first station and 460 square feet at the next, the volume is 43,000 cubic feet, or about 1,593 cubic yards. Repeat that along the alignment and sum the segments.
The weakness is that the method assumes the area changes linearly between stations. Where the section changes sharply — a grade break, a side-hill transition, a pipe crossing — average end area overstates the volume. The prismoidal formula corrects for it by weighting a mid-section area four times as heavily: length divided by six, times the two end areas plus four times the middle area. Many earthwork contracts specify which method governs payment, so check the specifications before you choose.
Method 4: Surface-to-Surface Volumes
Modern takeoffs usually compare two digital surfaces: an existing ground surface built from survey or drone data, and a proposed surface built from the design. The software triangulates both and computes the volume between them, which handles irregular boundaries and complex grading far better than hand methods.
The output is only as good as the inputs. Both surfaces must be in the same coordinate system and on the same vertical datum. The existing surface needs enough points to represent the ground, and breaklines along grade changes, pavement edges, and ditches keep the triangulation honest. Design surfaces must include the actual subgrade, not just the finished slab or pavement.
Run a sanity check: compare the software result against a grid or end area calculation on one representative area. If the two are within a few percent, the model is behaving. If not, find out why before the number goes into a bid.
The Adjustments That Change the Number
Raw geometry is only the first half of a takeoff. The second half is the series of adjustments that turn a clean measurement into a real quantity.
- Topsoil stripping. Organic topsoil has to come off before any structural fill goes down. The depth is set by the specification or geotechnical report, and it is measured over the area actually disturbed. The material is usually stockpiled for reuse, so it is a separate quantity rather than waste. The practice is covered in topsoil stripping and stockpiling.
- Over-excavation and undercut. Soft, organic, or unsuitable material found below grade is removed and replaced, usually with select fill or stone. That replacement is a fill quantity, and the removed material may be a disposal quantity, even though neither appears on the drawings.
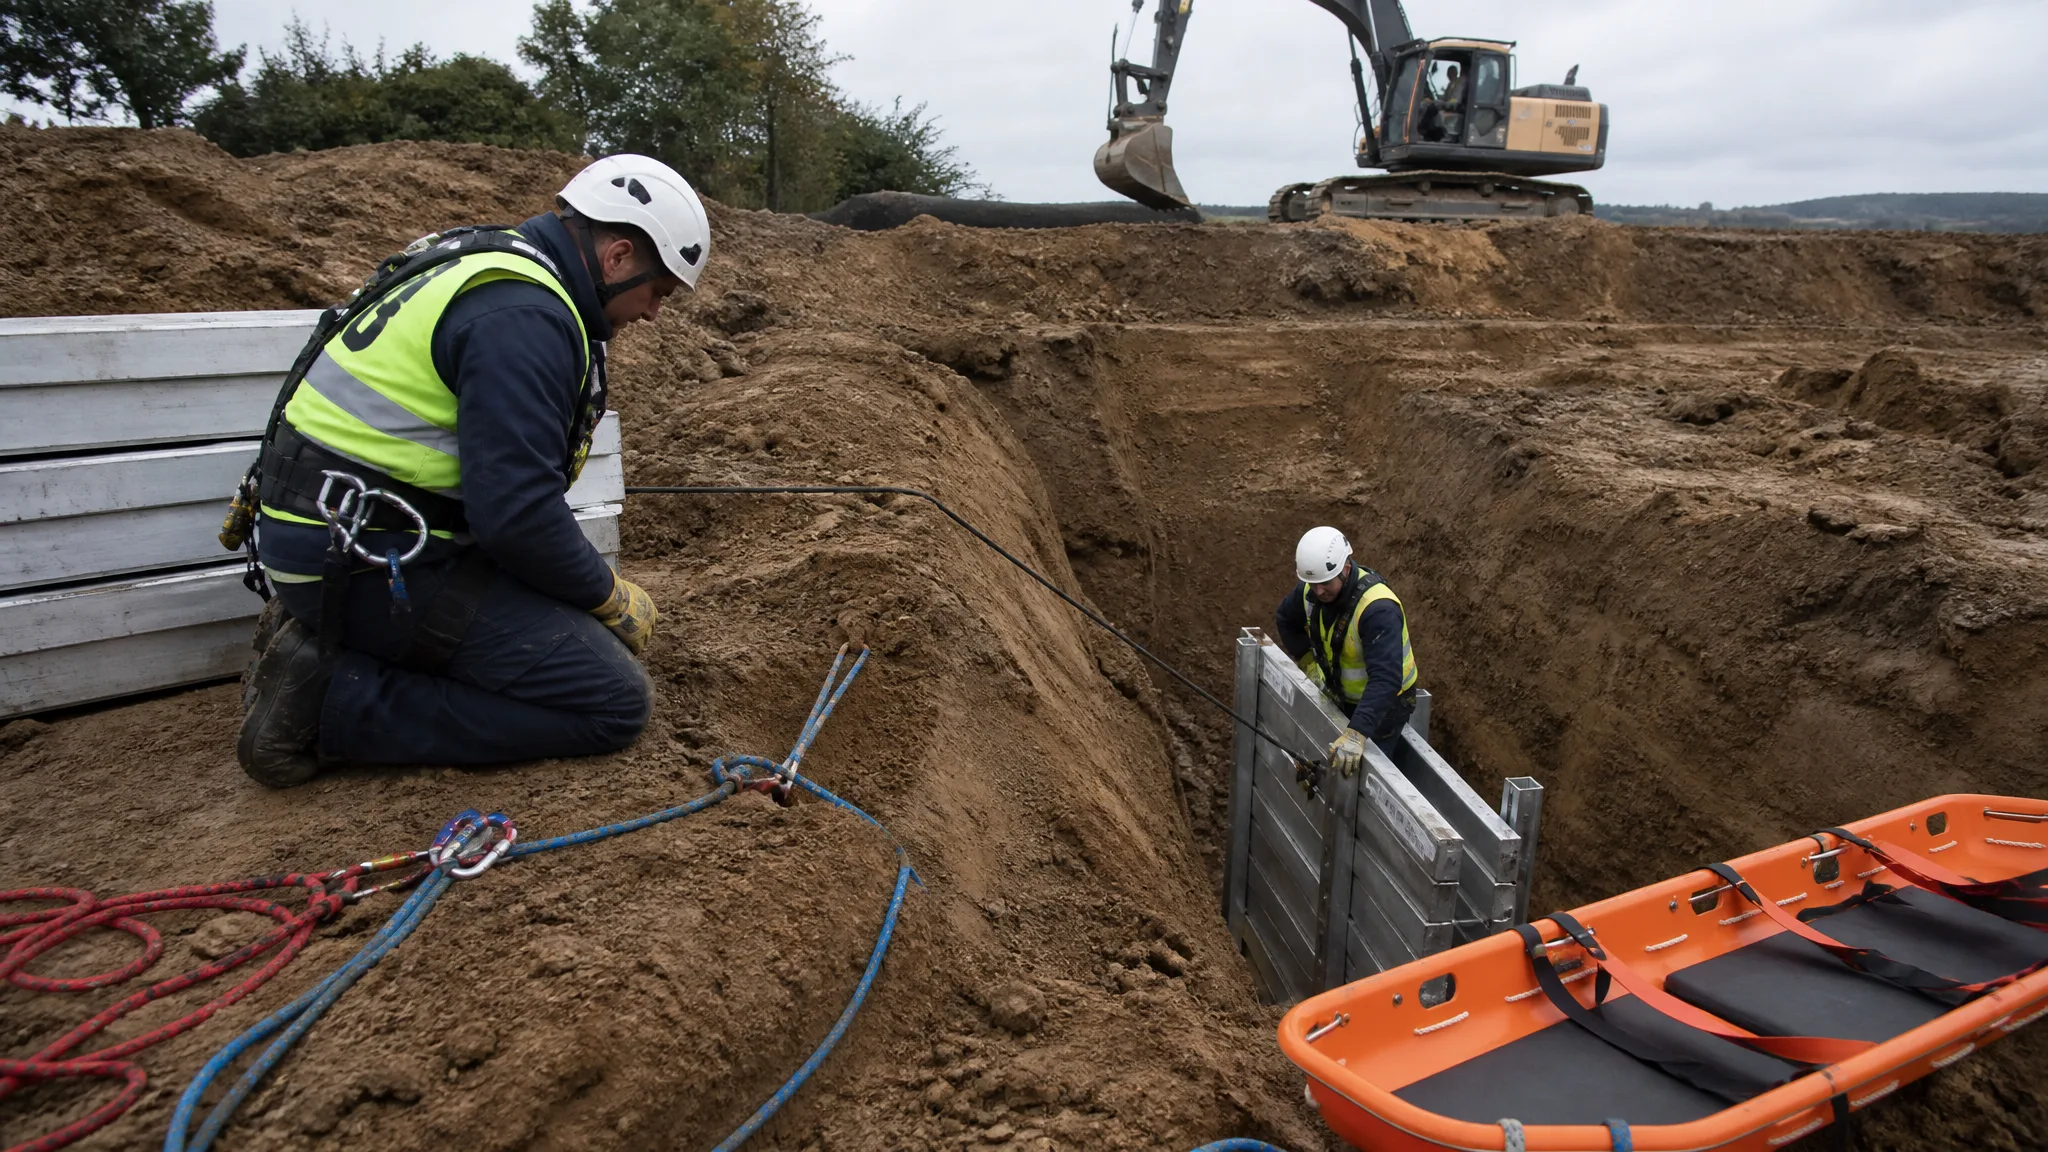
- Working space and side slopes. A vertical cut and a sloped cut of the same depth do not remove the same volume. Sloping for safety adds excavation, and the deeper the cut, the more the side slopes matter. The protective system choices are compared in choosing a trench protective system.
- Swell and shrinkage. Excavated soil bulks up when it is loosened and shrinks when it is compacted. Bank, loose, and compacted yards are three different numbers, and they must be applied at the right point in the calculation. See soil swell and shrinkage factors explained.
- Compaction and waste. Fill placed to a specified density generally requires more bank yards than the compacted volume it produces. Add a waste allowance for handling loss, contamination, and rejected loads, and state the percentage in the bid rather than burying it.
- Bedding and backfill materials. Imported stone, sand, and select fill are quantities in their own right, measured separately from the excavation that makes room for them.
Converting Quantities Into Loads, Hours, and Money
Once the volumes are settled, the takeoff becomes a production estimate. Bank yards convert to loose yards by swell, loose yards convert to truckloads by legal payload, and truckloads convert to time by cycle time. Hourly production depends on bucket size, fill factor, swing angle, soil type, and how well the trucks are matched to the machine.
That chain is where a takeoff meets reality: how to calculate excavated soil volume and truckloads, how many trucks you need to haul dirt, excavation cost per cubic yard, how to estimate an excavation job, and excavation job costing.
Mistakes That Wreck a Takeoff
- Measuring at the wrong scale. A plan plotted to fit a sheet can be off by a few percent in every direction, which compounds into a large volume error.
- Mixing surfaces and datums. Existing ground from one survey and proposed grades from another can share a coordinate system and still disagree on elevation.
- Netted cut and fill too early. Balancing volumes on paper ignores material suitability, haul distance, and the fact that unsuitable spoil cannot become structural fill.
- Ignoring structure excavation. Footings, pits, trenches, and utility runs are small individually and substantial in total.
- Forgetting working space and side slopes. The excavation is always larger than the structure it contains.
- Treating all spoil as reusable. Organic, expansive, rocky, or contaminated material changes the disposal and import quantities.
- Skipping the site visit. Access, overhead lines, trees, existing fill, and wet ground change the method and the volume, and none of that is on the drawing.
- One number, no assumptions. A takeoff without recorded assumptions cannot be checked, defended, or adjusted when the job changes.
A Repeatable Takeoff Workflow
- Assemble the full plan set, specifications, geotechnical report, and any survey data.
- Confirm the datum, units, and scale, and verify the scale against a labeled dimension.
- Define the limits of work, including working space, side slopes, and staging areas.
- Separate the takeoff into pay items by material and operation.
- Choose the method that fits each item: simple shapes for regular work, grid for irregular pads, end area for linear work, surface models where design data exists.
- Apply strip depths, over-excavation, swell, shrink, compaction, and waste allowances explicitly.
- Convert quantities to loads, machine hours, and cost, then compare the result against a rough check — cost per yard, yards per acre, or a similar past job.
The last step is the one that saves bids. A takeoff checked against a completely different method will usually agree within a few percent, and when it does not, the disagreement points at the mistake. Contractors who take off quantities the same way every time can explain their numbers, adjust them when conditions change, and defend them when a client asks why the yardage is what it is. Good takeoffs are not the most precise calculations in construction — they are the most consistent ones, built on a documented method and honest assumptions, and checked before anybody signs a contract.