Excavating for a Pole Barn

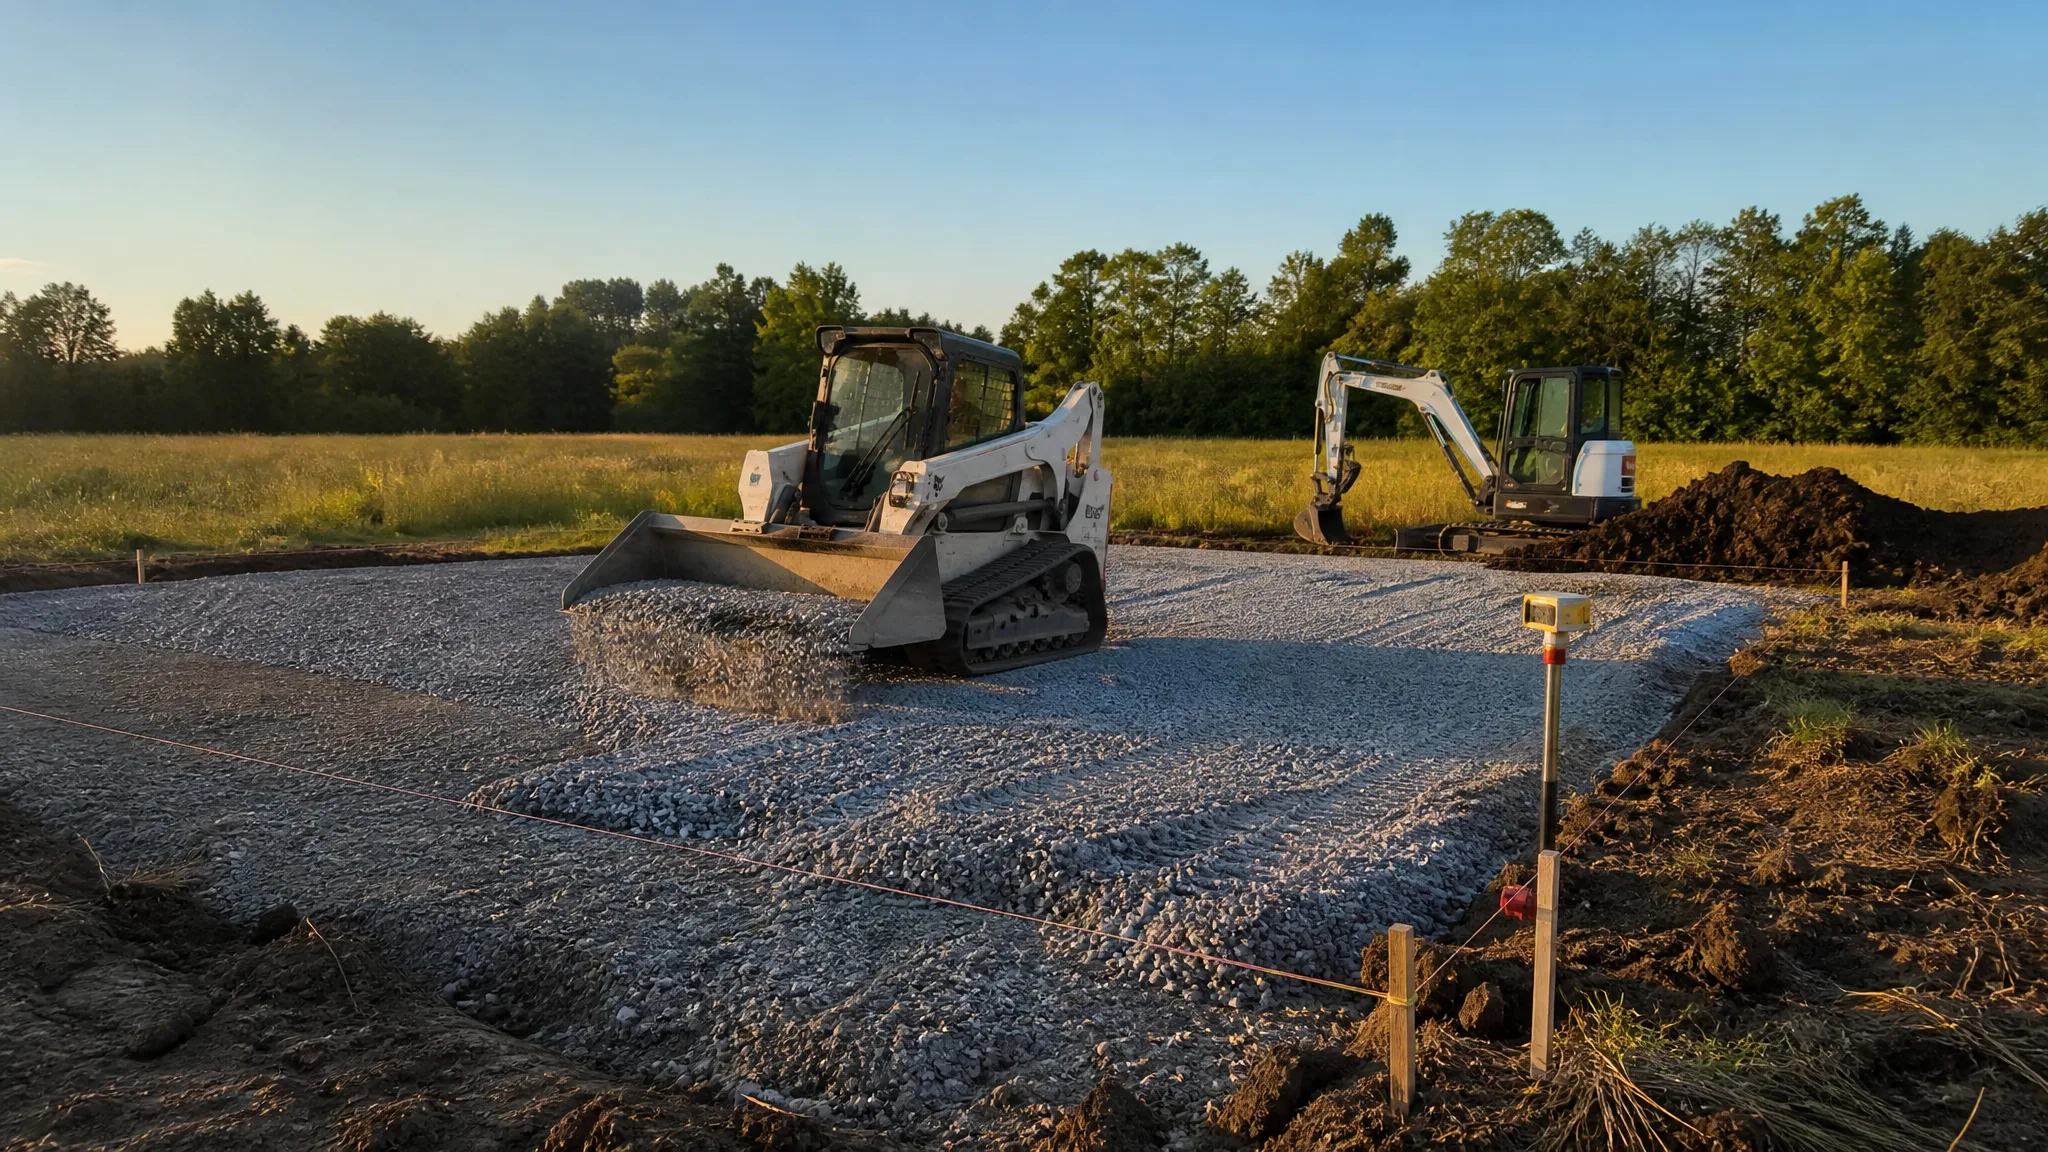
A pole barn goes up fast once the columns are set. The part that decides whether the building stays tight, flat, and dry for the next thirty years happens before the first post is dropped in the ground. Post-frame buildings carry their loads on widely spaced columns instead of continuous footings, so the soil under those columns and the pad between them does almost all of the work.
That changes the excavation scope. There is no full perimeter foundation to dig, no basement to waterproof, and usually far less concrete. What takes its place is dirt work: stripping organic material, building a pad that drains, compacting fill the right way, and drilling or augering post holes that reach below the frost line at the right diameter and spacing.
This guide covers the excavation and site preparation side of a pole barn build, from reading the site to setting the last post hole. Foundation engineering, wind uplift design, and concrete specification still belong to whoever stamps the plans for your building.
Why Pole Barn Prep Is Different From a House Foundation
A house spreads its weight along a continuous footing. A post-frame building concentrates the entire roof and wall load onto a grid of large columns, typically spaced eight to twelve feet on center or more. The load per column is high, and each column transfers that load to a small area of soil, which is why the condition of the soil at each individual post location matters so much.
The National Frame Building Association describes post-frame foundations as either embedded posts, where the post itself extends into the ground, or posts supported on piers, footings, or a slab-on-grade. The choice changes the excavation scope significantly. Get that decision made before you start moving dirt.
Start With the Site, Not the Building
Walk the site before you bring a machine onto it. You are looking for four things: where water currently goes, what the soil is, how a truck will get in and out, and where the spoil will go.
Water first. Find the swale, ditch, or natural fall line that carries runoff across the property now, and plan to keep working with it instead of blocking it. A pad built across a drainage path turns the building into a dam, and the water will find the weakest point in the pad.
Then soil. A pole barn on sand or gravel behaves differently from one on expansive clay. If the site is wet, soft, or has a history of fill, a geotechnical opinion is cheap compared to fixing a pad later. If you are unsure what you are building on, the guidance in select fill vs. native soil is a useful starting point for that conversation.
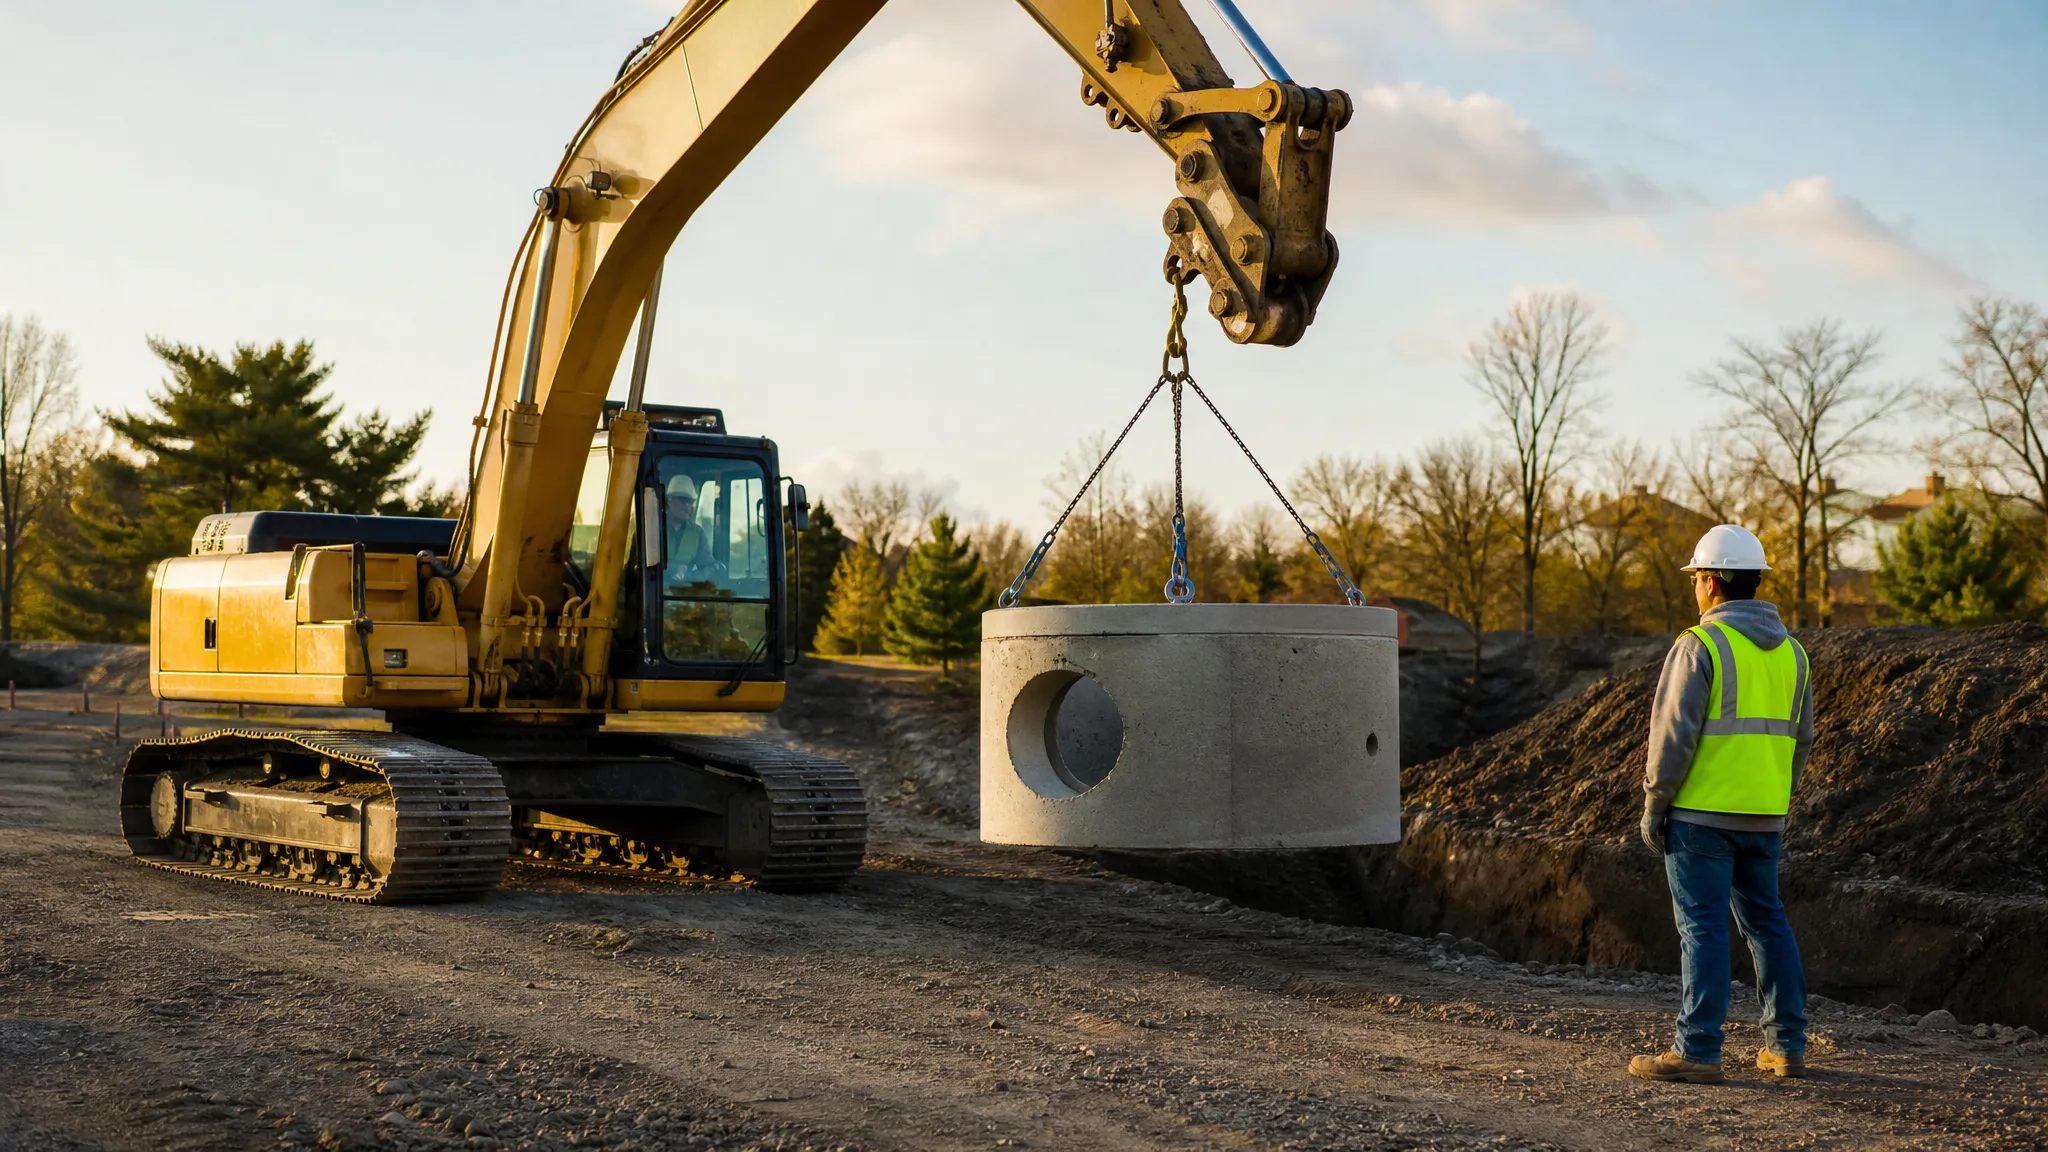
Access comes next. Post-frame builds need concrete trucks, lumber deliveries, and eventually a crane or a telehandler. Plan a gravel access route and a turnaround before the ground gets soft, and check the finished work in building a gravel driveway if you need a base recipe.
Strip the Topsoil, Then Build the Pad
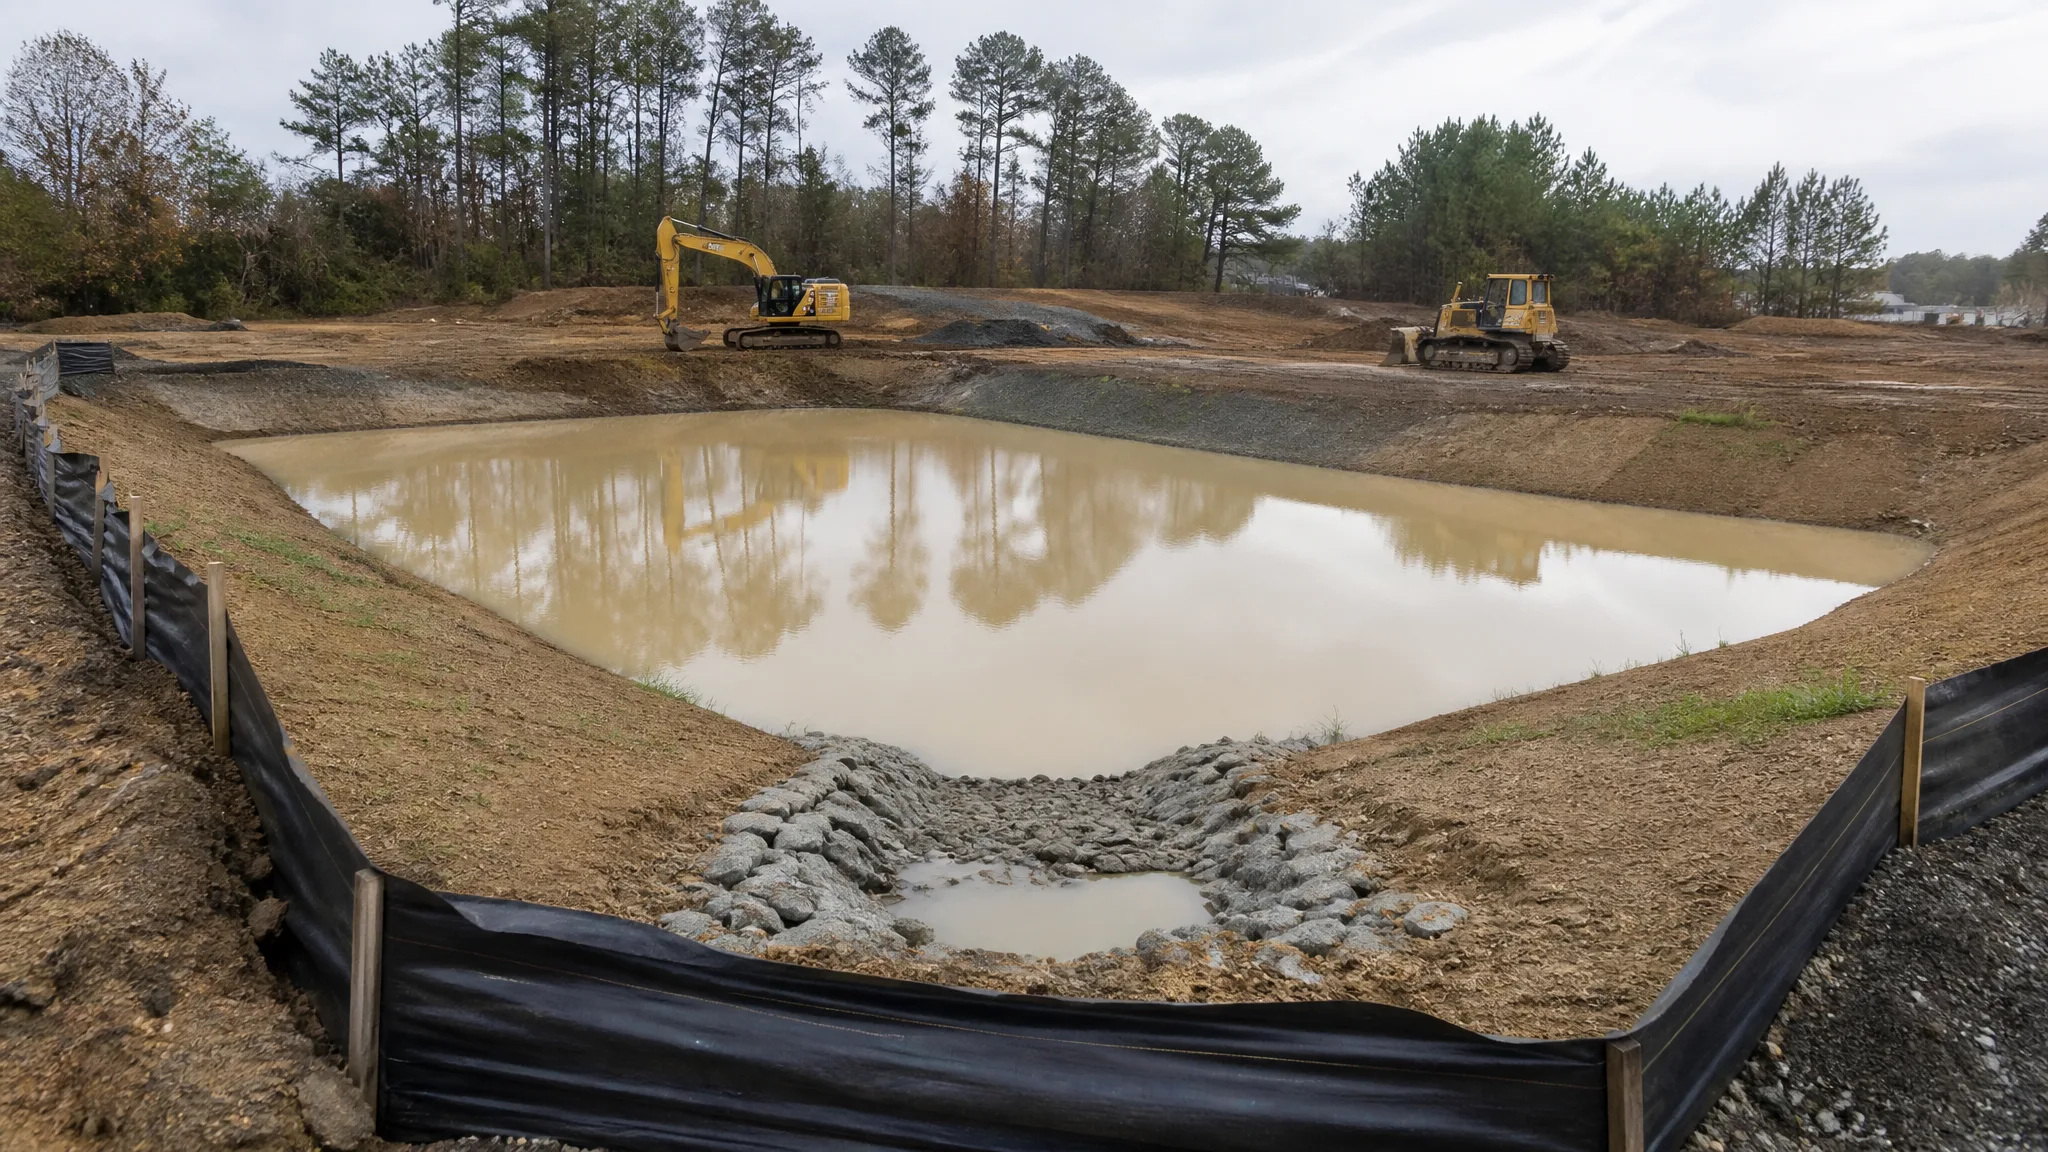
Organic material is the enemy of a stable pad. Topsoil holds moisture, compresses over time, and does not compact into anything structural. Most builders strip six to twelve inches of organic material from the entire building footprint plus a working margin around it, though depth varies with the site.
Strip wider than the building. Working room for scaffolding, a slab edge, and a gravel apron all sit outside the wall line, and you do not want to be peeling topsoil next to a finished pad later. Haul the stripped material to a designated stockpile rather than pushing it into a pile at the edge of the pad where it will get mixed back in.
Stockpile management is its own job. Keeping topsoil separate from subsoil means you can reuse it for final grade and seeding instead of buying it back. Topsoil stripping and stockpiling covers placement, segregation, and erosion control for those piles.
Once the footprint is stripped to subsoil, the pad is built up with structural fill in controlled lifts. Fill should be free of large debris, roots, and organic material. If you need to bring in material, order it as engineered fill, not as whatever the yard has available.
Compaction: The Step Most Builds Skip
Loose fill under a slab or a post is the single most common cause of the problems that show up two years later: cracked floors, out-of-level doors, and settling aprons. Compaction is not optional and it is not something you can fix after the concrete goes in.
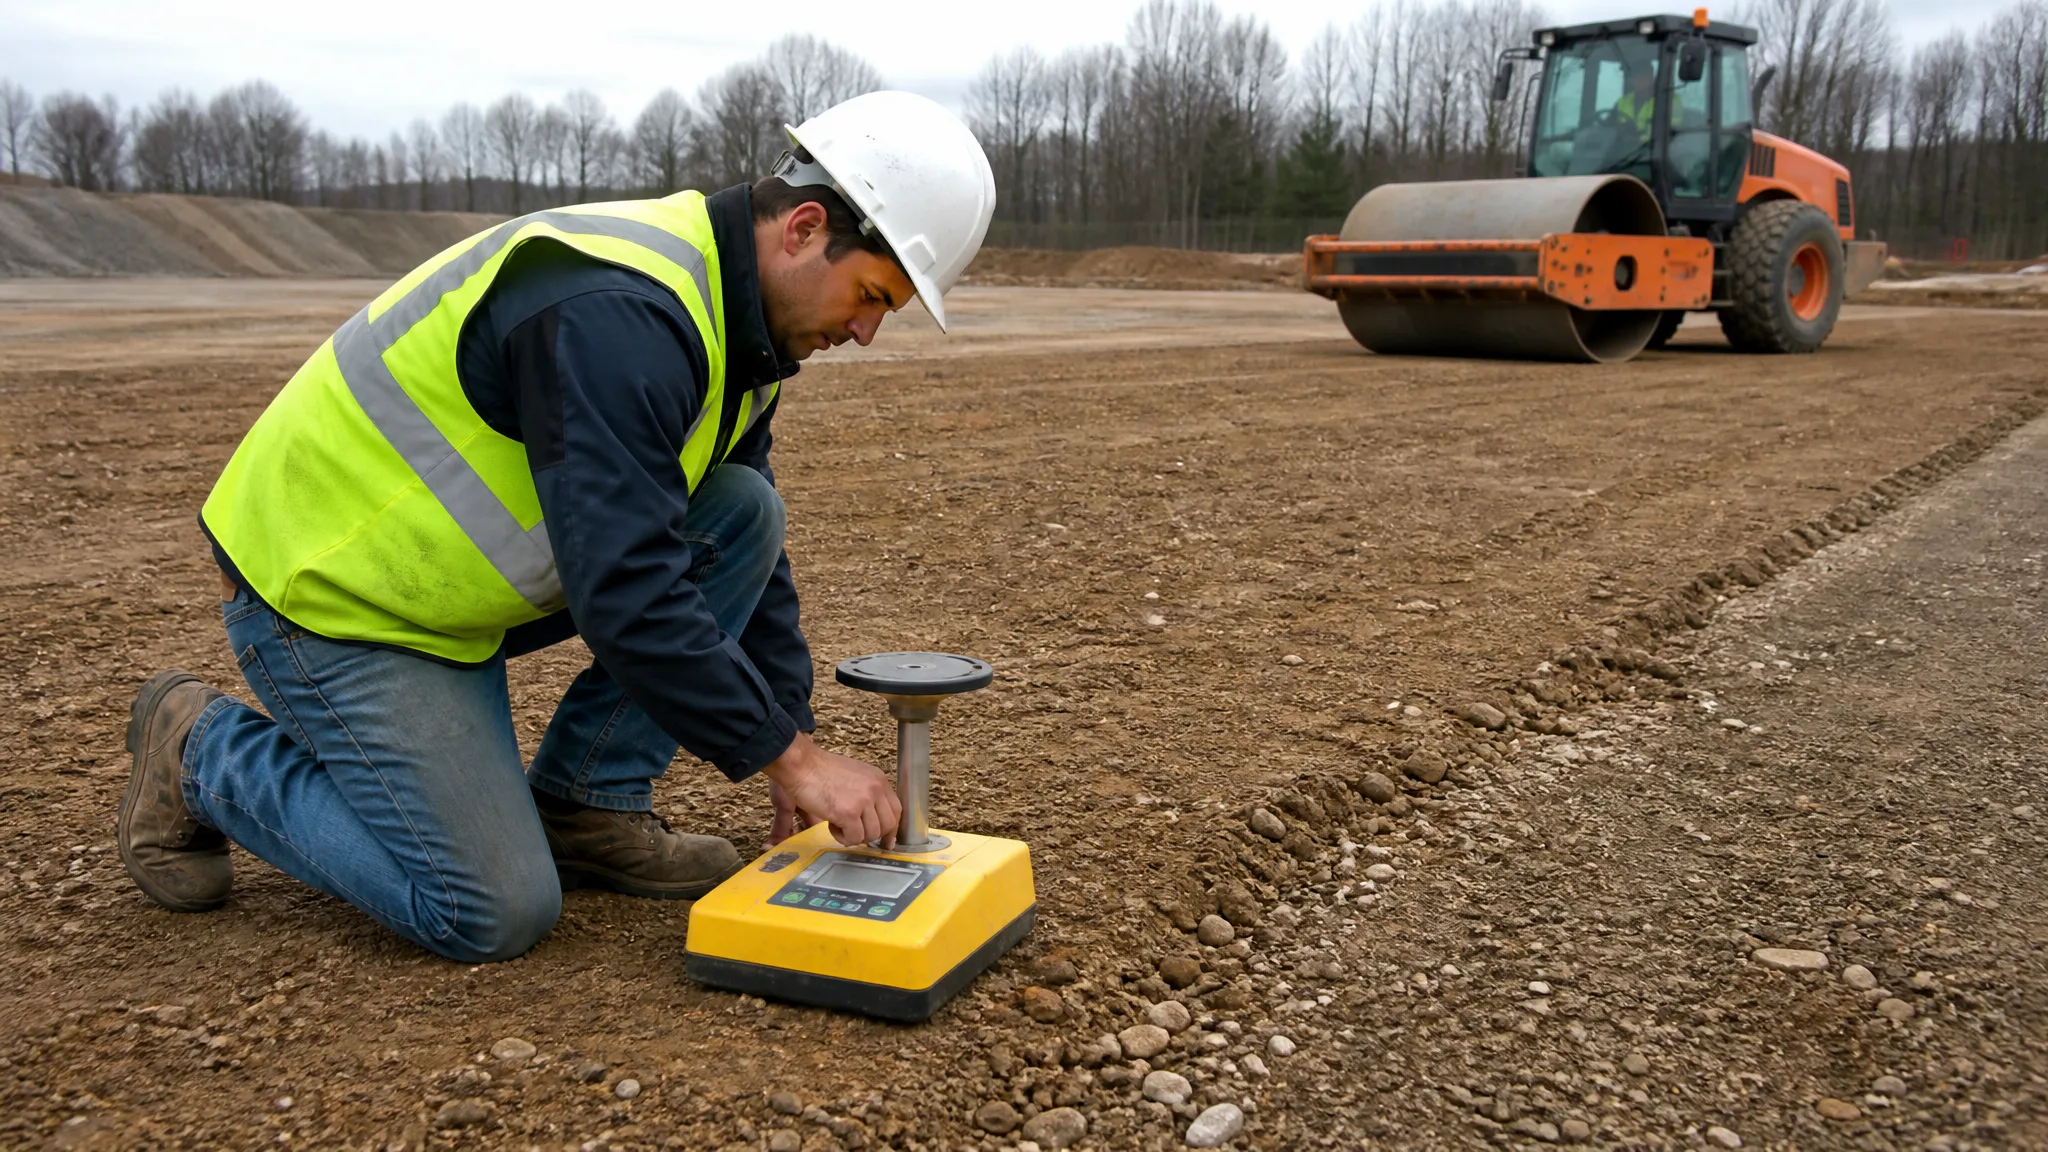
The convention across the post-frame industry is to place fill in lifts no deeper than six to twelve inches and compact each lift before adding the next. One widely published builder standard calls for each layer compacted to a minimum of 90% of Modified Proctor density, with fill distributed uniformly and free of large debris. The exact percentage and test method come from your plans, but the principle does not change: thin lifts, full coverage, repeated passes.
Moisture is the other half of compaction. Soil that is too wet pumps and ruts instead of densifying, and soil that is bone dry will not bind. If the site is wet, the working methods in how wet is too wet to compact soil apply here, and if the pad is going to be inspected, a proof roll with a loaded truck is a fast way to find soft spots. See proof rolling a construction site.
Match the machine to the lift and the material. A plate compactor will not do the work of a vibratory roller on a thick lift, and a large roller cannot reach a tight corner. Choosing the right compaction equipment breaks down which machine fits granular versus cohesive fill.
Pad Elevation, Drainage, and Water
Set the finished pad high enough that water leaves it. Ideally the building floor sits above the surrounding grade so surface water flows away in every direction rather than pooling against the skirt board or the slab edge.
Two rules of thumb help here. First, grade the ground around the building to fall away from the structure, and hold that fall consistently rather than flattening out a few feet from the wall. The residential benchmark for foundation drainage is a six-inch fall within the first ten feet from the foundation, or a slope of about 2% with a drainage system where site conditions do not allow that fall. See how much slope a yard needs for drainage for the numbers on lawns, paving, and swales.
Second, do not let the pad interrupt the natural drainage path. If water crosses the property, either route it around the building in a defined swale or intercept it uphill and carry it away. A French drain or a swale with a real outlet handles most residential situations. A pad that only holds water away until it rains hard is not drainage.
Roof water deserves a plan too. Gutters and downspout discharge should carry water well clear of the pad rather than dumping it at the base of the columns, which is where embedded posts are most vulnerable to rot.
Post Holes: Depth, Diameter, and the Frost Line
This is the part of the job that most homeowners and many builders underestimate. Posts need to bear below the local frost depth so that frost heave does not lift part of the building while the rest stays put.
The residential code basis for this is straightforward. Footings must bear below the local frost depth and at least twelve inches below undisturbed ground surface, with frost depth taken from the frost depth map referenced in the code or from local building department records. Post-frame construction follows the same logic: the load-bearing element has to get below the frost line, or it needs an engineered alternative such as a frost-protected shallow foundation.
In practice, builders in cold regions commonly set treated columns four to six feet deep depending on the frost line and building height, and a common field rule of thumb is that the hole should be at least one-third the length of the post. A rule of thumb is a starting point, not a design. Embedment depth for a given soil, post size, and load is an engineering question, handled in the post-frame design references and in the shallow post foundation design practice published by ASABE.
Hole diameter matters as much as depth. Industry practice for typical agricultural and residential pole buildings falls in the range of eighteen to twenty-four inches for the hole, sized to the column and the required bearing area, and it is common to bell or widen the bottom of the hole or pour a concrete footing so the post bears on something wider than the post itself. Call your building department before assuming any number, because frost depth and post requirements vary by jurisdiction.
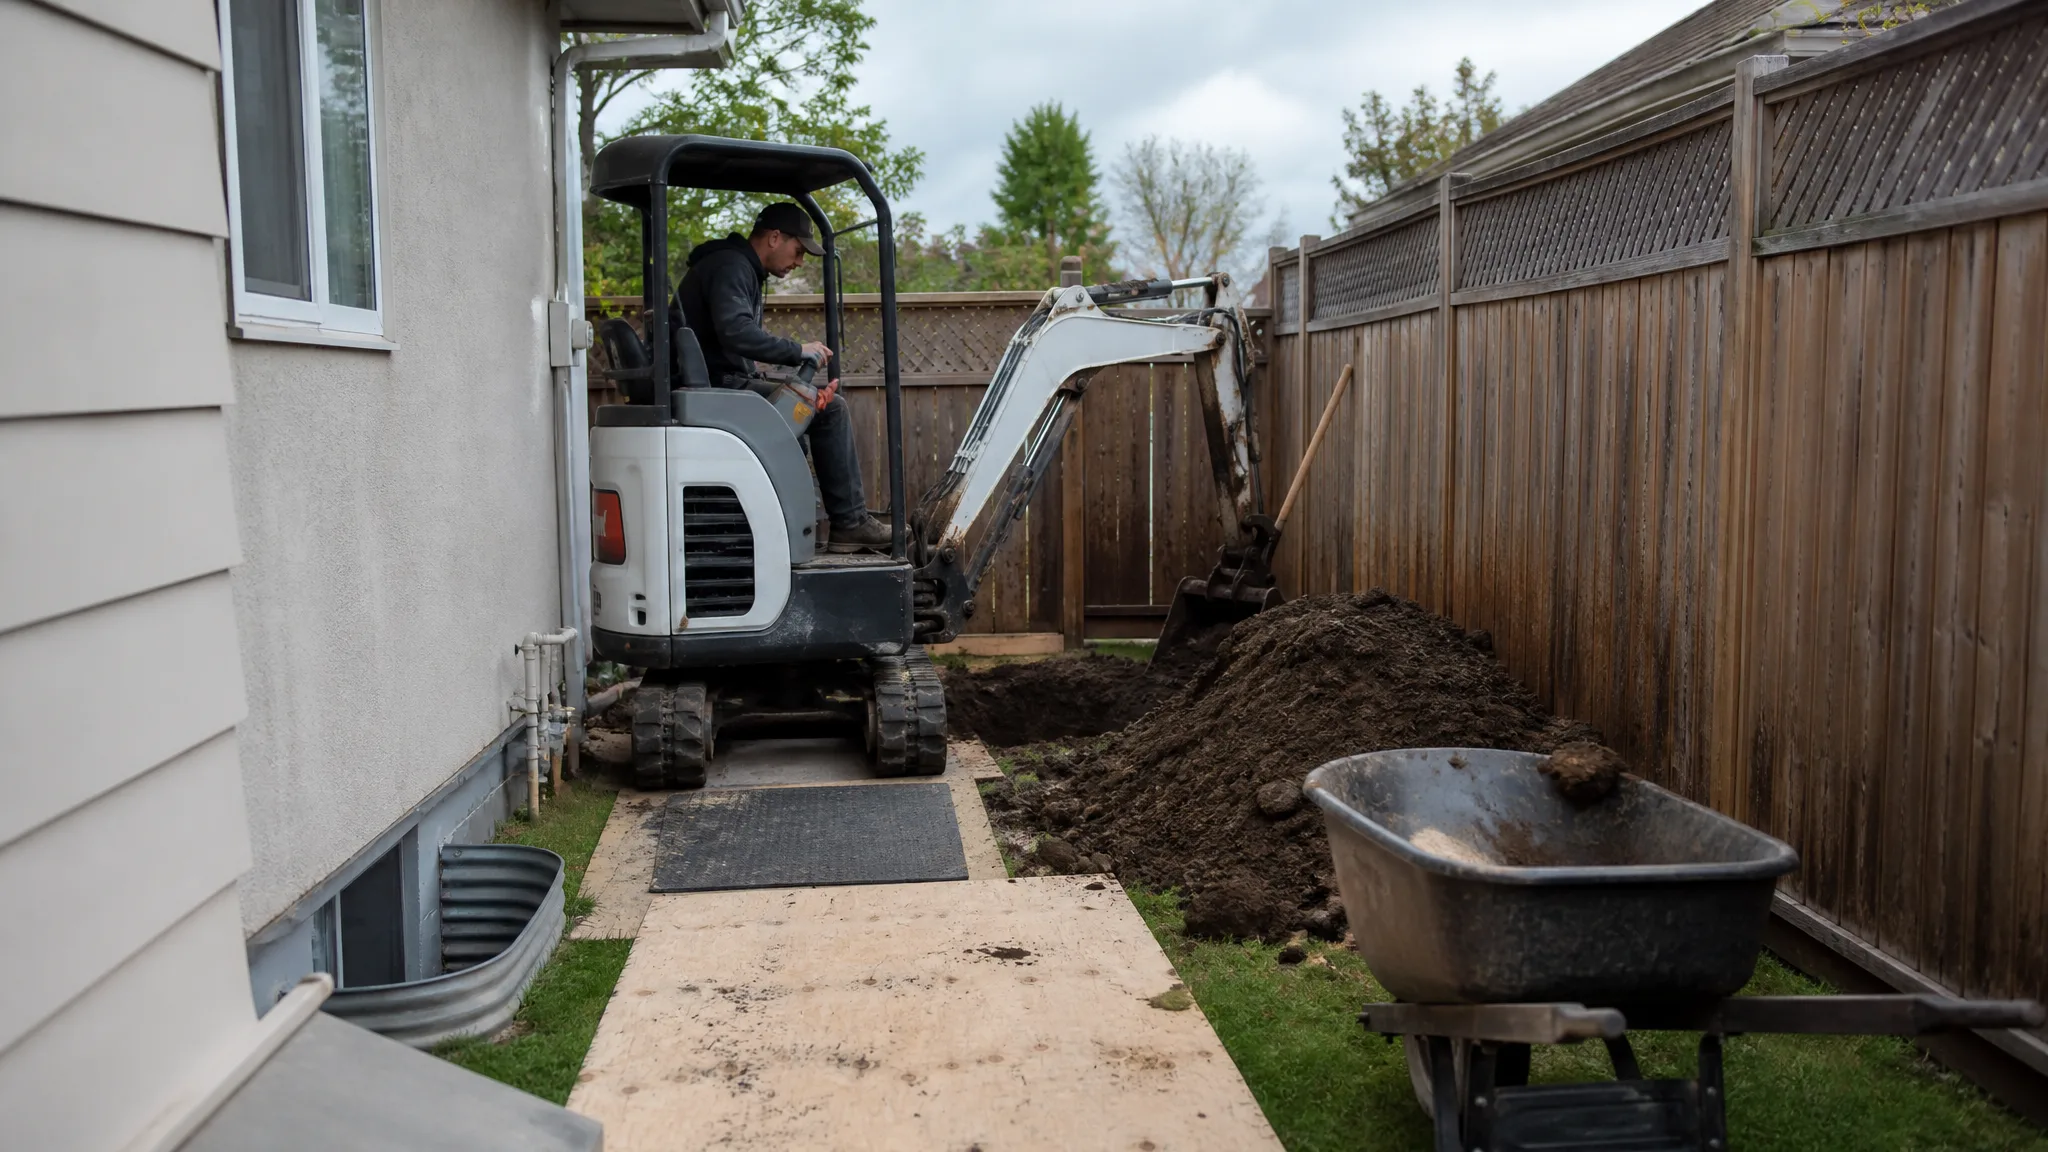
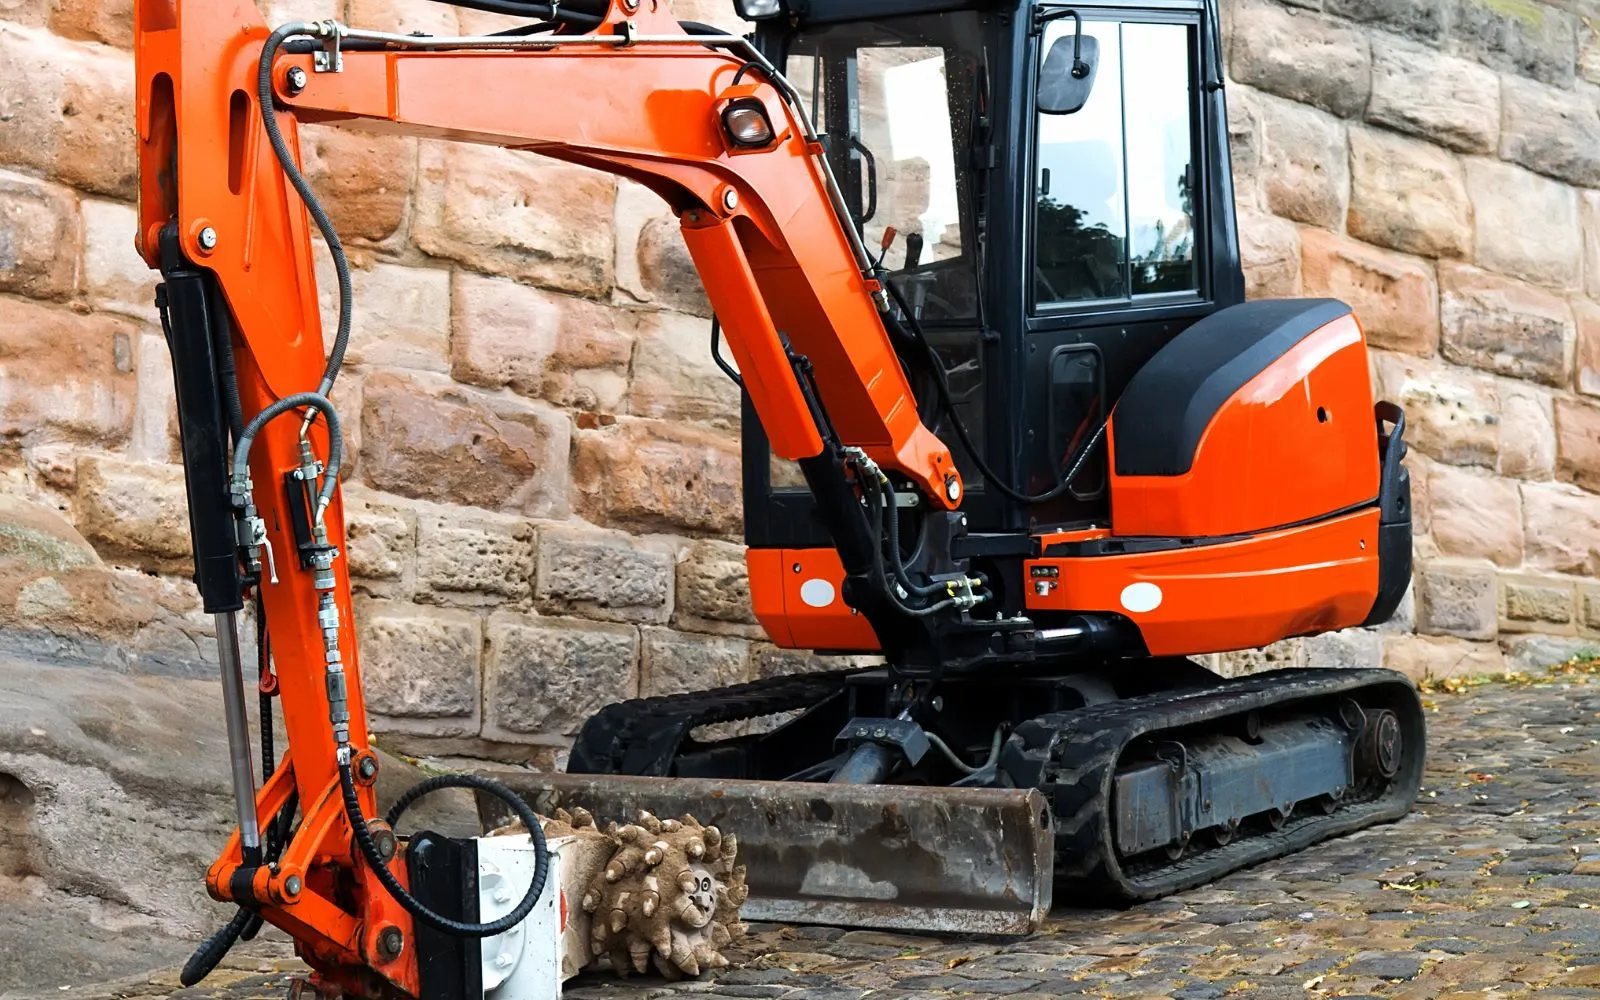
Dig post holes with an auger on a skid steer, compact track loader, or tractor-mounted three-point unit for clean, on-location holes, or with a mini excavator where spacing is tight or the ground is too soft for a loader. Auger spoil makes a mess fast; plan where it goes before you start drilling.
Foundation Options: Embedded Posts, Piers, and Slabs
There are four practical approaches, and each changes the excavation scope.
- Embedded treated posts. Posts extend into the ground and are backfilled with soil, gravel, or concrete. This is the traditional and most common method. It is also the most dependent on drainage, because the post is in contact with soil and moisture. Wood for this service should be preservative-treated for ground contact, and permanent structural posts fall in the heavy-duty ground-contact use category under the AWPA U1 system, which is what you should see on the end tag.
- Posts on piers or concrete post bases. Concrete piers, often poured or placed in drilled holes below the frost line, hold the post above grade with a standoff or bracket. Keeping wood out of the soil is a durability move, and it removes the rot question almost entirely, at the cost of more concrete work and a more precise post layout.
- Stem wall with brackets. A poured concrete wall with anchors carries the posts. This adds a continuous concrete element and its own footing requirements, but it gives you a clean, level base line and a barrier between wood and soil.
- Monolithic slab or thickened-edge slab. The slab doubles as the foundation, with a thickened edge or integral footing. This concentrates the dirt work into one flat, well-compacted, well-drained pad.
Uplift is the design load that surprises people. Wind can pull on a post-frame building, and a plain embedded post has limited resistance to being pulled out of the ground. Published research through the post-frame industry found that simple embedded posts without any uplift-resisting system provide modest withdrawal resistance, which is why engineered designs often add a footing, a concrete collar, or a mechanical uplift-resisting detail. If uplift governs your design, it is a plan question, not a field call.
Floors: Gravel Base, Vapor Retarder, and Slab Prep
If the building gets a concrete floor, the dirt work beneath it still has to be right. A typical build puts a compacted granular base four to six inches thick over the compacted subgrade, then a vapor retarder, then the slab.
The vapor retarder requirement has tightened. The 2021 International Residential Code raised the minimum for slab-on-grade floors to a retarder at least ten mils thick conforming to ASTM E1745 Class A, with joints lapped at least six inches, up from the older six-mil polyethylene minimum. That matters in a barn or shop where the slab stays covered and moisture has nowhere to go.
The pad itself should be flat and level to the tolerance the slab contractor needs, and it should be protected from rain before placement. Standing water on a prepared subgrade undoes compaction, and concreting over a saturated base is a shortcut that shows up as a cracked floor. The sequence and tolerances in preparing a site for a concrete slab apply directly to a pole barn floor.
If the building starts as gravel, that is fine, but build it the same way: compacted base material, properly crowned or sloped to drain, and thick enough to support whatever drives on it. Barn floors that only see equipment and livestock still need to shed water, not hold it.
Equipment, Sequencing, and Site Access
Most pole barn site prep can be done with a compact track loader or a skid steer paired with a mini excavator. The loader does the stripping, spreading, and most of the grading; the excavator handles tight cuts, drainage, and any deeper work around the pad edge. Add an auger attachment for post holes and a roller or plate compactor for lifts.
A practical sequence looks like this:
- Roughly clear and grub the building footprint and work area, then strip organics to the required depth.
- Cut and fill the pad to design elevation in lifts, compacting each lift.
- Shape the pad and surrounding grade so water leaves the building in every direction.
- Install drainage features, swales, and downspout routing before the building starts.
- Proof roll or otherwise verify the pad, then mark post locations and auger the holes.
- Set posts and columns, then build. Backfill, gravel, and slab prep follow the framing and inspection schedule.
Do not skip step three because the framing crew is waiting. A pad that drains poorly gets expensive the moment the roof goes on and water starts sheeting off it.
Mistakes That Show Up Years Later
Most pole barn problems trace back to one of five causes: organic material left under the pad, fill placed too thick and never compacted, a pad built below the surrounding grade or blocking a drainage path, post holes that stopped above the frost line, and untreated or non-ground-contact wood in an embedded post.
Bidding and scheduling reflect that reality. Proper site prep costs real money in machine time, imported fill, compaction, and testing, and a quote that skips those steps is not cheaper in the long run. Budget for stripping, fill, compaction, drainage, and the equipment hours to do them, and be clear in the scope about what soil conditions and drainage work are included. A written scope that names lift thickness, compaction requirements, and who handles drainage is worth more than a low number with no description behind it.
Get the pad and the post holes right and the rest of the build follows easily. Get them wrong and no amount of framing skill fixes it.