Excavating for a House Foundation


Excavation for a house foundation is the point where a building stops being a drawing and starts interacting with actual ground. Everything above the footing depends on what happens in that hole: how deep it goes, what soil the footing bears on, and whether the bottom of the excavation was left clean and undisturbed.
It is also one of the most unforgiving phases of a project. Mistakes made at the bottom of a foundation excavation get buried under concrete within days and typically show up years later as cracked slabs, sticking doors, and walls that move with the seasons. This guide covers how the work is actually sequenced, what drives the depth, and where the common failures come from.
What Foundation Excavation Actually Includes
The term covers more ground than most people expect. A full foundation excavation usually means stripping and stockpiling topsoil, cutting the site down to the working elevation, digging the footing trenches or a full basement footprint, undercutting the footing bearing areas, keeping the excavation dry, and leaving a level, clean surface ready for inspection and concrete.
The scope varies widely with foundation type. A shallow spread footing on stable ground is a relatively modest dig. A full basement requires a much deeper, larger excavation with engineered side protection. A deep foundation using piers or piles replaces a large open hole with a series of smaller, deeper excavations.
The excavation contractor usually owns the earthwork and the site conditions; the structural design that sets the depths belongs to the engineer or designer of record. Knowing where that line falls prevents arguments later.
Depth Is Set by Design, Not by Habit
Excavation depth is not a number a crew picks because it worked on the last job. It comes from the foundation design, which in turn comes from the soil, the frost conditions, the building load, groundwater, nearby structures, and local code.
Building codes set minimums, and the minimum is not the same as the right depth for a specific site. The International Residential Code requires exterior footings to be placed not less than 12 inches below the undisturbed ground surface, and it requires footings to be protected from frost movement, either by extending below the local frost depth or by using an approved frost-protected shallow foundation design. It also sets minimum footing dimensions, generally not less than 12 inches wide and 6 inches thick, with actual width and thickness driven by tables and the loads above.
Frost is the driver people underestimate. Frost depth varies enormously by region, from a few inches in mild climates to three or four feet or more in colder parts of the country, and it changes with elevation, soil, and snow cover. Copying a footing depth from another region is one of the most reliable ways to build a foundation that heaves. Always confirm the local requirement rather than assuming.
Setting Out Before the First Bucket Moves
Foundation excavation starts long before a machine arrives. Permits need to be in place, and utilities need to be located. Calling 811 is free in the United States and required in most places before digging, but it does not cover private utilities, so irrigation lines, low-voltage wiring, propane lines, and service laterals on the owner's side of the meter usually need a private locator.
The building footprint then gets laid out and staked with survey equipment, including elevation references the crew will work to. On a site with any slope or grade change, the stakes and benchmarks are what keep the excavation from drifting deeper on one side than the other. Getting the layout wrong means every subsequent measurement inherits the error, and correcting a layout mistake mid-dig costs far more than checking it twice at the start.
Stripping, Cutting, and Digging in Layers
The first earthwork pass is stripping topsoil. Organic material will compress and rot under a footing, so it does not stay under a structure. Stripped topsoil gets stockpiled separately from subsoil, both because it is worth reusing for landscaping and because mixing it back into structural fill creates a problem you cannot see.
After stripping, the site is cut down to the working elevation. Depending on the design, this may be a cut with a bench, a balanced cut and fill, or a building pad built up with imported fill. The cut and fill balance matters financially as well as technically, because hauled-in fill costs money and hauled-away spoil costs money too, and soil volume changes when it is excavated.
Then digging proceeds in controlled layers rather than one deep pass. Layered excavation lets the crew read the ground as it goes: buried debris, old fill, soft pockets, and unexpected groundwater show up at manageable depth instead of being discovered in a finished hole with cut walls. It also allows soil classification and, where required by the design, density testing of fill as it is placed. If you want to plan the haul side, start with how to calculate excavated soil volume and truckloads so the truck count is not a guess.
Footing Trenches and Undercutting
For a spread footing foundation, the excavator then cuts continuous trenches along the wall lines to the planned bearing depth, typically working backwards and straddling the trench. Where the footing must go deeper than the surrounding excavation, the crew undercuts only as much as the design calls for.
Undercutting is where a lot of settlement gets prevented or created. The zone below the footing has to be dug to a clean, undisturbed bearing surface. Soil that was disturbed by the digging bucket, or soil that was over-dug and then loosely thrown back, becomes a compressible layer directly under the load path.
If the trench is dug deeper than the design and the bottom is soft or disturbed, the fix is not casual backfill. Depending on the design, the correction may be compacted engineered fill placed in lifts, lean concrete, a revised footing detail, or guidance from the designer or inspector. The general principles for rebuilding structural fill are the same ones covered in select fill versus native soil.
Preparing the Bearing Surface
Once the trench is at depth, the bottom gets cleaned out completely. Loose material comes out, roots and debris come out, and the surface gets trimmed and leveled so the footing bears evenly across its full width. Loose soil under one portion of a footing transfers load unevenly, and uneven load transfer is the mechanism behind differential settlement.
Leveling matters as much as cleaning. Voids get filled, high spots get cut down, and the elevation is checked against the benchmarks. Doing this correctly takes minutes; discovering after the pour that the footing is out of level means demolition.
Where the excavation has been open for some time, or where rain has fallen, the bearing surface needs to be rechecked before the pour. Drying and cracking can disturb a surface that looked perfect when it was first cut. Placing concrete on frozen ground is a separate problem entirely, and most codes and specifications prohibit bearing on frozen soil.
Water, Weather, and Trench Safety
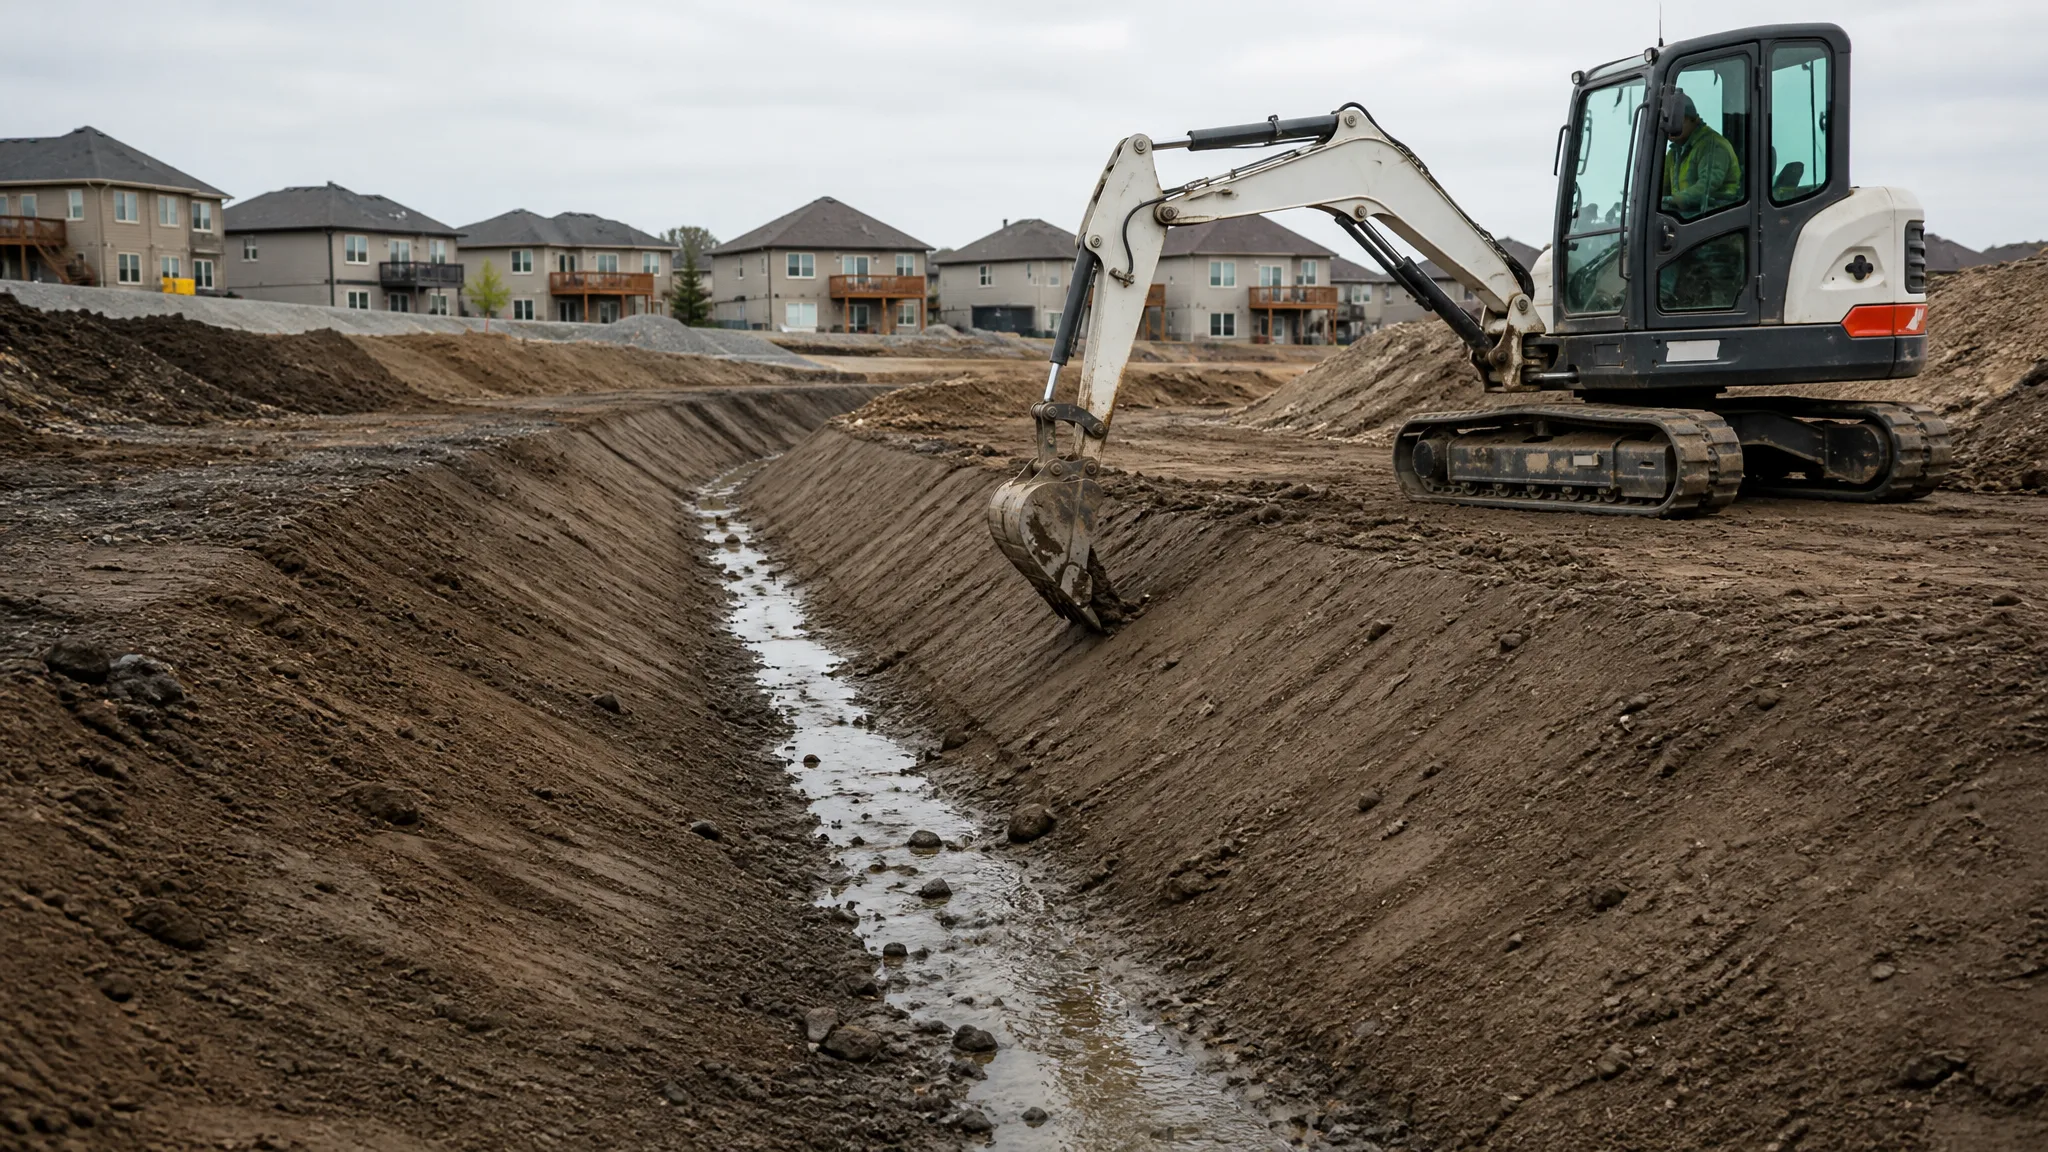
Groundwater and surface water are part of nearly every foundation excavation. Water softens the bearing soil, hides loose material from view, makes inspection difficult, and interferes with concrete placement. Sources range from a high water table to recent rain, leaking utilities, uphill runoff, or a perched layer the site report did not predict.
Pumping may be part of the job, but the source still matters, because pumping groundwater out can draw down the soil under neighboring structures. Excavation dewatering approaches range from sumps to wellpoint systems, and the choice depends on soil and depth. Our guide to dewatering an excavation covers how to match the method to the condition, and to avoid a muddy yard, silt-fence style controls belong in place before the dig, as described in installing a silt fence.
Safety requirements scale with depth. OSHA excavation standards require a protective system for trenches five feet deep or more, allow a competent person to require one in shallower excavations where a hazard exists, require daily inspections including after rain, and require safe access and egress. Deeper foundation excavations and basement digs also call for keeping tools like ladders within near reach of the working face. Spoil and equipment are kept back from the edge rather than piled at it, which is why spoil pile and equipment setback rules exist in the first place. The threshold questions are covered more fully in when is trench protection required.
Common Foundation Excavation Mistakes
- Digging to a generic depth instead of confirming the design depth, local frost requirement, and soil conditions.
- Pouring on loose, wet, frozen, organic, or otherwise disturbed bearing soil.
- Over-digging a footing trench and backfilling loosely beneath the footing.
- Ignoring water in the trench instead of treating it as a signal about the soil.
- Leaving excavations open long enough for rain, drying, or the weather to change conditions.
- Disturbing the soil supporting an adjacent structure without planning setback, sequence, or support.
- Treating protective systems and daily inspections as optional on small residential digs.
Inspection, Handoff, and Backfill
Foundation excavation ends at a specific hold point: inspection before the pour. By the time concrete goes in, the excavation should show correct depth and width against the plans, a clean and undisturbed bearing surface, no standing water, stable sides or installed protective systems, utilities located and protected, and reinforcement or forms installed where the design calls for them.
Because everything below the concrete becomes invisible, the handoff deserves documentation: photographs of the trench, elevations recorded, any density test results, and any changes agreed with the designer. That record matters if a question comes up later about what was actually built.
The excavation phase is also not finished when the pour is done. Backfilling a foundation is its own engineered task, with material, lift thickness, compaction, and drainage requirements that protect the wall and carry water away from it. The sequencing, materials, and drainage details are covered in backfilling a foundation, and the grade and slope that must be reestablished afterward is covered in how much slope a yard needs for drainage.
Equipment and Access Notes
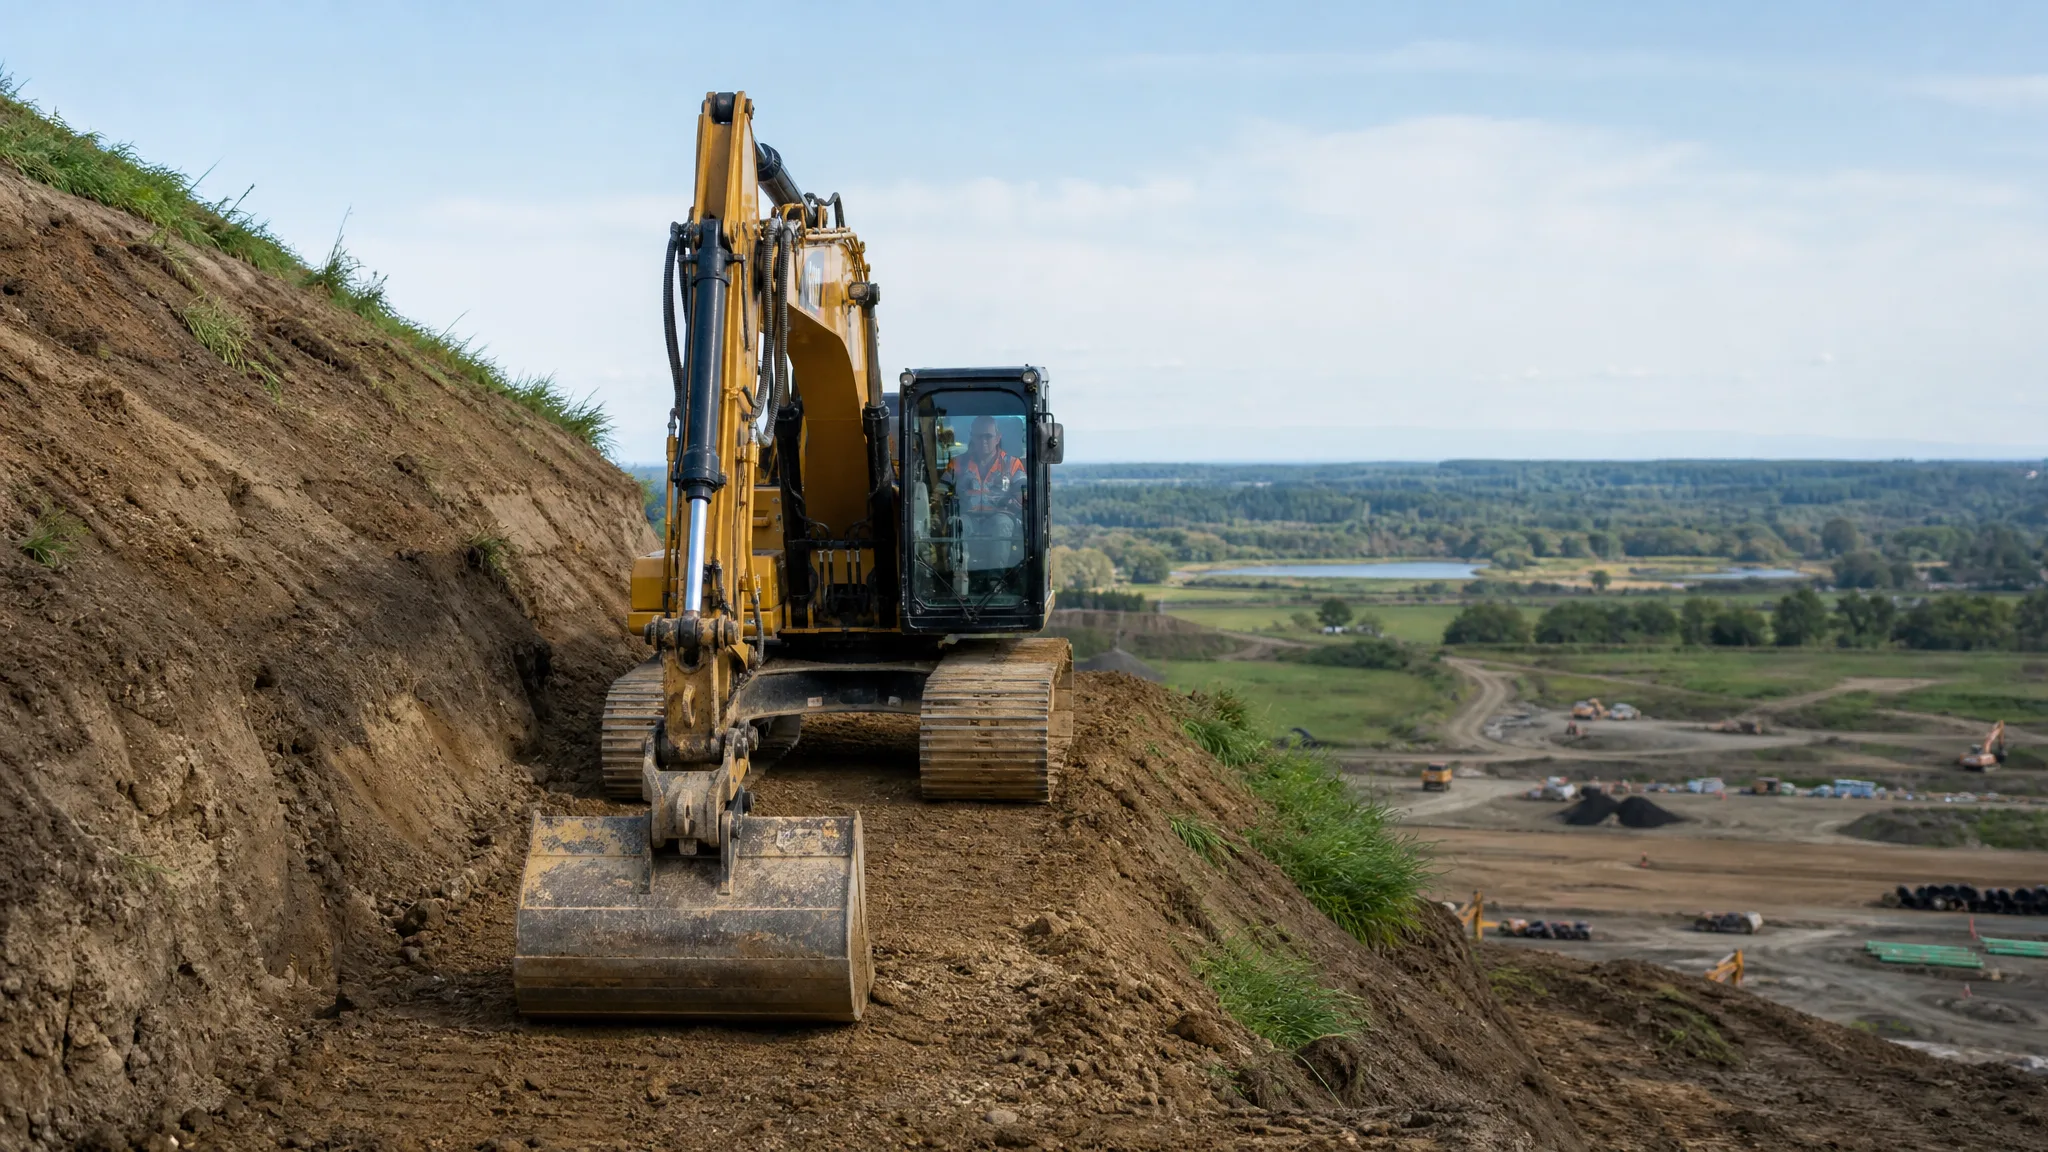
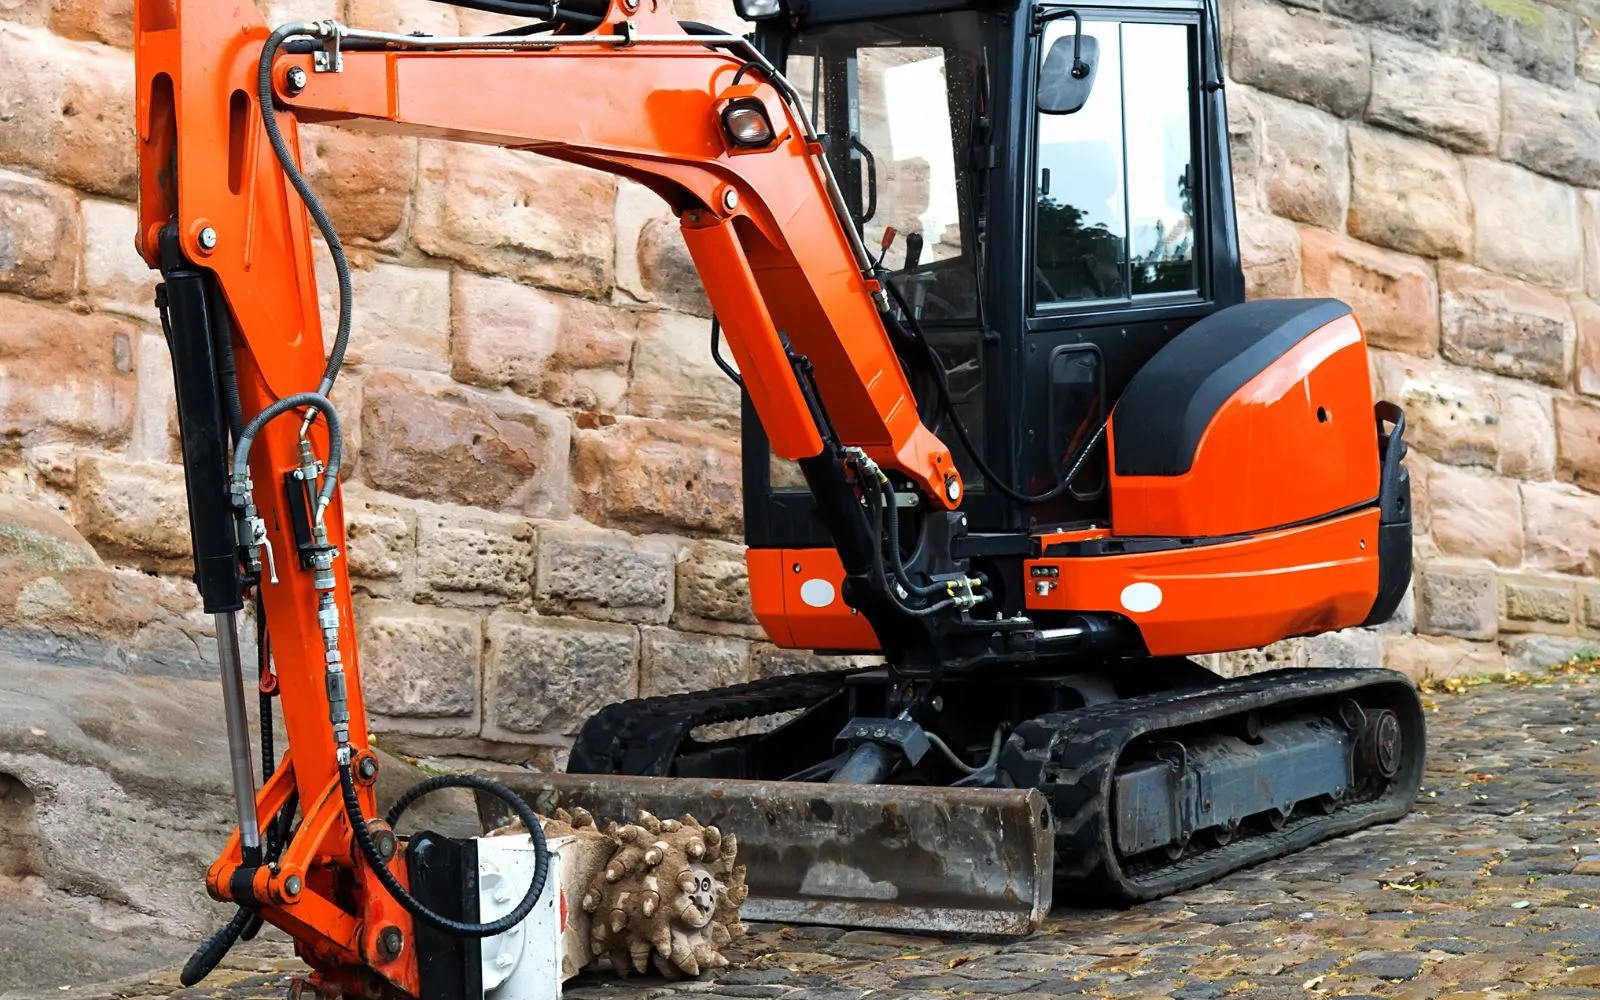
Machine selection follows the site. An open, unobstructed lot with room to swing favors a full-size tracked excavator with the reach and depth to cut clean walls and load trucks. A tight residential lot with fences, trees, and limited access favors a compact excavator or a backhoe that can work in tighter quarters.
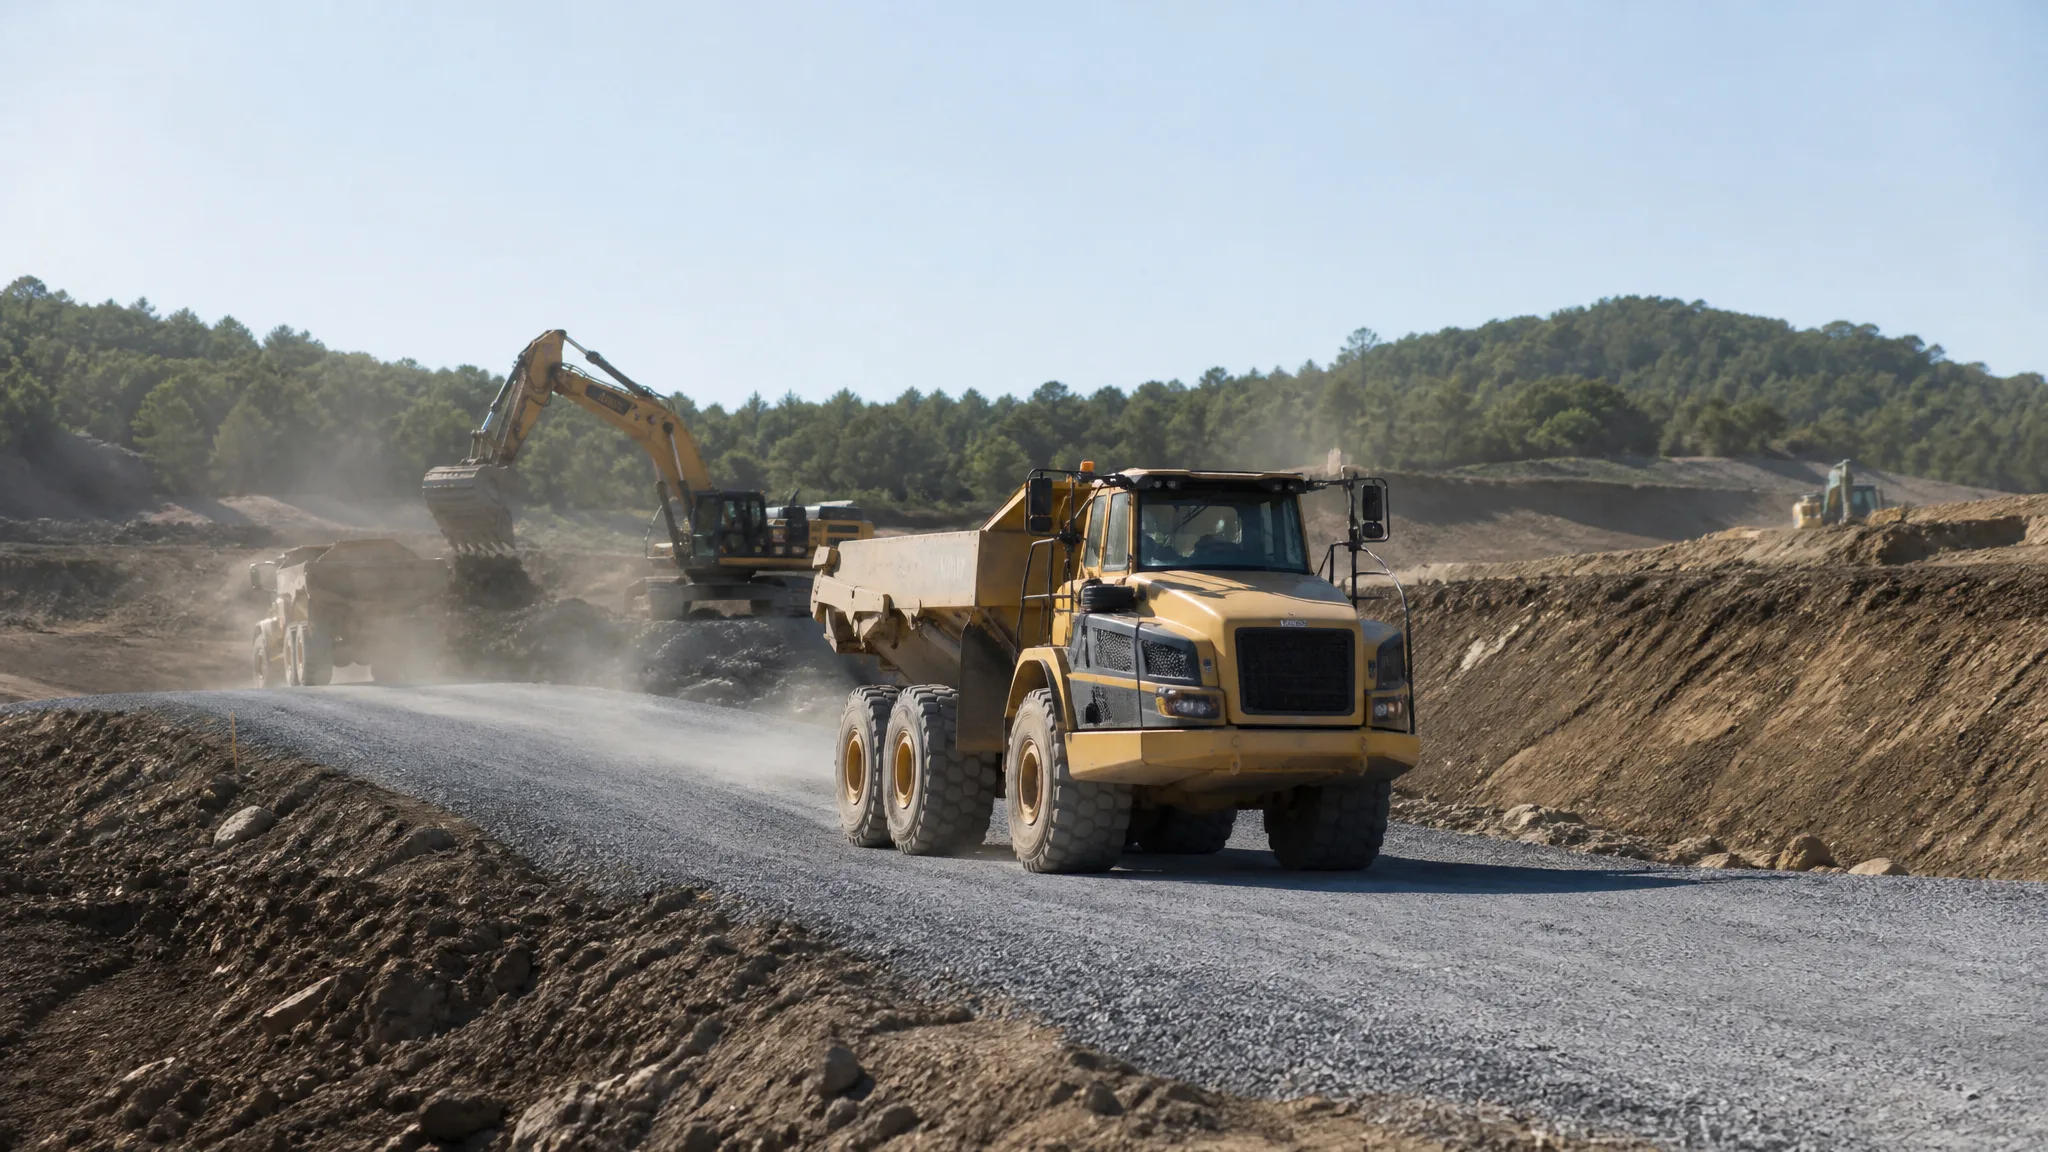
The other half of machine planning is hauling and spoil. Excavated soil occupies more volume loose than it did in the ground, so the number of trucks needed is always higher than the neat geometric volume suggests. Where spoil has to stay on site, pile location matters for both stability and the space needed to operate. Those logistics drive the schedule as much as digging speed does, and they are worth pricing against how to estimate an excavation job before the first machine shows up.
Foundation excavation rewards planning more than any other earthwork task on a house, because there is no cheap way to fix a problem under a footing. Confirm the depth from the design, protect the bearing soil, keep the hole dry, and document what was built before it disappears under concrete.