Building a Stormwater Detention Pond

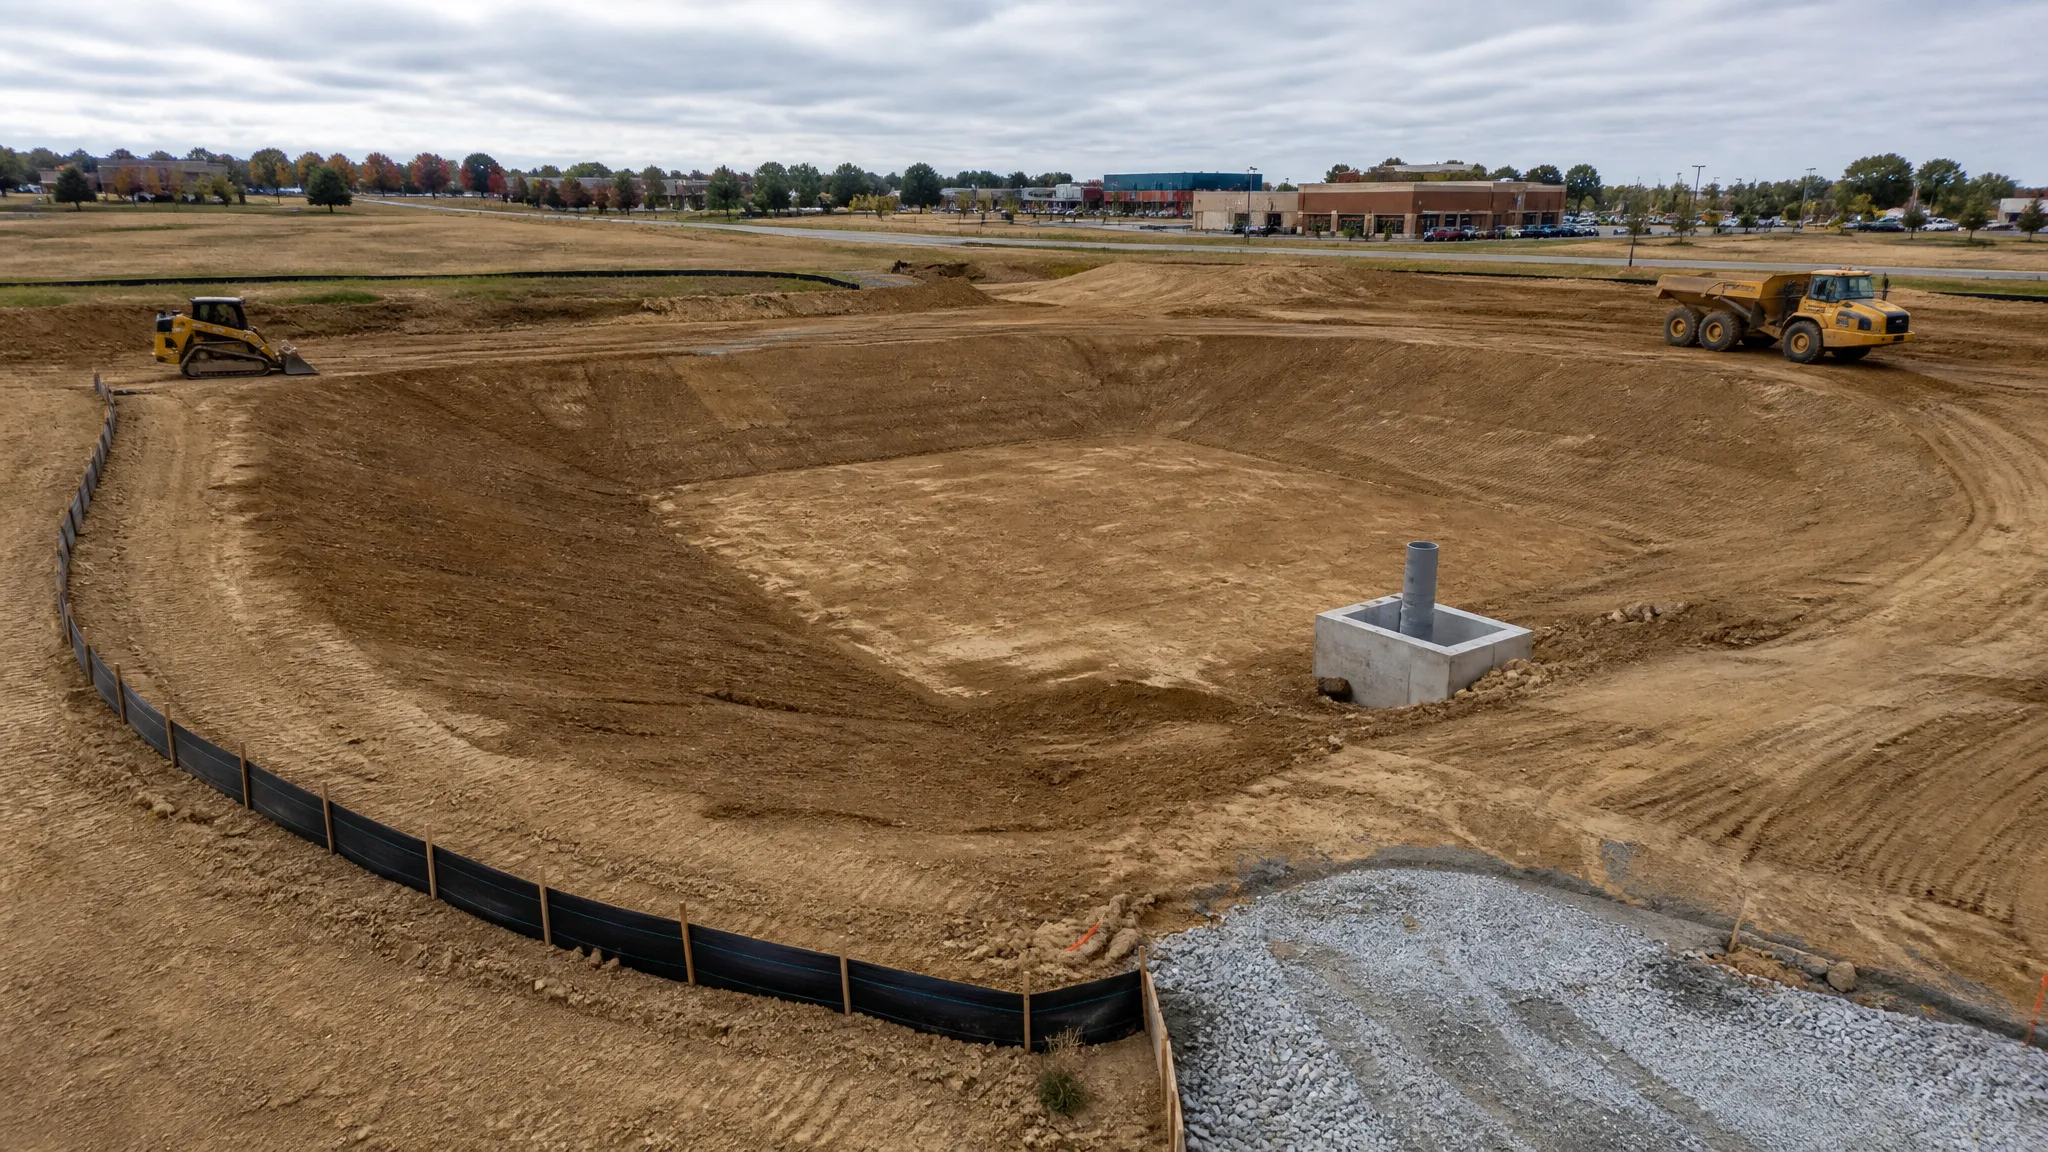
A stormwater detention pond looks like a hole in the ground with a concrete box in one corner. It is not. A pond is an engineered facility with a defined storage volume at every elevation, a controlled release rate, a sediment-capture cell, and an embankment that has to hold water when it counts. The earthwork that builds it is not complicated, but it is unforgiving - storage volume is a function of elevation, so a basin cut six inches too deep or an outlet set a few tenths low can change how the whole system performs.
This guide walks through what a detention or retention pond is, what the design sheets actually control, and how the excavation, embankment, outlet, and stabilization work comes together in the field.
Detention vs. Retention: Get the Terminology Right
The two terms get used interchangeably in conversation and mean opposite things on a grading plan. A retention pond, also called a wet pond, holds a permanent pool of water between storms. A detention pond is dry between storms: it stores runoff temporarily and drains completely, typically within 24 to 72 hours.
The distinction drives everything else. A retention pond provides water quality treatment because runoff spends hours to days in the permanent pool, where sediment settles and aquatic vegetation takes up nutrients. A dry detention pond is primarily a peak-flow control device and generally earns little or no water quality credit without a permanent pool or another treatment element.
Many built facilities are hybrids. A wet extended detention pond keeps a permanent pool for treatment and stacks temporary detention storage above it, releasing the channel-forming storm over a day or more. That is the design contractors encounter most often on new development, and it is the one that forces the tightest coordination between the excavator, the concrete crew setting the outlet structure, and the surveyor checking elevations.
What the Design Sheets Actually Control
Pond design is a stack of storage volumes, each tied to an elevation. Water quality storage, channel protection storage, overbank flood storage, and safe passage of the extreme event all sit at different heights in the same basin, and each is served by its own opening in the outlet structure. That means the pond is designed from the bottom up: permanent pool first, then each storage band, then the spillway crest and the top of the embankment.
The practical consequence for the field crew is that a pond's most important dimensions are vertical. Bottom elevation, permanent pool elevation, the elevation of each outlet opening, spillway crest, and embankment top all have to land where the plans say. Basin bottoms and outlet elevations are commonly held to about a tenth of a foot and verified by survey, because storage volume is a direct function of the elevation-storage table behind the design.
Before the first cut, the design also has to be reconciled with the ground. Geotechnical borings determine how deep the muck, unsuitable material, and groundwater table sit, whether the embankment foundation needs a cut-off trench, and whether the soil will hold water or needs a liner. A water balance check confirms the site can actually sustain a permanent pool if the design calls for one. How to Read a Grading Plan covers reading the contour, spot elevation, and flow arrow notation that defines the basin on paper.
Clearing, Stripping, and Limits of Disturbance
Pond earthwork starts with the same discipline as any other sitework job: clear the footprint, strip topsoil, and stockpile it where it can be recovered later. Stripping depth has to match the design, not the machine operator's instinct - leaving root mat or organic material under an embankment or in a basin bottom is one of the most reliable ways to create a future settlement or seepage problem.
Limits of disturbance matter more on a pond job than on most sites, because the areas outside the basin footprint are usually part of the buffer and the stabilization plan. Heavy equipment traffic outside those limits compacts soil that the landscaping plan expects to be workable. Trees left near the pond are also at risk - yarded areas, stockpiles, and haul routes all do damage that shows up months later.
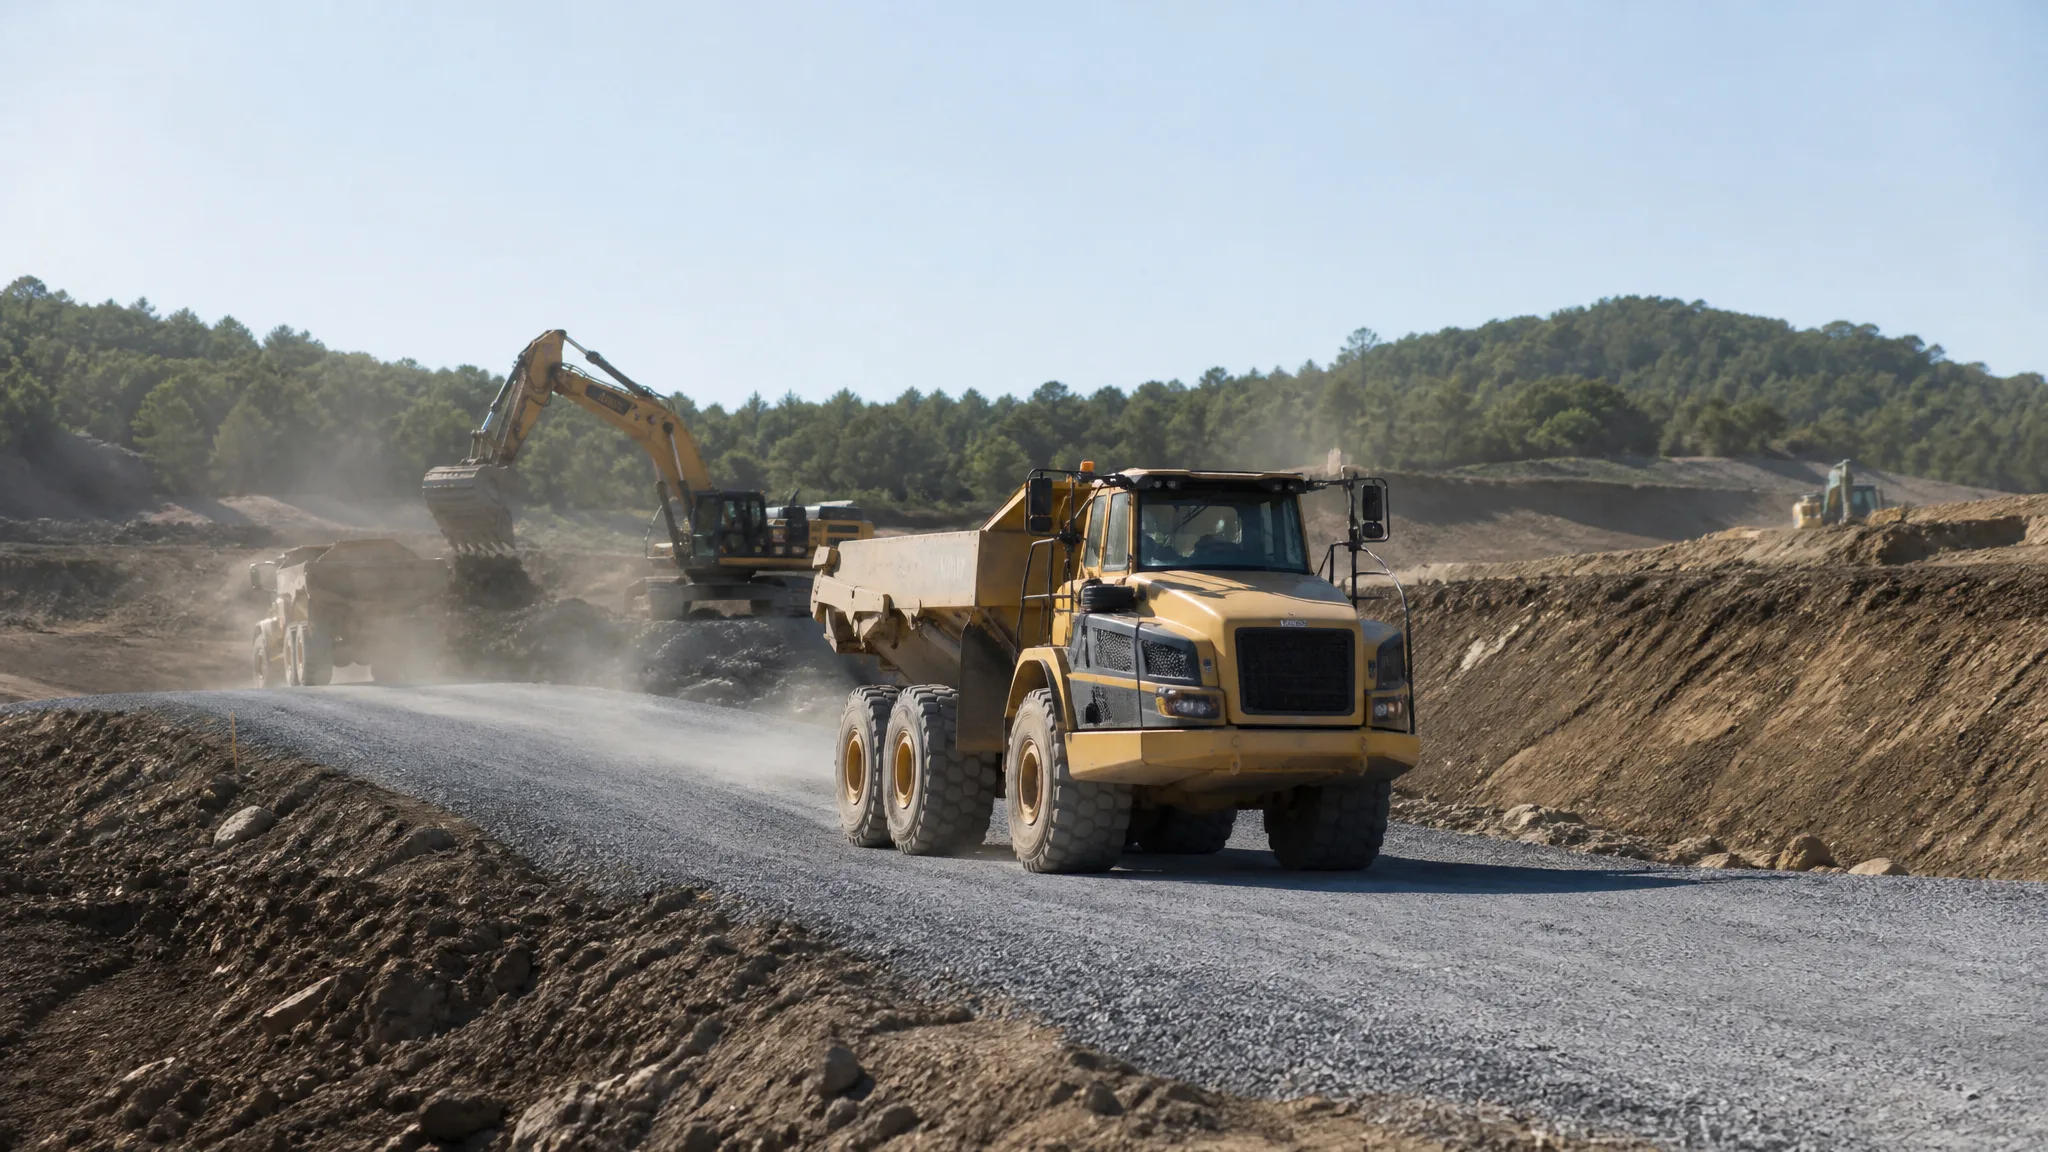
Spoil handling deserves planning before the dig starts. Pond excavation produces a lot of material, and the swell between bank and loose volume means the stockpile is larger than the hole. Managing Spoil Piles on a Construction Site covers segregation, drainage around stockpiles, and keeping material out of the areas that are supposed to stay clean.
Cutting the Basin to Grade
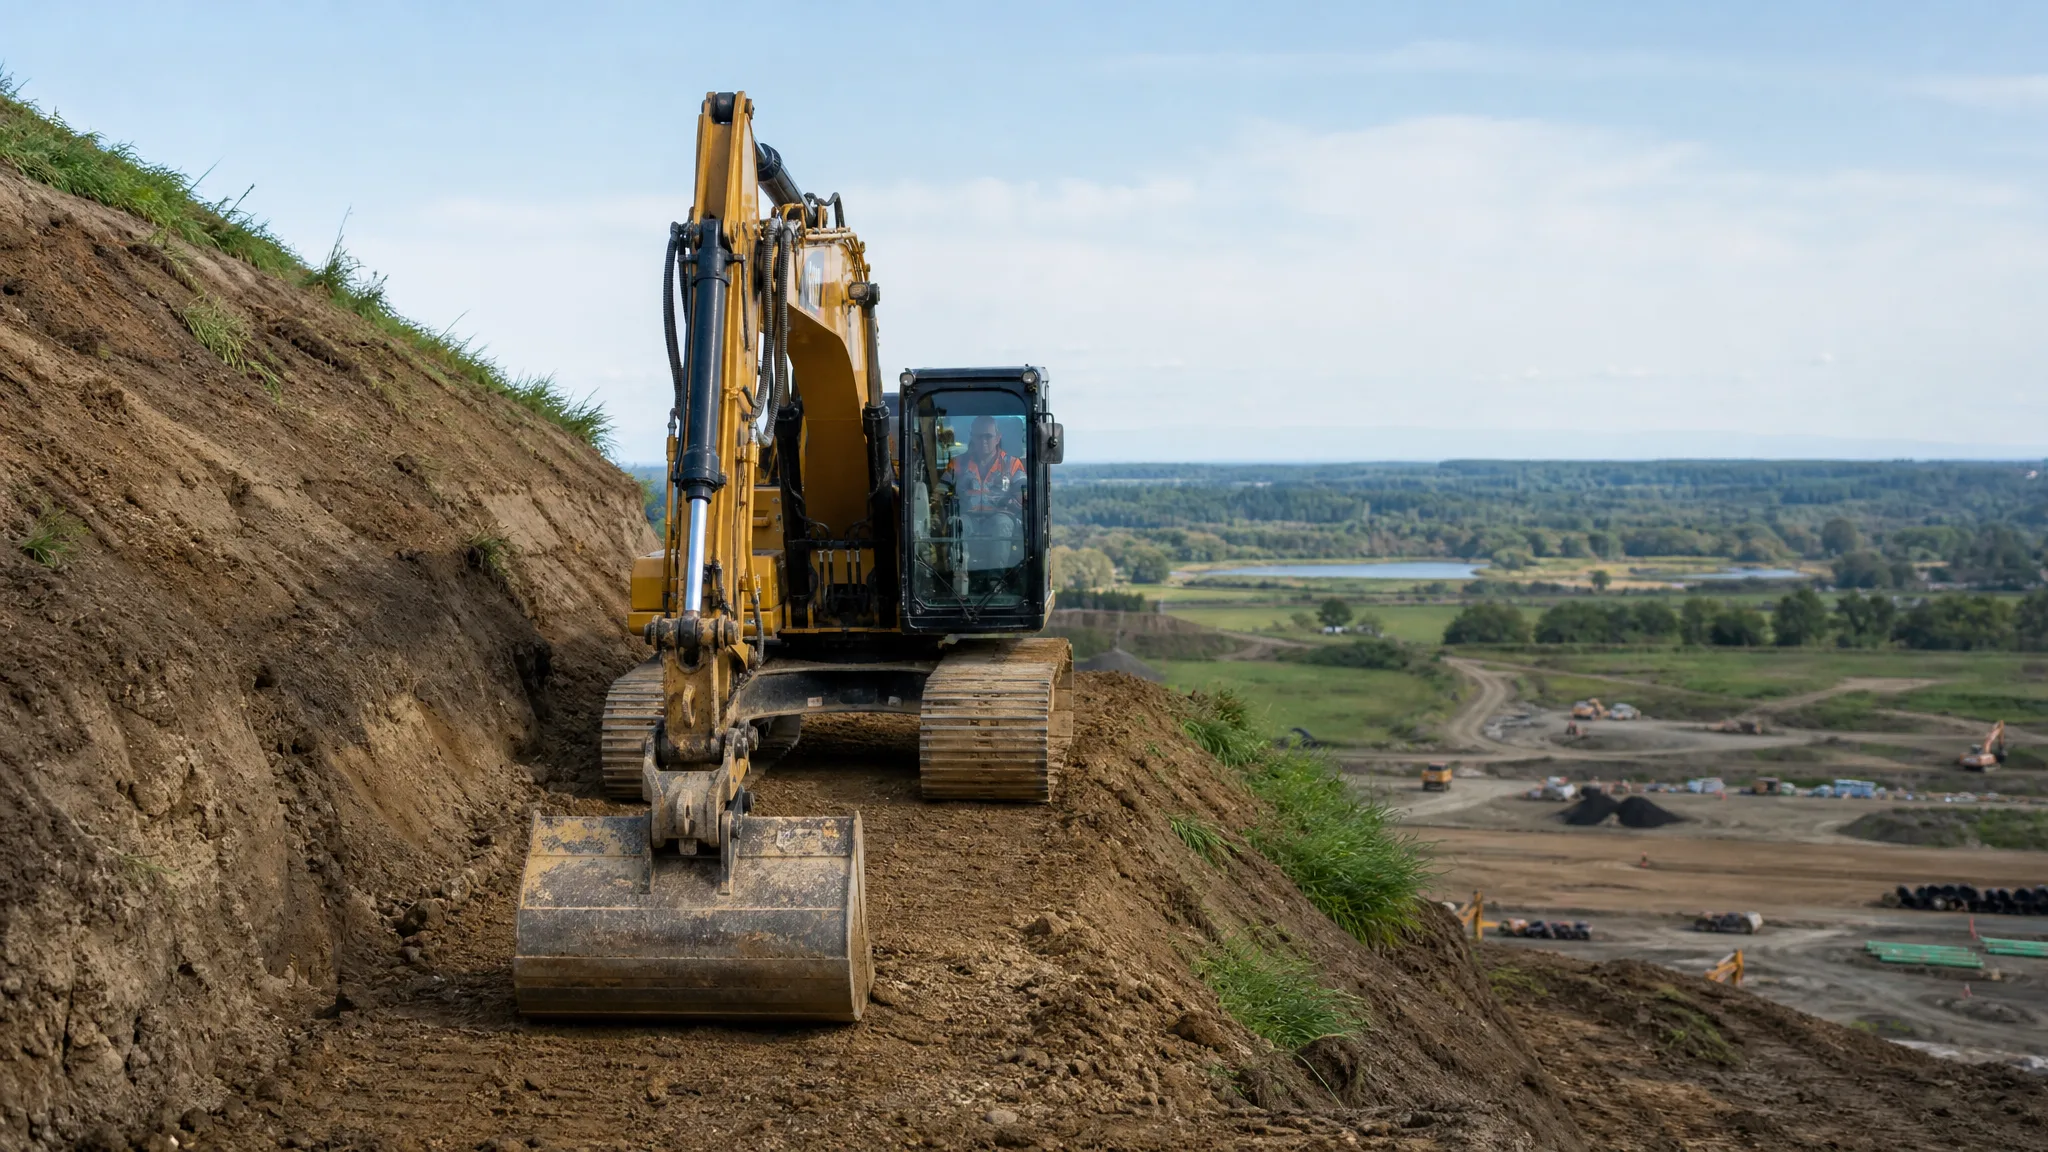
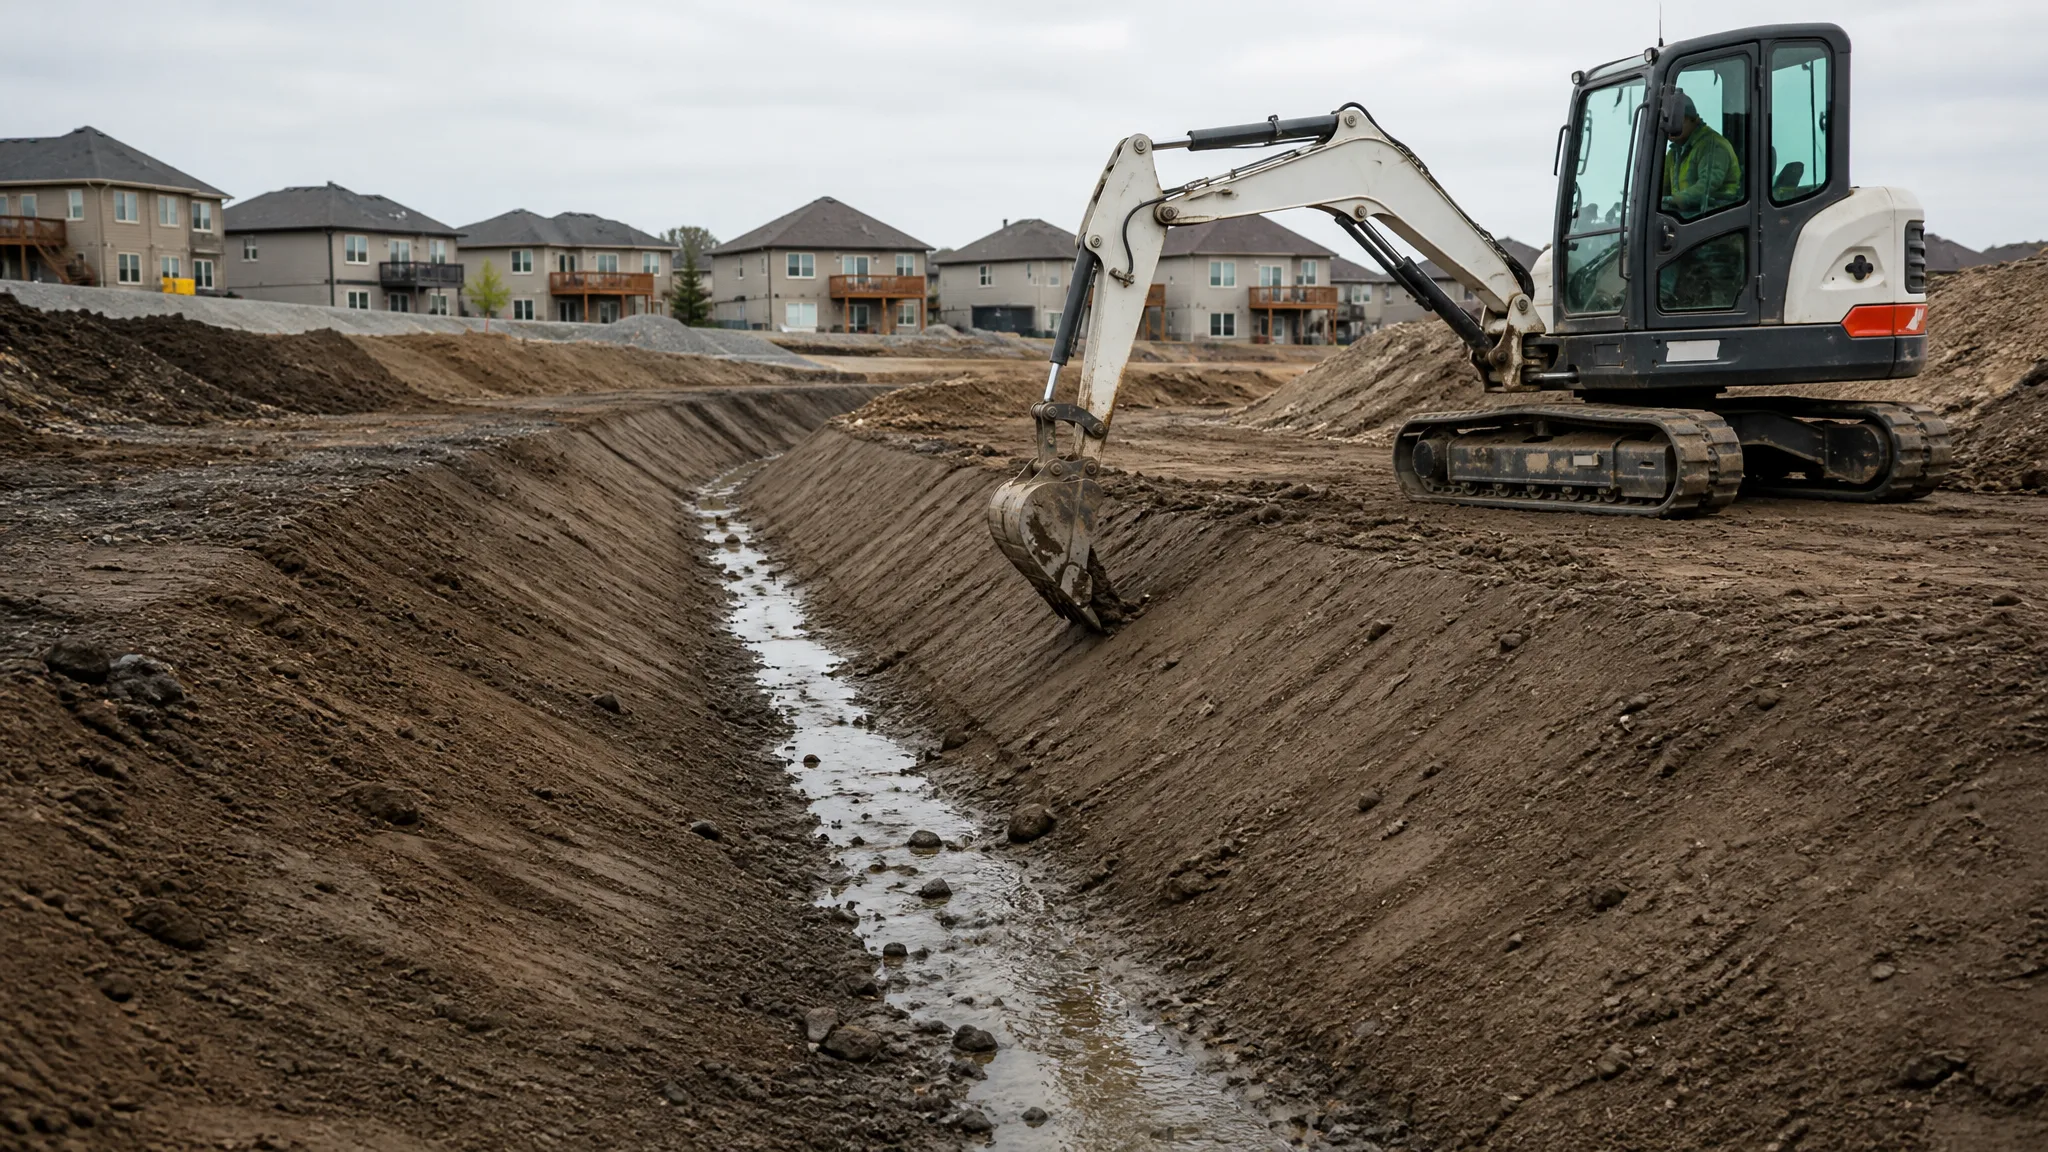
The basin excavation itself is a controlled cut to a set of design elevations, and the sequence that works is the one the design implies: strip the footprint, excavate the pool and the forebay, cut the side slopes and benches, then trim the bottom to grade. Working in horizontal lifts and trimming the last few inches with a smooth bucket keeps the bottom accurate and protects the subgrade.
Soft or unsuitable material found in the basin bottom has to come out. Leaving muck, roots, or organic soil in place does not just reduce the volume the pond holds - it settles later, which changes elevations that the outlet was designed against. Excavated material that is unsuitable gets hauled off or used outside the facility, not buried back in the floor of the basin.
Where the pond has to be cut into a slope rather than dug into flat ground, the cut side becomes the basin wall and the material usually becomes the embankment fill. That is a cut-and-fill operation and needs the same balance logic as any other grading job. Cut and Fill Explained walks through how to balance that dirt across a site, and How to Calculate Excavated Soil Volume and Truckloads covers the quantities and swell factors involved.
Side Slopes, Benches, and Safety Geometry
Side slopes are both a maintenance requirement and a safety requirement. Interior slopes are commonly built at 3 to 1 or flatter so they can be mowed, walked out of, and held in place with vegetation. Steeper slopes exist in design manuals, but they demand more erosion protection and more structure, and they are not a field decision to make.
Where the pool is 4 feet deep or more, a properly graded pond has two benches. The aquatic bench extends up to 15 feet inward from the normal water line and stays at a maximum depth of about 18 inches, growing the emergent vegetation that does much of the nutrient work. The safety bench runs about 15 feet outward from the water's edge at a shallow slope, giving someone who ends up in the pond a place to climb out and giving maintenance crews a place to stand.
Permanent pools are typically 3 to 8 feet deep - deep enough that wind does not keep sediment and algae in suspension through the whole water column, shallow enough to avoid stratification. Adding the storage bands above the pool, total basin depth from bottom to top of embankment commonly lands somewhere in the 10- to 14-foot range.
Erosion protection on those slopes is part of the build, not a finishing item. Newly cut clay slopes on a pond are exposed to wave action and concentrated inflow, and permanent stabilization needs to be in place before the temporary erosion and sediment controls come out. Slope stability on the cut faces themselves is a related problem - Advanced Techniques in Slope Stabilization During Excavation covers the field techniques for holding a cut slope while the work is open.
Building the Embankment and Seepage Controls
Where a pond is defined on the downhill side by a built embankment, that embankment is effectively a small dam, and it is the part of the job that gets the most scrutiny. The fill goes in horizontal lifts, moisture-conditioned and compacted to the specified density, keyed into the foundation soil rather than just dumped on top of it.
Seepage control is designed into the outlet works and the foundation, and it is where the sequence has to be exactly right. The outlet barrel is bedded and set first, the embankment is built in compacted lifts around it with the anti-seep or seepage-control features called out on the plans, and only then is the riser set and tied in. Pouring the structure in after the embankment exists does not work - the fill has to be placed around the barrel and compacted on both sides evenly so the pipe does not sit in a loose trench.
Compaction standards here are no different from any other structural fill, which means lift thickness, moisture content, and density testing all matter. The Science of Soil Compaction covers the Proctor relationship between moisture and density, How Wet Is Too Wet to Compact Soil? covers the field signs of unsuitable moisture, and Proof Rolling a Construction Site covers the proof roll used to find soft spots in a prepared subgrade before fill goes on it.
Outlet Structures, Risers, and the Emergency Spillway
The outlet structure is the control panel for the whole facility. A typical arrangement is a concrete riser connected to a barrel running through the embankment to the downstream side, with a series of openings up the riser: a pond drain with a gate valve at the bottom for dewatering during maintenance, a small water quality orifice, an orifice for the channel protection volume, and a larger weir slot or opening for the larger flood events.
Small orifices clog, which is why almost every design includes defenses: a removable trash rack, a reverse-sloped pipe that draws water from below the surface rather than skimming floating debris, or a protected orifice plate inside the riser. Trash racks, risers, and drains all need to be installed and functioning as part of construction - not scheduled for later.
An emergency spillway is a required companion to the principal outlet. It passes storm events that exceed what the principal spillway can handle, and its crest elevation and geometry come from the design. Building it to the wrong elevation, or letting construction sediment or vegetation block it, defeats the safety margin the design counted on.
Forebays, Inlets, and Energy Dissipation
A sediment forebay is a required pretreatment element on pond designs, and it is the reason the main pool stays useful for decades instead of silting in. The forebay is a separate, smaller cell at each inlet where coarse sediment drops out in one accessible location instead of spreading across the whole basin. Typical sizing is on the order of 0.1 inch of runoff per impervious acre of contributing drainage, 4 to 6 feet deep, with direct access for equipment to dredge it.
Inlets need energy dissipation. Water arriving from a pipe or a channel at speed will scour the basin floor and the slope it lands on, so inlet points are stabilized and typically protected with riprap or another hardened, non-erosive surface. Inlet pipe inverts generally sit at or near the permanent pool elevation on a wet pond so flow enters below the surface.
Another geometry rule worth knowing in the field: ponds are laid out with a length-to-width ratio of at least 1.5 to 1, with baffles, islands, or multiple cells used to lengthen the flow path. The goal is to keep water from running straight from the inlet to the outlet without mixing. If the basin shape in the field is materially different from the plan, that short-circuiting risk is the reason. Creating Effective Drainage Systems During Excavation and Installing a Driveway Culvert cover how inlet and outlet structures behave at small scale.
Stabilization, SWPPP Closeout, and As-Builts
A pond job is not finished when the dirt is moved. The basin, slopes, buffer, and access areas have to be permanently stabilized with topsoil, seed, or other cover, and the temporary erosion and sediment controls that protected the site during construction have to come out only after that stabilization is established. The common inspection threshold is about 70 percent uniform vegetative cover before removing temporary measures, though the exact requirement comes from the permit.
Construction stormwater permit coverage is generally triggered at 1 acre of disturbance, which almost any pond project hits, along with the erosion and sediment control practices that go with it - silt fence, a stabilized construction entrance, inlet protection, and inspection documentation. What Is a SWPPP? covers the plan itself, while How to Install a Silt Fence, Temporary Construction Entrance, and Dust Control on a Construction Site cover the practices most often inspected.
As-builts and elevation verification are the other closeout item that matters on a pond more than on most earthwork. Because the facility only works if the storage volumes match the design, the bottom, benches, permanent pool elevation, outlet openings, and spillway crest all get surveyed and documented before the site goes to landscaping. What Happens After Excavation? A Jobsite Handoff Checklist covers the handoff documentation that usually accompanies a finished earthwork facility.
Common Failures and Long-Term Maintenance Access
The failures that show up on pond construction are predictable. Basin bottoms cut too deep or too shallow, muck left in place under fill, embankments built in loose lifts or without properly bedding the barrel, outlet structures set at the wrong elevation, side slopes left steeper than designed, slopes left bare through a wet season, and forebays built without the access needed to ever clean them out.
Maintenance access is a design requirement that contractors should check before demobilizing. Design manuals commonly call for a stabilized access route at least 9 to 10 feet wide with a maximum grade around 15 percent, reaching the forebay, the riser, and the outlet, with room to turn around. Where maintenance access cannot be built, the pond will not get dredged, and a pond that does not get dredged loses its storage volume and stops functioning.
Weeping, seepage, and vegetation are the long-term indicators to watch, which is why woody vegetation is normally excluded from the embankment and from a buffer around the principal spillway - roots and burrowing animals are how small dams fail. A 25-foot vegetated buffer around the maximum water surface elevation is a common requirement, and it doubles as shoreline stabilization and goose control.
On cost, published planning-level figures put a 1 acre-foot pond facility in the tens of thousands and a 10 acre-foot facility in the low hundreds of thousands once land and maintenance are set aside, with clear economy of scale - doubling storage adds far less than double the cost. Those numbers are directionally useful for budgeting, but they age, and they never replace a quantity takeoff from the actual grading plan. How to Estimate an Excavation Job and How Much Does Land Clearing Cost? cover the estimating side.
For the machine and depth selection that comes before any of this, see What Size Excavator Do You Need to Dig a Pond? - a decorative farm pond and an engineered stormwater basin share the same digging fundamentals, different design constraints.